When it comes to product photography, a well-lit product on a simple white background can make your eCommerce store look a lot more professional, but having fantastic in-context photos doesn’t hurt!
That said, I wanted to share some product photography tips to help you take great in-context photos.
I wouldn’t recommend using an in-context shot as your hero image (the first image of the product that a visitor sees on your website, usually the first of a series) because it can send mixed messages about what you’re selling. But a great way to spice up your social media platforms or complement your product images is to take some in-context photos.
Photographing products ‘in context’ helps the potential customer visualise a product as their own; it makes the product far more desirable. Product photography can also be lots of fun, and it’s a chance for you to be creative and show off your product in a unique way.
Anyway, on with the tips!
1. Research your market
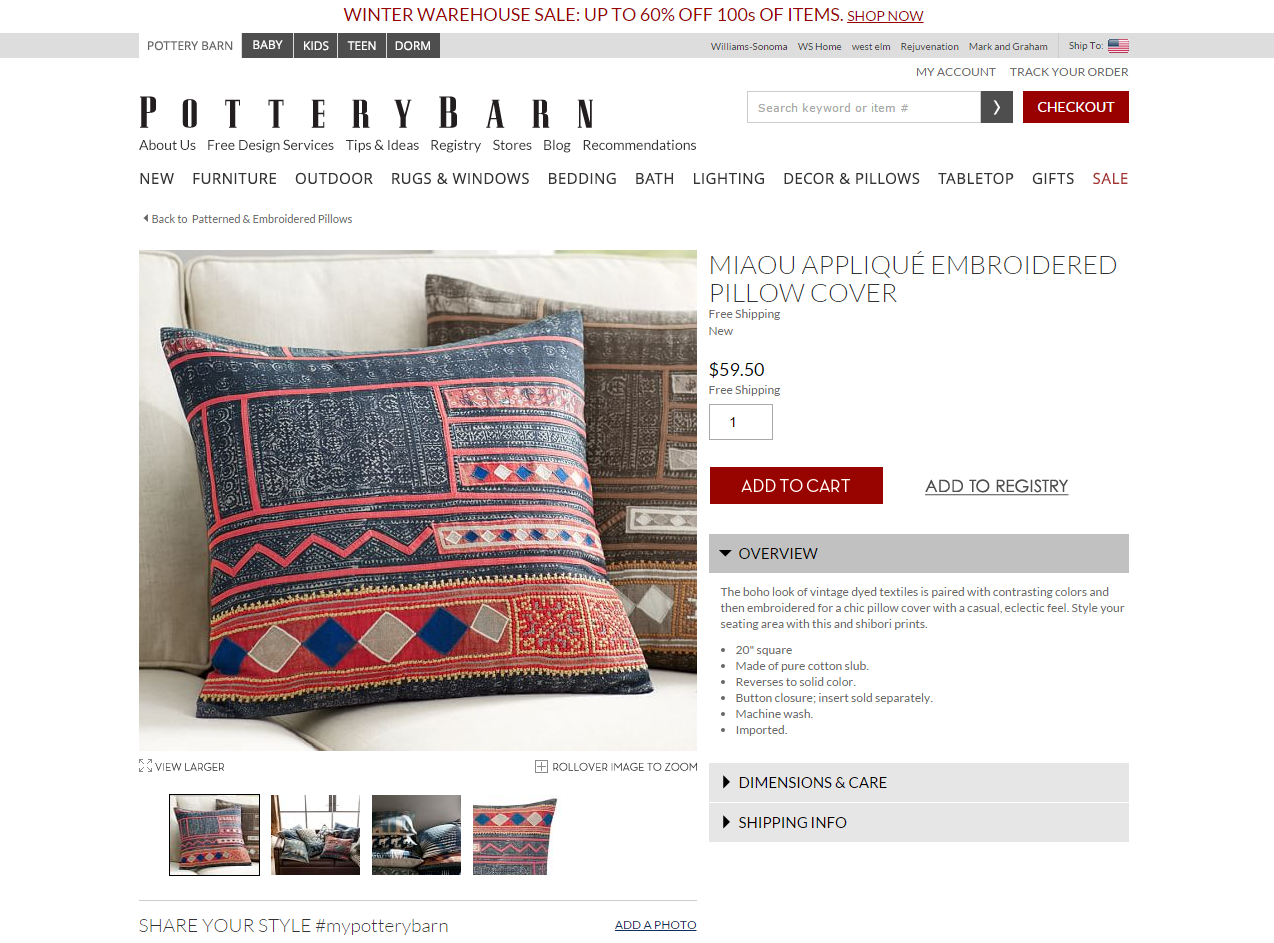
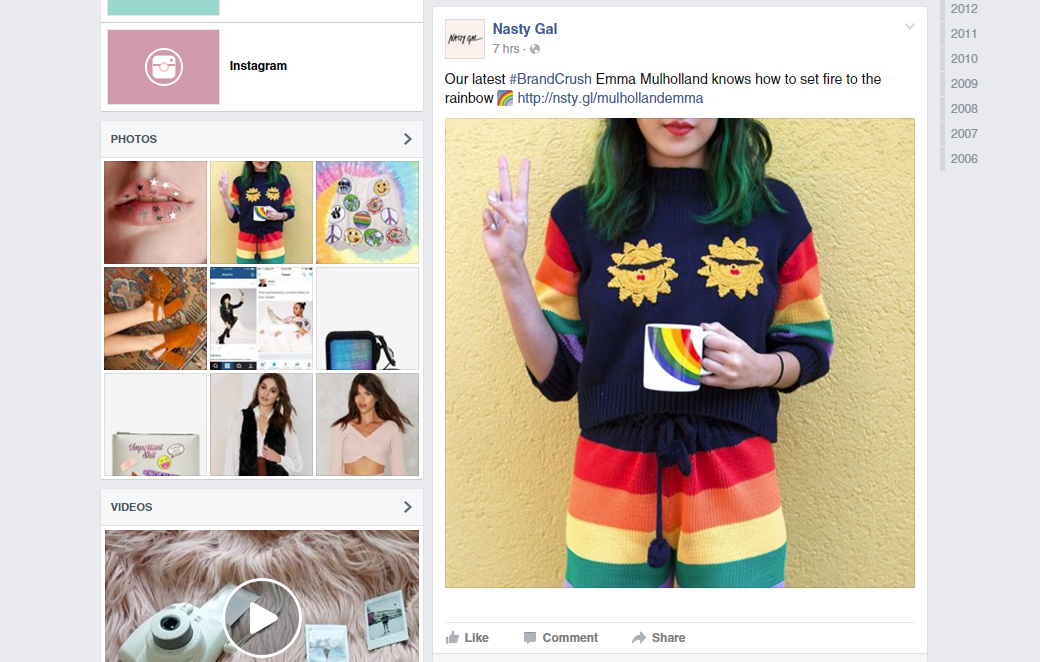
Do your research and see what other eCommerce stores are doing for their in-context photos; it can be a great source of inspiration!
As you don’t have access to their analytics, your best way of doing this is going through their social media platforms and seeing which posts get the most likes, shares and comments. That way, you’ll see what works and what doesn’t.
For example, how do they make their products look appealing? You can note down all the ideas/compositions you like and then start to think about how the photographs were created. But there’s no need to copy an image. Using tips and tricks here and there can help you to form your own ideas and maybe come up with something even better.
It’s also important to stay up to date with fashion and trends. You may not always want to follow trends in photography — it’s fine to go your own way — but you need to ask yourself why something is particularly fashionable. It must be working for a reason!
For example, clean and simple setups are very popular right now — minimalist and fresh with lots of white. This style shows off the product clearly and follows suit with trends in fashion and interior design.
You may think you just sell handmade jewelry or vintage furniture, but think of it as selling a lifestyle. How is your product going to improve the lives of your customers and will it fit with their contemporary attitudes? Targeting the right audience with your photography is also key but that’s a whole new topic to discuss!
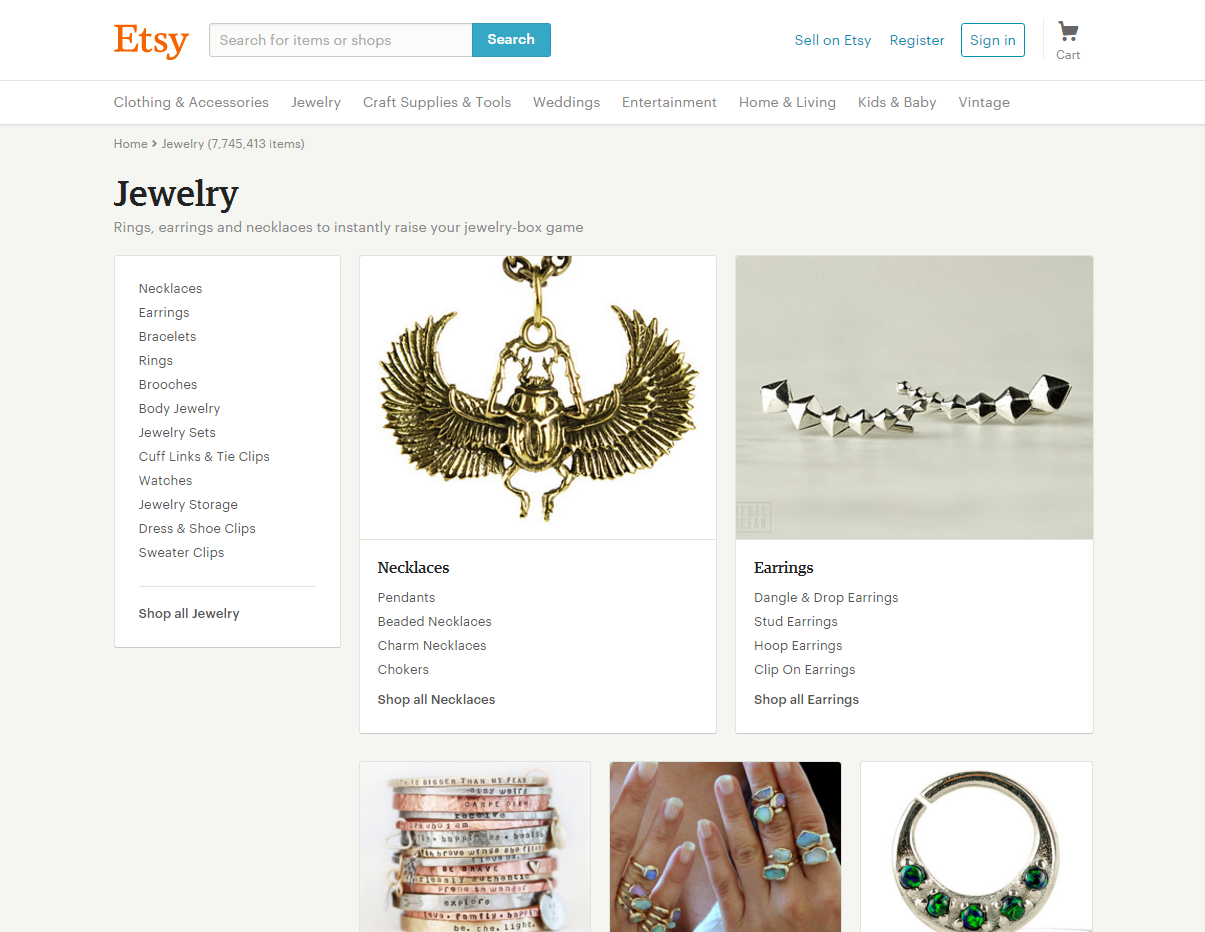
Need inspiration? Fashionology and ROCK ‘N ROSE have fantastic in-context photos of jewelry.
2. Pick the right props
Selecting the correct background and props for your product is crucial. Props can enhance your photographs, add intrigue to your products and make your products more relatable and desirable.
Props, however, should never distract from the product you are trying to sell. Often less is more. You don’t need a dozen different items to cram into a photograph. Your product needs to stand out and be of number-one importance in the image.
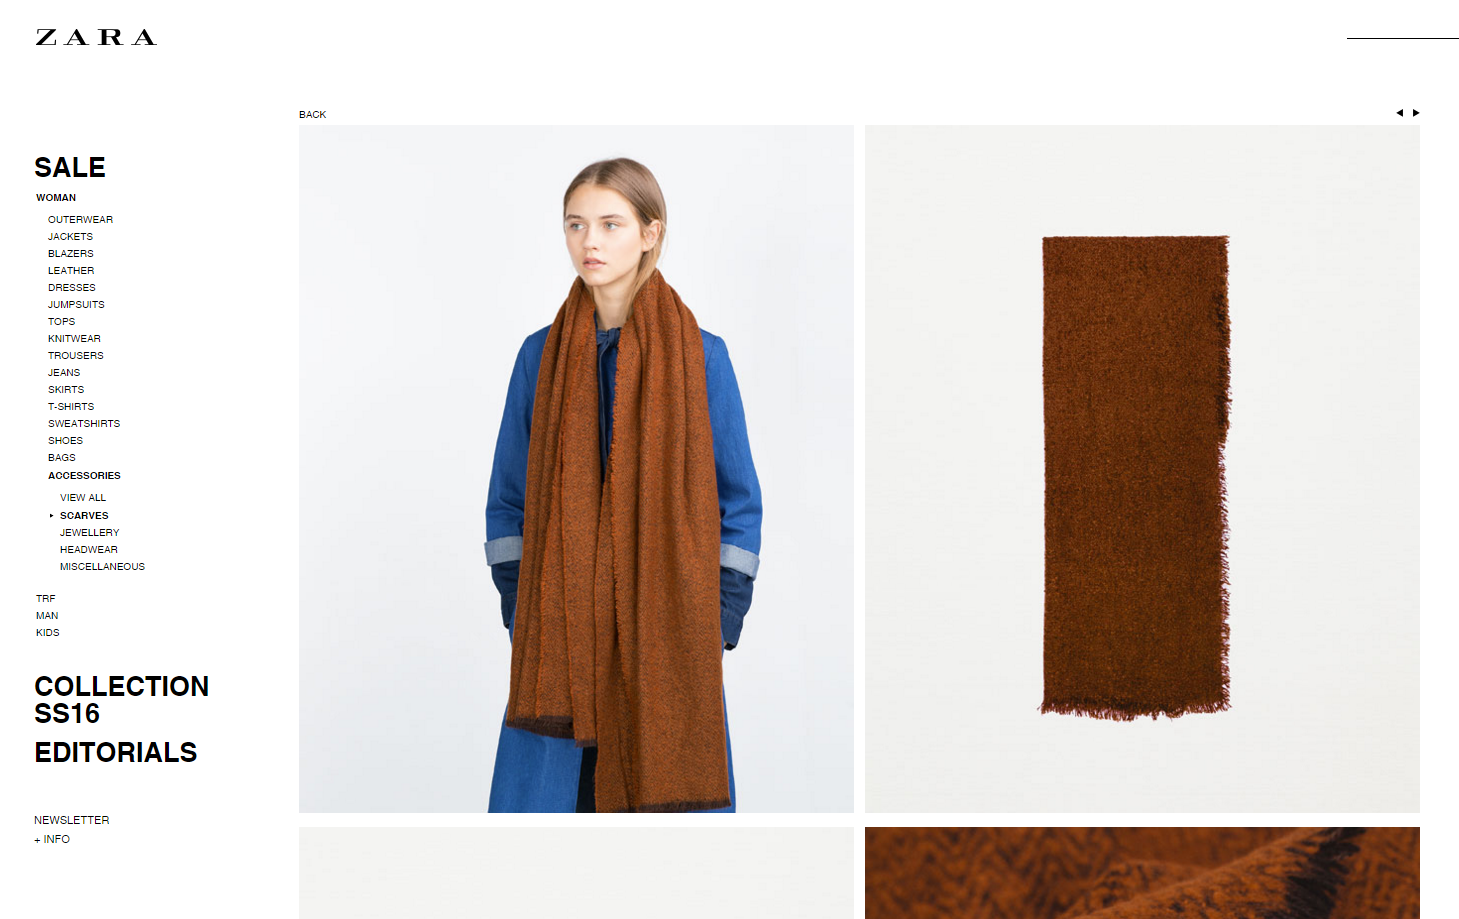
For example, you wouldn’t photograph a scarf around the neck of a woman wearing a neon bright, heavily patterned jumper and tons of jewelry. Choose a plain neutral-coloured jumper and keep the main focus on the scarf. Your product must look like the most exciting item in the photograph.
Also, a bit of an obvious one, but don’t use another brand’s logos in your photography, or any slogan T-shirts or recognisable labels. You’re not doing yourself any favours by promoting someone else’s stuff!
It’s also important to be aware of what actually works to enhance your photographs. If you’re shooting a scented candle range, does it really make sense to have a bowl of fruit and bottle of wine in the background? (Unless the candles are fruit-scented I suppose!) What comes to mind when you think about candles? Maybe a bubble bath, mood lighting, cosy blankets and a hot chocolate? Go through this process with everything and anything you need to photograph and you have lifestyle photography!
Stick to a budget by using items you already have at home or can borrow from friends. Offcuts of wallpaper in the bargain bin make ideal temporary backdrops, and scraps of material can be found cheap in fabric shops.
3. Set the scene — lights, camera, shoot!
If you’re shooting on a budget you’ll need to create a photo setup by a large window that lets in lots of natural light. But avoid harsh sunlight streaming through a window. You can diffuse the light with white curtains or paper.
Natural lighting complements homewares really well, so don’t feel as though you can’t take great in-context shots without fancy equipment. Some photographers choose to only work with natural light, and if your photo shoot takes you into the great outdoors then you can really work that to your advantage.
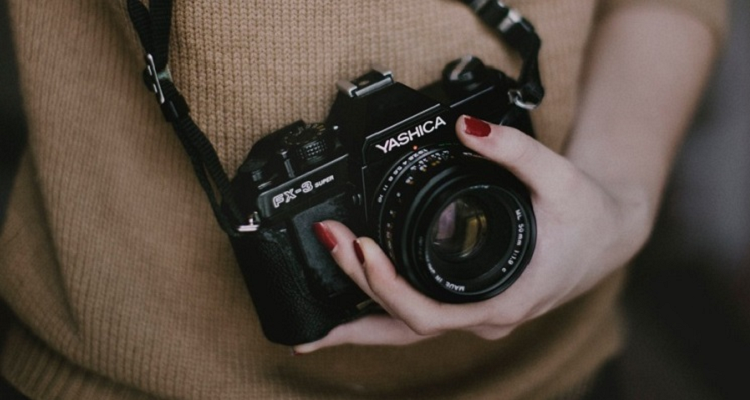
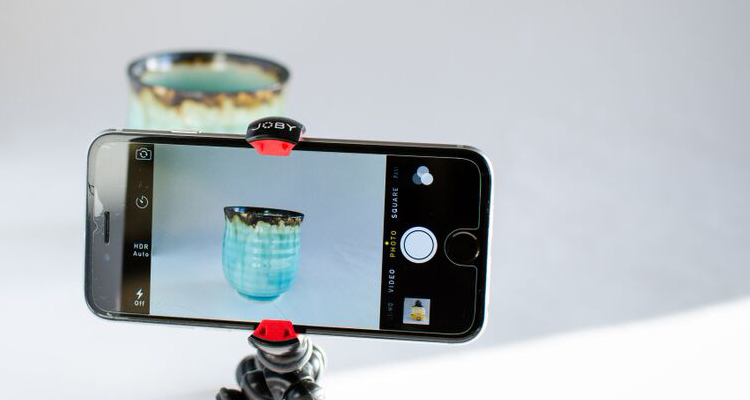
You don’t need an expensive DSLR camera. You can achieve great-looking photographs with a point-and-shoot or even with one of the more recent smartphone cameras. Keep in mind that if you use a point-and-shoot or smartphone, it’s not as easy to make your photos look professional and you will need excellent lighting conditions.
If you’re going to be photographing a lot of products now and into the future, it may be worth investing in a camera that allows you to play around with the settings and gives you much more freedom when it comes to photography, even if it’s a low-range DSLR with a kit lens.
Take the time to set up and adjust your products. Polish and clean them if you need to. Iron out any creases. If you’re using a model (a paid professional or a willing friend) instruct them before the shoot for hair, makeup and clothing. Even the smallest details make a difference!
Product photography is all trial and error. Take lots of photographs. Do you need images from every angle? Portrait or landscape shots? Try adding in props, then taking them away.
Frame your product well. Sometimes that means the product sits right in the centre of the image — such as with a perfume bottle surrounded by flower petals, sitting on mirrored glass. Or sometimes it’s better to place your product slightly to one side of the frame following the ‘rule of thirds’ technique. An armchair to the right shows off the fireplace behind it and is illustrative of a real home layout. It all depends on what you’re selling.
A pair of sparkly heels placed on a stack of decorative boxes with a cream fur backdrop says glamour and luxury. A pair of canvas sneakers worn by a model sitting on a brick wall says comfort and individual style. This is giving the product character and purpose. It’s powerful to go against convention too. So imagine those glamorous heels on a brick wall or the sneakers on a pile of luxury boxes!
4. Editing and publishing
If you’ve been vigilant enough when taking photographs, you may only need to crop or sharpen your photos a little. Don’t go overboard with editing; you could end up with fake-looking images that don’t reflect the product accurately and your customers may think they’re being deceived.
You should add new photographs to your eCommerce store following your product images on a white background. It’s a great way to end a series of product photos!
You might also want to create an online catalogue or lookbook, as what Ikea did. Both stores have great magazine-quality images that really sell the lifestyles associated with the brands and their products.
In-context photos can really make your products pop!
If you take the time to set up enticing in-context photo shoots, you can really get your customers’ imaginations running wild. Try it out for yourself and see how your customers like them!
Share on social: