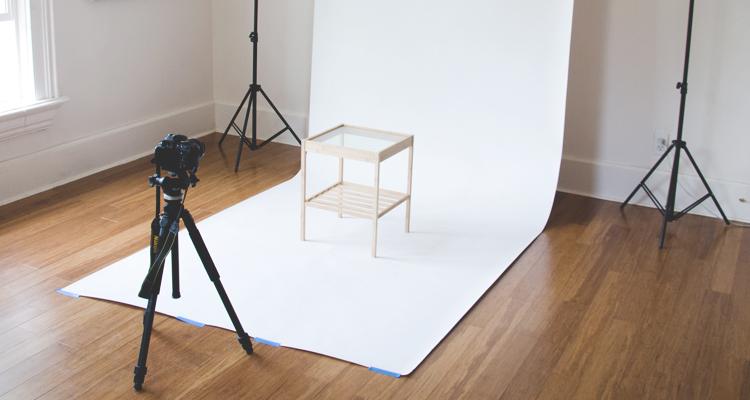
For your online store, you want clean, centred shots focused directly on your products. Backgrounds can be very distracting because they draw attention away from your products. How many times were you discouraged about buying a product online just because the item photo had a cluttered background that made it look very unprofessional?
In these cases, the simpler, the better. A plain white background should suffice. Now, you may be thinking, won’t it difficult to achieve this desired effect? You’re probably thinking of hiring professionals to do it, or spending hours on Photoshop.
But the trick to this is easy, and you can definitely do it yourself. All you’ll need is a simple lightbox for product photos.
Here’s how to make your own lightbox for product photos using inexpensive materials:
1. First, you’ll want to grab a huge cardboard box. The box should be big enough to place your item in. This shouldn’t cost you more than a couple of bucks.
2. Cut rectangular holes on each side of the box. You’re creating the frame for your lightbox. Make sure the holes you cut are even.
3. Lastly, tape tissue paper on each side, over the holes. The tissue paper will make the lighting in your shots a bit softer so that your image won’t have harsh shadows or overexposed brightness.
And there you have it, your very own homemade, inexpensive lightbox for product photos.
All you’ll have to do next is set up your lights and place your item inside the box, and you’re ready to take pictures. Make sure you take shots of your items from different angles. You may have to play with the lighting a little.
Wasn’t that easy? Next time you’re thinking of taking shots of your items, try this method. These simple but professional-looking shots will certainly highlight any product you’re selling online.


