DIY Product photography is different from taking snapshots of your friends and family — lighting, quality, and product photography equipment become much more important when the success of your business is on the line!
This article will teach you some DIY product photography techniques to improve your overall product imagery. We’re not going to talk about equipment that costs hundreds or thousands of dollars. Instead, we’ll share budget techniques that can be used to get quality results with just a few pieces of equipment.
Here are five areas to focus on to make your DIY product photography better.
Is your camera good enough for DIY product photography?
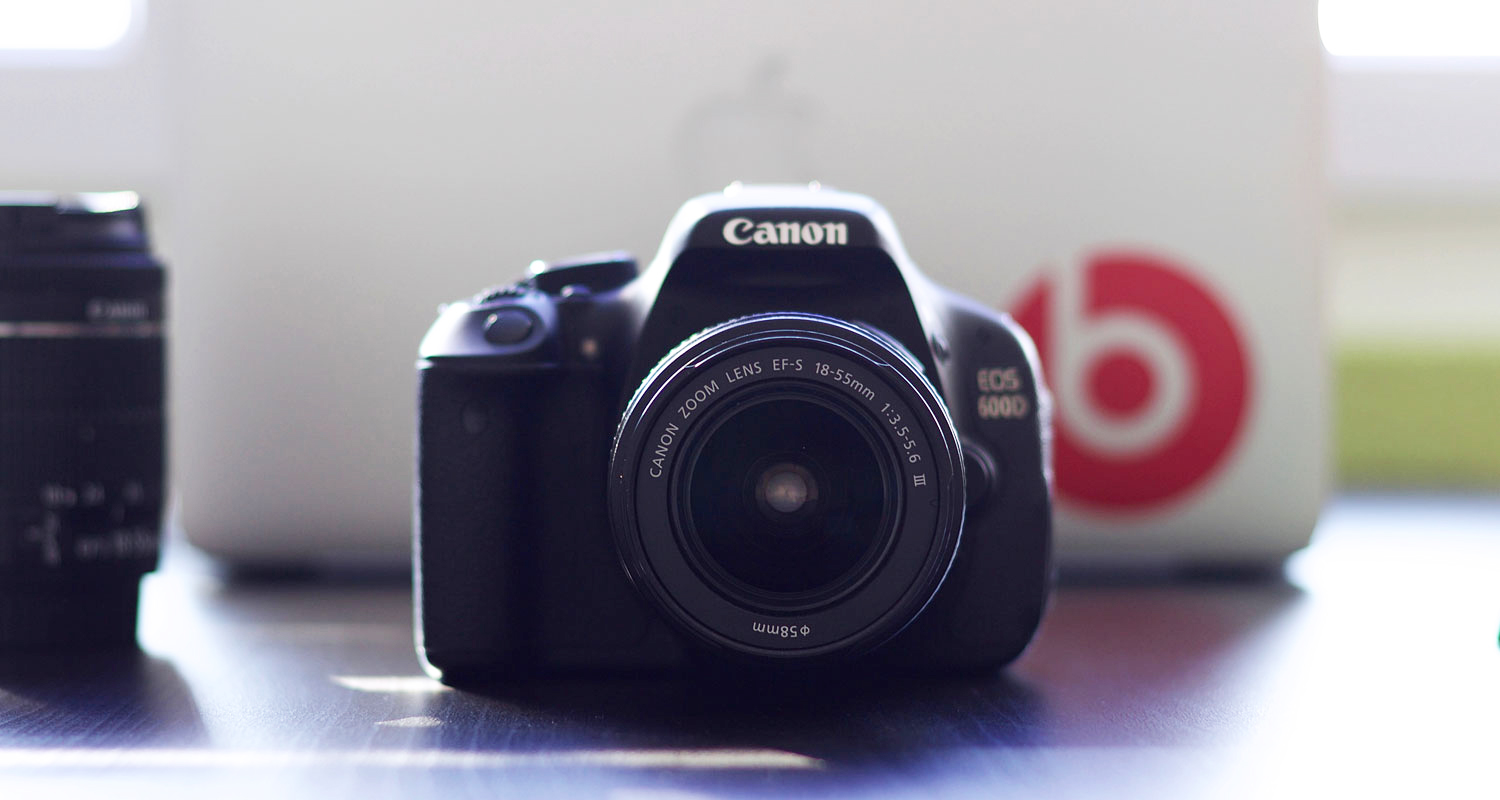
Is your camera up to the job of taking high-quality product photos? It depends on your needs, and what you’ll be using your product images for.
If you’re using your product photos for your online store at a relatively small size, you should be able to get by with a lower-quality camera, like a recent smartphone or a quality point-and-shoot camera. Images from these may work as well for small prints in catalogs and print advertising. For this option to work though, you’ll need to follow the rest of the tips in the article.
Imperfections that aren’t visible at small sizes become obvious when blown up. If your product photos are designed to be displayed online at a large size or will be in large or glossy print ads, you will need a higher-quality camera. I’ve written before about choosing product photography equipment for your online store, so if you need help to find better equipment, start there.
The basics of camera settings
Learning the fundamentals of camera settings will improve your DIY product photography skills. Even the simplest smartphone or point-and-shoot camera can be used in a manual or program mode (although you may need an iOS or Android app to allow extra control).
There are three main settings you should think about.
1. ISO
To get a high-quality photo out of your smartphone, you need to optimize every possible setting. The most important of these is ISO. This refers to the sensitivity of your camera to light. A smartphone usually sets this automatically, using low ISO (low sensitivity) in bright conditions and high ISO (high sensitivity) when it’s dark.
The problem here is that as ISO increases, image quality declines. This issue can’t really be fixed in editing. For DIY product photography, it’s critical to use the lowest ISO you can manage. A good place to start is ISO 100. Quality can start to decline quickly when that number rises.
2. White balance
Our eyes have the ability to adapt to a wide range of lighting conditions, but cameras aren’t as smart. They’ll take in any light in a situation, so they have to be set to the right ‘white balance’ in order for the colors to look right in any given photo.
Most of the time, your camera will do this automatically, and usually, it works okay. But for product photography, you may want to manually set your white balance for the best colors in your final image.
White balance is determined via presets that match the colors of various light sources, such as daylight, cloudy, tungsten, or fluorescent. You can also set white balance manually, usually by pointing your camera at a neutral object (like a white piece of paper) that is lit by the same light as your subject. For product photography, this method will usually get the best results.
3. Shutter speed
Every time your camera takes a photo, a tiny shutter opens and closes, often in a fraction of a second. But if the amount of light in your scene is low, your shutter speed may automatically adjust to let in more light by holding the shutter open for a longer span of time.
Usually, this is fine, but the shutter speed is linked to ISO. If you set your ISO to a very low setting (for example, 100), your camera is on a ‘low sensitivity’ setting. It’s already not gathering very much light, so your shutter speed might automatically adjust to a slow speed (for example, 1/20th of a second). This can lead to blur, since you may shake the camera while taking the picture.
To fix this issue, manually set your shutter speed to a higher setting, like 1/100th of a second.
Lighting
This leads well into the next issue: lighting. As you’ve already learned, it’s important to have a low ISO and a high shutter speed to get a sharp, high-quality image. The combination of these two factors means you need light on your subject. A lot of light.
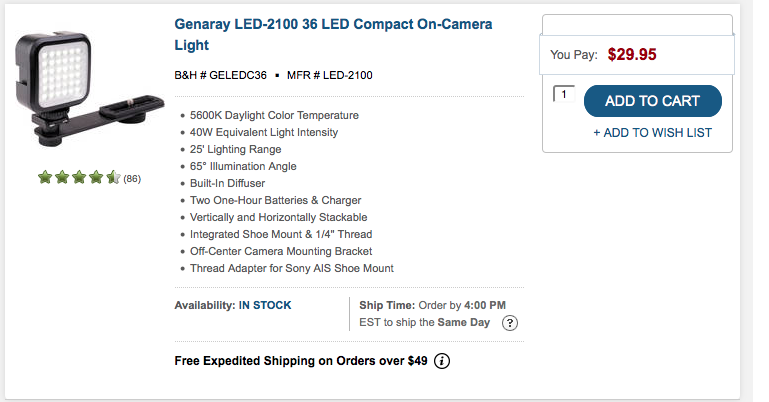
For DIY product photography, natural light, light fixtures, and lamps can provide enough light for your image, as long as you have enough of them. If your photos aren’t turning out well with these light sources, try filling in dark areas using flashlights, or take your product outdoors on a bright, sunny day.
Stabilization
If you just can’t seem to get enough light to use a fast shutter speed with your image, you may have no choice but to use a slower shutter speed. That’s when stabilization becomes important. Try balancing your camera on a sturdy object, like a chair or table, to minimize vibrations.
If you want even higher quality, you have two options. First, try enabling the timer function so you can press the button and then let go of the camera. This will remove the biggest source of vibration: your hands.
If you can’t make these tips work, or if the setup is really hard to construct and take down every time you need a product photo, it may be worth investing in a tripod.
In the image below, balancing a camera on top of books can help you get sharper images.

Background and post-processing
A clean background for your product photos can make a big difference in their appearance. White backgrounds look professional and light and can make a big difference to sales. There are two main ways to create a white background.
The first is to build or purchase a lightbox, a specialized piece of gear for product photography. The second is to hire the professionals at Pixc to retouch your product photos using Photoshop to remove the background of each image. It’s a high-quality, affordable service, and a lot easier than building your own lightbox.
There you have it…
These basic steps will make a big difference in the quality of your product photographs by making sure you get the best possible quality out of the gear you have. Do you have any questions about the tips? Any creative ideas for DIY product photography? Let us know in the comments!

