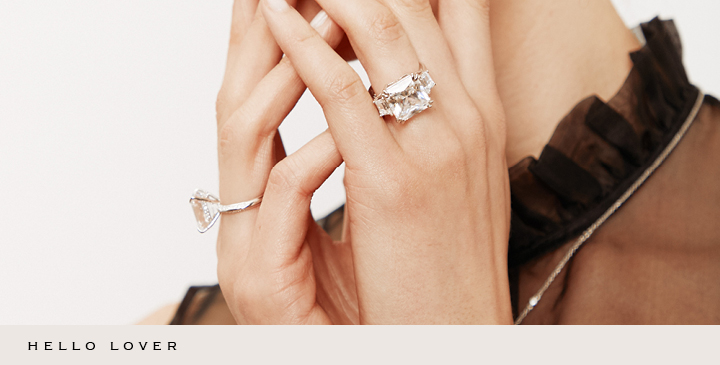
When it comes to photographing jewelry, a lot of ecommerce store owners are intimidated by how small, shiny and intricate the products can be.
But photographing jewelry can actually be easier than taking photos of larger items because the studio setup is a lot easier to put together.
Once you’ve nailed your setup, check out these seven simple things you need for photographing jewelry.
Prepare your props and materials
1. A window and natural light
Taking a photo of shiny jewelry using your camera’s flash is never a good idea! The jewelry will reflect the bright light, leaving your product covered in white light spots with harsh shadows in the background, like in the two examples below.
 Unless you’re a very skilled photographer with a very professional studio, take your jewelry product images using natural lighting. Remember that with natural lighting, you want to use the sun as an indirect light source, so position your product near a window during the day.
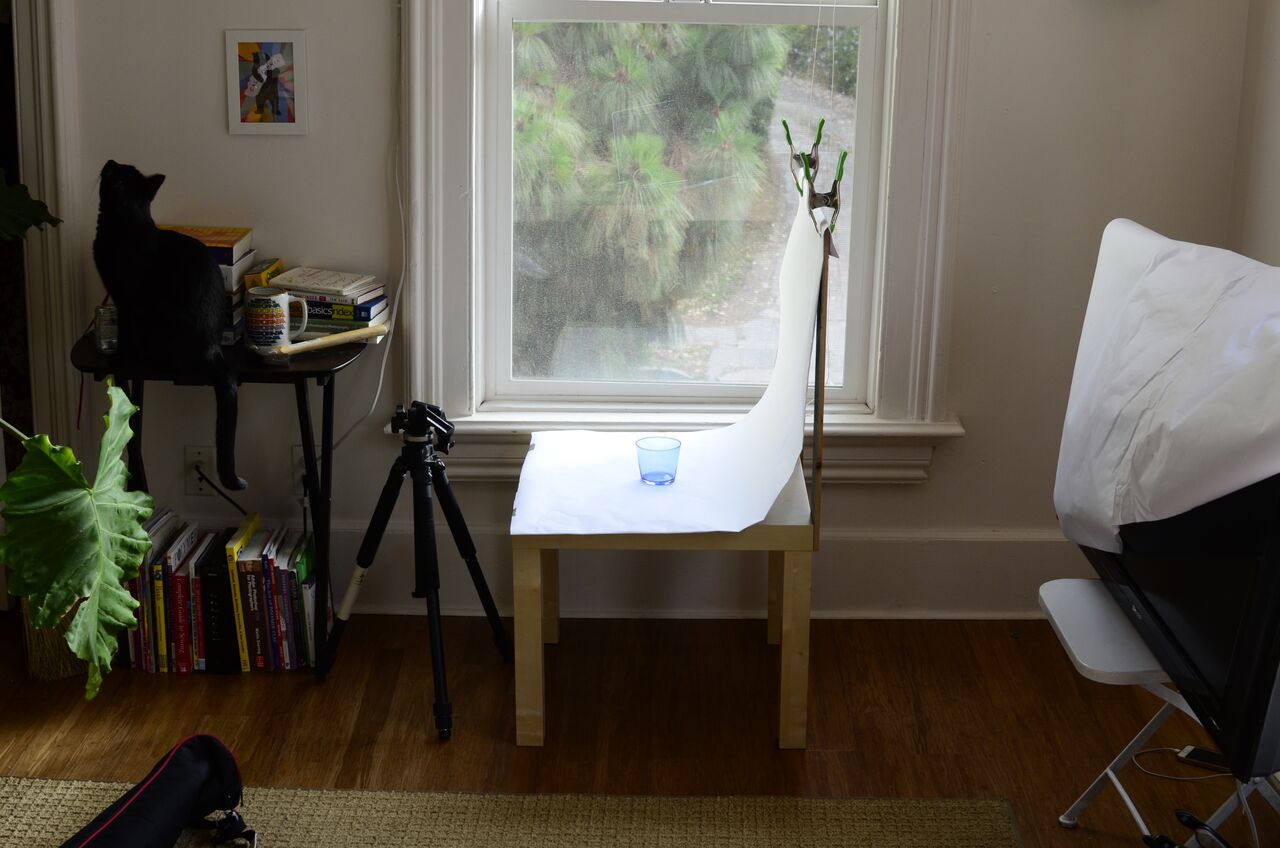
As with a built-in flash, bright sunlight will create reflections and harsh shadows, so you may want to diffuse the light. You can do this by covering the window with a white sheet or piece of paper; any other colour will change the colour of the light.
2. Backdrop: White sheet or paper
The reflective property of most jewelry means that it will absorb all other colours, so you should shoot on a white backdrop to avoid altering the colour of the piece. White also reflects light whereas dark colours absorb it, so your product will be better lit if you shoot on a white backdrop.
Though taking good product images of jewelry is much harder than taking a good product image of something like a plain blue chair, jewelry does have the size advantage. You don’t need to stretch a white sheet from wall to wall to create a white backdrop — just use a piece of paper and fold it in half so it stands up. It’s that simple!
3. Camera and Tripod
It’s not so much about the camera itself when photographing jewelry but more about the lens.
When looking to purchase your first macro lens, we recommend choosing a lens with a focal length of 60mm.
This focal length assists in obtaining half life size magnification (0.5x), whereas more expensive macro lenses provide life-size magnification (described as 1:1).
Getting a good tripod for your setup will ensure that your product photos are in focus.
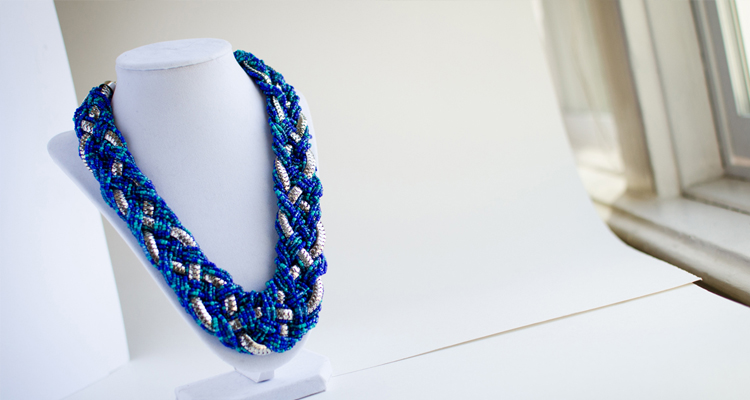
4. A mannequin bust
Use props to present your jewelry in the best way possible. Most craft stores will sell mannequin busts for necklaces, which are a great way to give your products a nice and realistic shape.
I’ve found that most stores stock black busts, as they make jewelry stand out and give it a sense of elegance. However, as I mentioned in the point above, photographing your product on white will make it look much better. Jewelry is no exception. So if you only have a black jewelry bust, cover it with a white cloth and then take your photo. You can always remove the background later.
4. Cardboard
Don’t have a mannequin? Create a kind of jewelry clipboard. Grab a piece of cardboard, cover it in white paper and pin or tape the ends of your necklace to the back. You can always adjust the length of the chain with where you choose to clip it, so don’t worry too much about the size unless you have a huge piece.
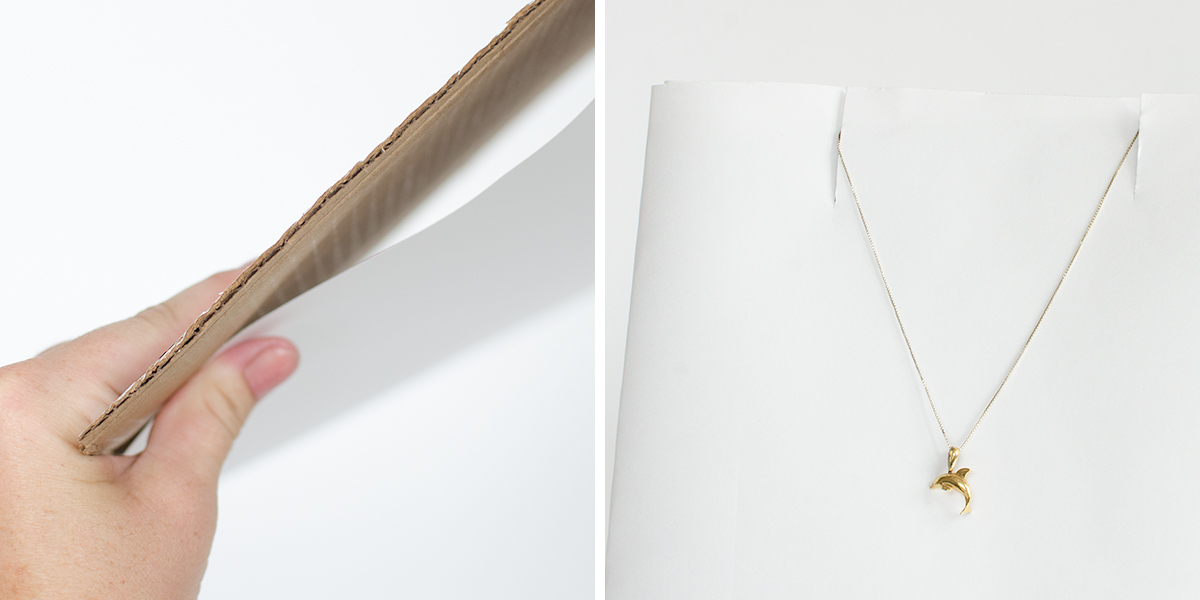 Using cardboard might take a bit of extra time, but as with using a mannequin it shows the natural shape of the necklace and will look pretty good when you take the photo from the front.
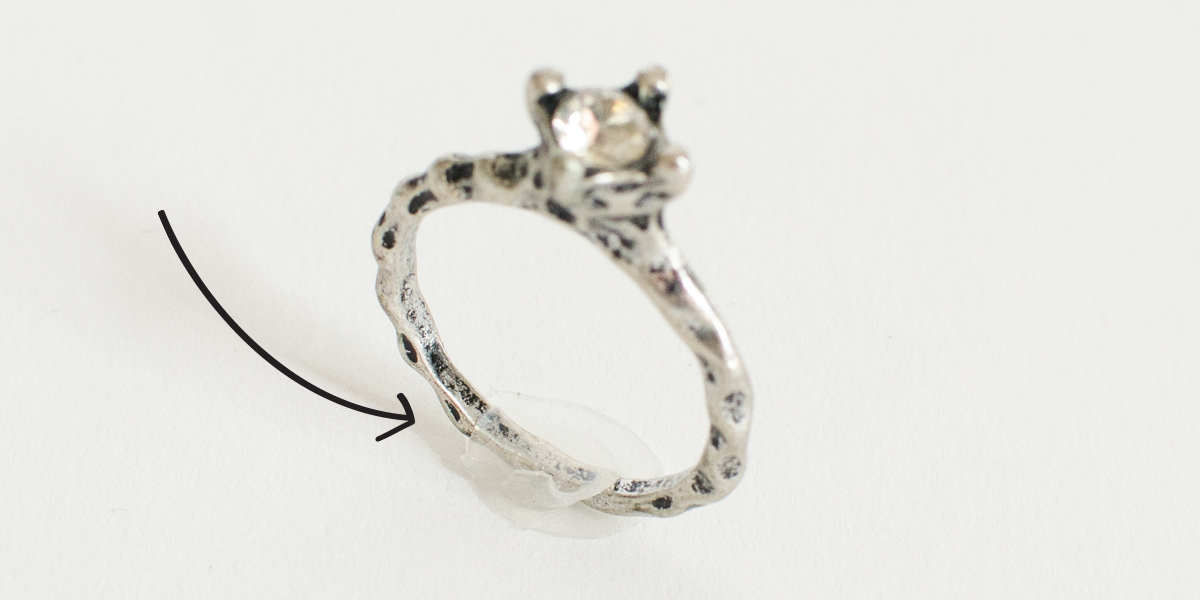
6. Blu-Tack, glue dots or double-sided tape
When it comes to rings, Blu-Tack, glue dots and double-sided tape can be really useful. You can stand the rings up horizontally and get a really nice angle, like in the photo below.
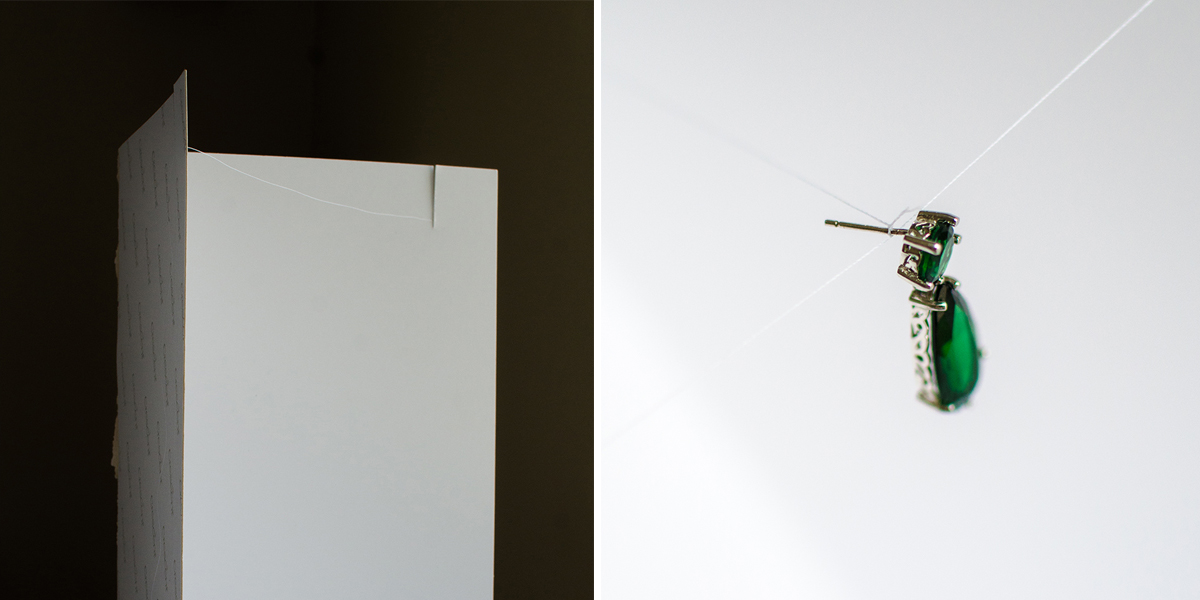
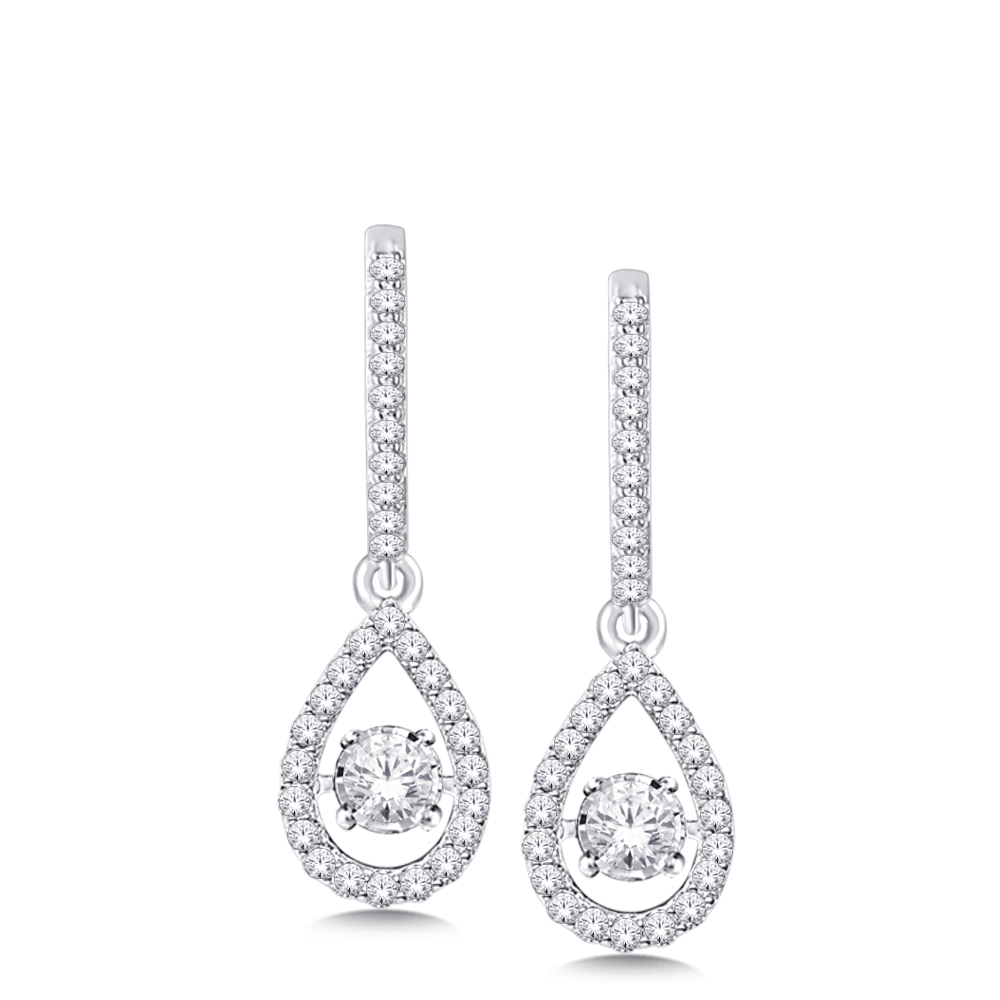
7. String
Use fishing string or thread for things like dangling earrings. This take a bit more time to set up but will produce a great photo. A good idea is to use a piece of cardboard folded in half and stretch the string from one panel to the other, like in the image below. Just make sure your dangling pieces have stopped moving when you actually take the photo.
| Try Pixc for Free |
How to photograph jewelry
Photographing small reflective subjects like jewelry can be a tricky or frustrating task if you are starting out as a photographer.
Unfortunately not all of your photos will present as ‘magazine quality’ to begin with but it will come over time.
Master these steps and your photos will vastly improve.
1. To take the right type of photo, use a macro lens
If you have purchased a DSLR or Mirrorless camera you would no doubt have a kit lens included.
A kit lens generally has a wide angle element and a short zoom; numerically the focal length will typically read from 18 to 55mm. While these lenses are great for photographing life’s moments, they aren’t suitable for smaller objects like rings or earrings.
Purchasing an entry-level dedicated macro lens will undoubtedly overcome your primary challenge.
Look for a lens that contains the word ‘macro’ and has a focal length of around 60mm.
At this fixed zoom, you can set your camera up a small distance from the subject, and the magnification will appear half life size (or 0.5x), which is ideal for photographing jewelry.
Better still, if you have the budget, consider a macro lens that will provide a 1:1 (lifesize) representation of the subject.
2. Use a sturdy tripod to avoid camera shake
Camera shake is a photographer’s worst enemy.
When dealing with small subjects, such as jewelry, any minor moment caused by hand-holding the camera will appear as a blur in the final photograph.
To avoid this determining effect, opt for a sturdy tripod. What you should look for in a tripod is a removable tripod ball head, an Arca Swiss compatible ball head and a spirit level either on the legs or tripod head.
The advantage of a tripod ball head is in the fluid movement to obtain a desirable angle. While the head is unlocked, you can adjust your camera freely before turning the locking mechanism on the head to secure the chosen angle. The Arca Swiss tripod plate compatibility ensures you can slide your camera directly onto the top of the tripod ball head with ease and the spirit level will help determine when the tripod is level.
3. Light your jewelry evenly and thoroughly
A standard macro photography lighting setup should consist of at least two flash heads or continuous lights, one for the left of the subject and the other for the right.
Many flash lighting setups found on online stores arrive in kits and contain all the necessary accessories like a flash trigger (that attaches to your camera), umbrellas, diffuses and stands.
When reflective umbrellas with fabric diffusers attach to flash heads any camera reflections disappear.
4. Select the correct aperture and ensure everything is in focus
If you use a macro lens to photograph jewelry, don’t fool yourself into thinking a wider aperture (f2.8 or f4) is going to make your photos look brighter.
This will be the case, but there is a significant disadvantage. This disadvantage has a lot to do with depth of field.
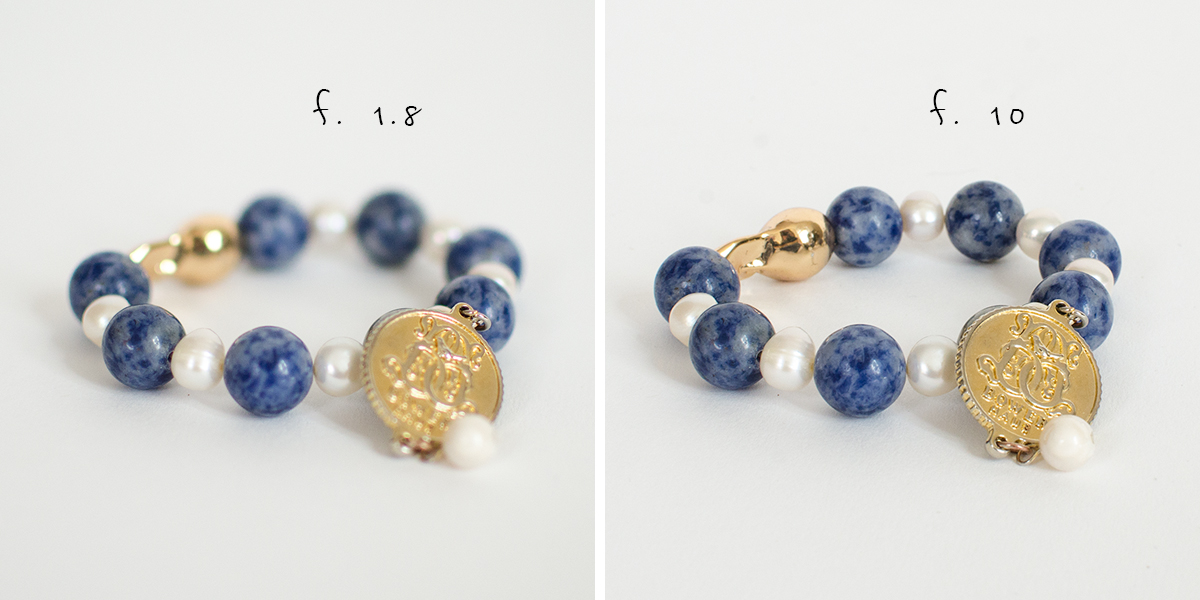 If you select a large aperture of f2.8, more light enters the lens, but only a small amount of subject ends up in focus. The rest of the focus ‘falls off’ and is referred to as bokeh.
While bokeh is desirable for portrait photography, it isn’t for jewelry. A large aperture of f2.8 or f4 is therefore not ideal as you won’t be able to see the full detail of the entire piece of jewelry.
To achieve the best results, when photographing in Aperture Priority (‘Av’ or ‘A’ on most camera mode dials) select an aperture of f11 or f16. These smaller apertures produce less bokeh which is better for depicting the full detail found on a piece of jewelry.
If you want to read more about aperture, check out our blog post that explains aperture, ISO and shutter speed for product photography.
Once you have mastered aperture priority and have obtained a macro lens, sturdy tripod and professional lighting setup you will be well on your way to turning your average looking jewelry photos into photos that sell.
Common mistakes to avoid when photographing jewelry
When you photograph jewelry, it is easy to overlook some of the details and things can quickly go wrong.
These are some of the common mistakes that you don’t want to make:
You’re not well prepared
Clean your items and polish them before you start shooting. It seems like it takes more time but if you do this at the beginning it will save you time at the end and a lot less time editing and removing the dust and fingerprints of the jewelry at the end.
Poor lighting
If your lighting isn’t great or consistent, your items will look very different in color across your online store.
To keep everything look consistent, use the same lighting or studio.
Reflections
If your lighting isn’t right you will get bad reflections on your items. You want to avoid this as much as possible as when it is online, the shopper won’t be able to see the detail.
It also makes your images look less professional.
Incorrect coloring
It is important to get the colors of your products to look as accurate as possible.
It is a terrible experience for the shopper if they are looking for something that is gold and the item actually turns out to be silver.
 You can not expect shoppers to read the product descriptions.
With Instagram and Pinterest being so popular with consumers, they rely on shopping via photos.
If you can get the color to look accurate you are less likely to have a lot of returns.
Inconsistent image size
Jewelry (and in particular earrings) can really range in size and unfortunately you won’t be able to show everything to scale on your eCommerce store otherwise some studs will be so small you may not be able to see them.
So it is important to keep your image size consistent so everything is aligned and easy to browse on your online store.
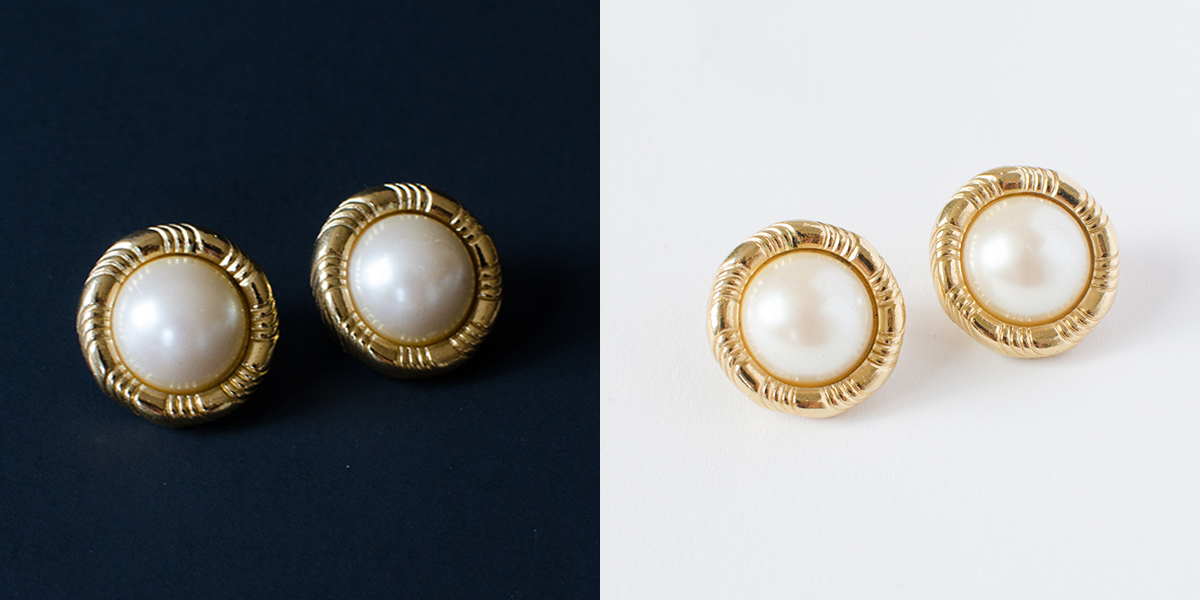
Inconsistent backgrounds
Like anything, consistency is key.
Keep your photos on brand with a consistent background. Whether you go for a light or dark background, keep them the same.
By having an inconsistent background, is it harder for the shopper to easily scan your web store.
Not enough images
You can never have enough product images on your product page, so shoot more – and from every angle. Include the details, the clasps, chain and the item being worn.
So many brands don’t provide enough images. It is hard as a shopper to visualise an item if you only provide one photo.
The more photos you provide, the less customer service questions you will receive and hopefully your conversions will increase!
It is especially important to provide a photo in-context when it comes to jewelry as it is challenging to know how big (or small) the product really is.
Jewelry Photography Tips
Keep it consistent
Keeping your photography consistent makes it a lot easier for the shopper to browse your products.
By implementing a guideline for your team on how the images should be taken will also keep to keep images consistent. Can you imagine if every time you had a different photographer, you had a different style on your website. It would be very confusing for the consumer as it wouldn’t look on brand.
Keep it simple
If you are unsure, keep it simple. Simplicity is key as you want to show off the product and its details.
Have a simple clean background on all of your product images.
Detailed photos can work great for campaign shoots but when it comes to your online store, you want to keep it simple to make it easy for the shopper to quickly view and visualize the product on themselves.
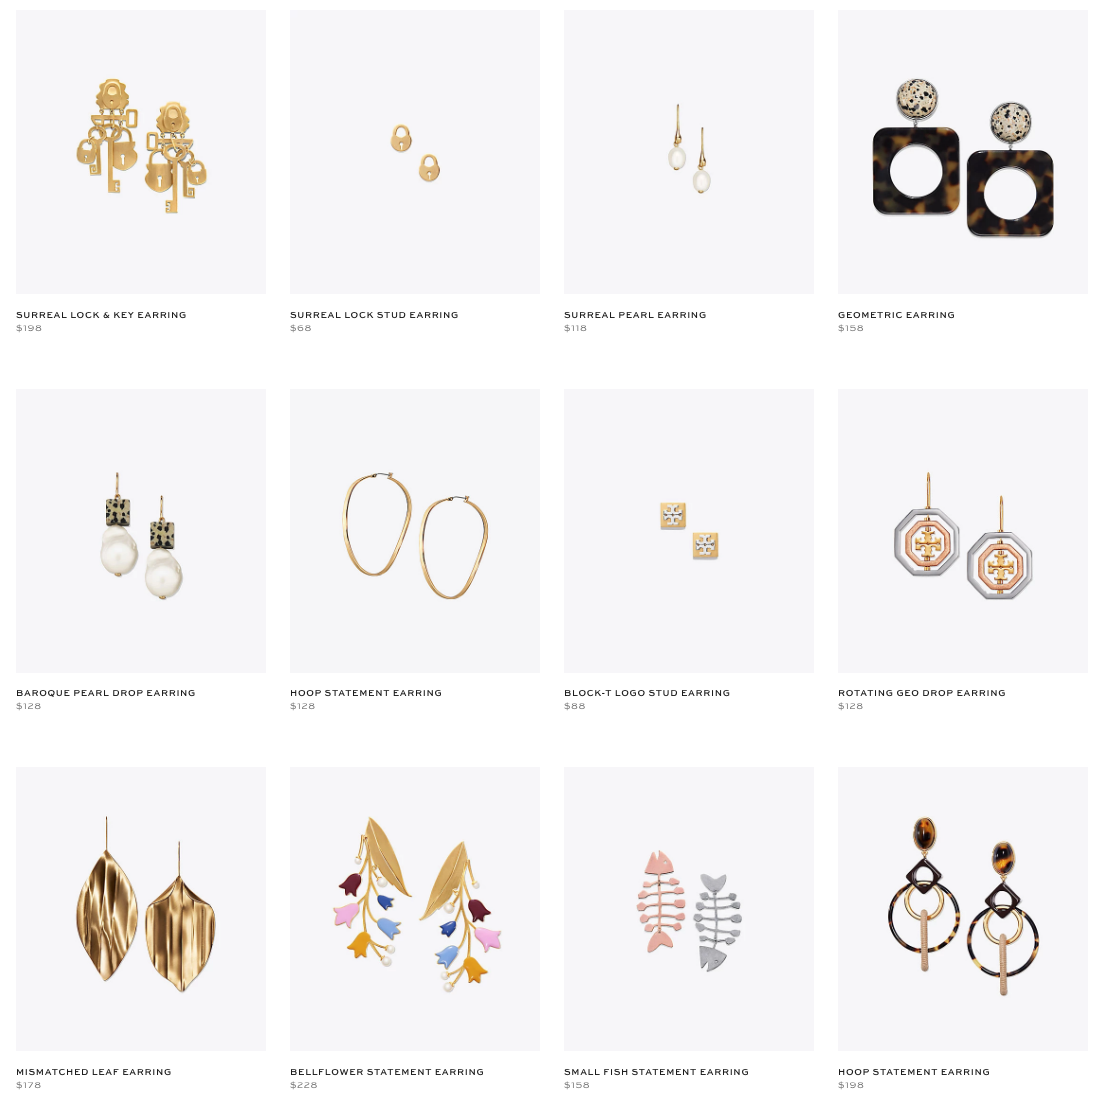
Simplicity and consistency of earring images on the Tory Burch website
Use a reflector
If you’re shooting by a window, you will have a lighting coming from one direction. Reflectors can help you even out the shadows by acting a fill light on the opposite side. By using a reflector, you will have an even lighting without mixing light sources.
Capture the details and enable zoom
If you can take high resolution photos and capture the details of the item, you will be able to enable zoom on your online store.
Enabling the zoom functionality on your website will allow the shopper to click and enlarge the image to be able to see every part of your item.
It is important to show the shopper the details so they aren’t left wondering what the side or back of the product looks like or what type of clasp it has.
By providing detailed photos the shopper will know what to expect when they receive their order.
Work with models
Working with models can be expensive but it can really pay off. Not only does it really showcase how your products can be worn but it also can help to build your brand image for your ideal customer.
Bowerhaus, an Australian jewelry brand, works with different models each season. It looks as though the model is chosen based on the look and style of the collection.
Bowerhaus works with models for each collection to showcase their products
Try moving GIFs
Moving GIFs are not that common on eCommerce stores but they can really add a great effect without taking up a lot of load time like video.
Of course, you don’t want all the images to necessarily move but one or two images within a product page can capture the shoppers’ attention and also show how a product can move.
Moving GIF earrings via GemStarImports
Start photographing jewelry today
Sounds almost too easy, right? Most of the props (minus the camera, lens and tripod) you can find lying around the house, so stop making excuses and go take some awesome product images!
| Try Pixc for Free |