Anyone who has attempted to photograph activewear – even those who do it professionally – will know that it’s not an easy task. You may have a fabulous range of fitness gear and activewear ready and waiting to sell on your eCommerce store, but actually taking the photos can prove to be more daunting than initially anticipated.
Activewear needs to be captured in all of its neon reflective glory, but where do you start?
That’s why we’ve created this essential photographer’s guide to shooting activewear. We’ll outline the pitfalls of shooting activewear and then offer tailored suggestions to maximize your photo shoot preparations and day-of tasks.
Shooting activewear can be more challenging than shooting everyday clothing
The materials can be shiny and reflective
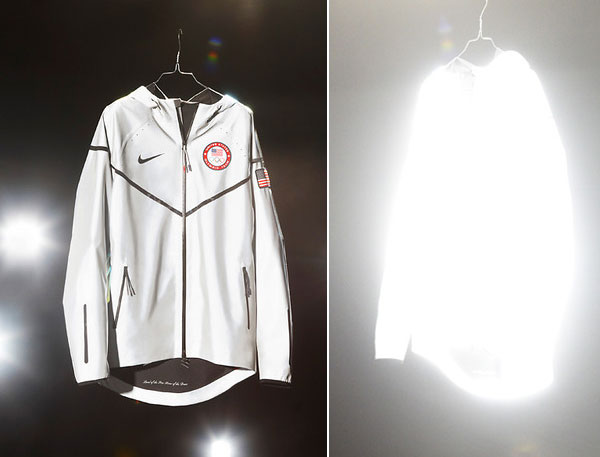
Shiny materials cause complications when lighting the product, including unwanted reflections and flare.
It tends to incorporate unique features
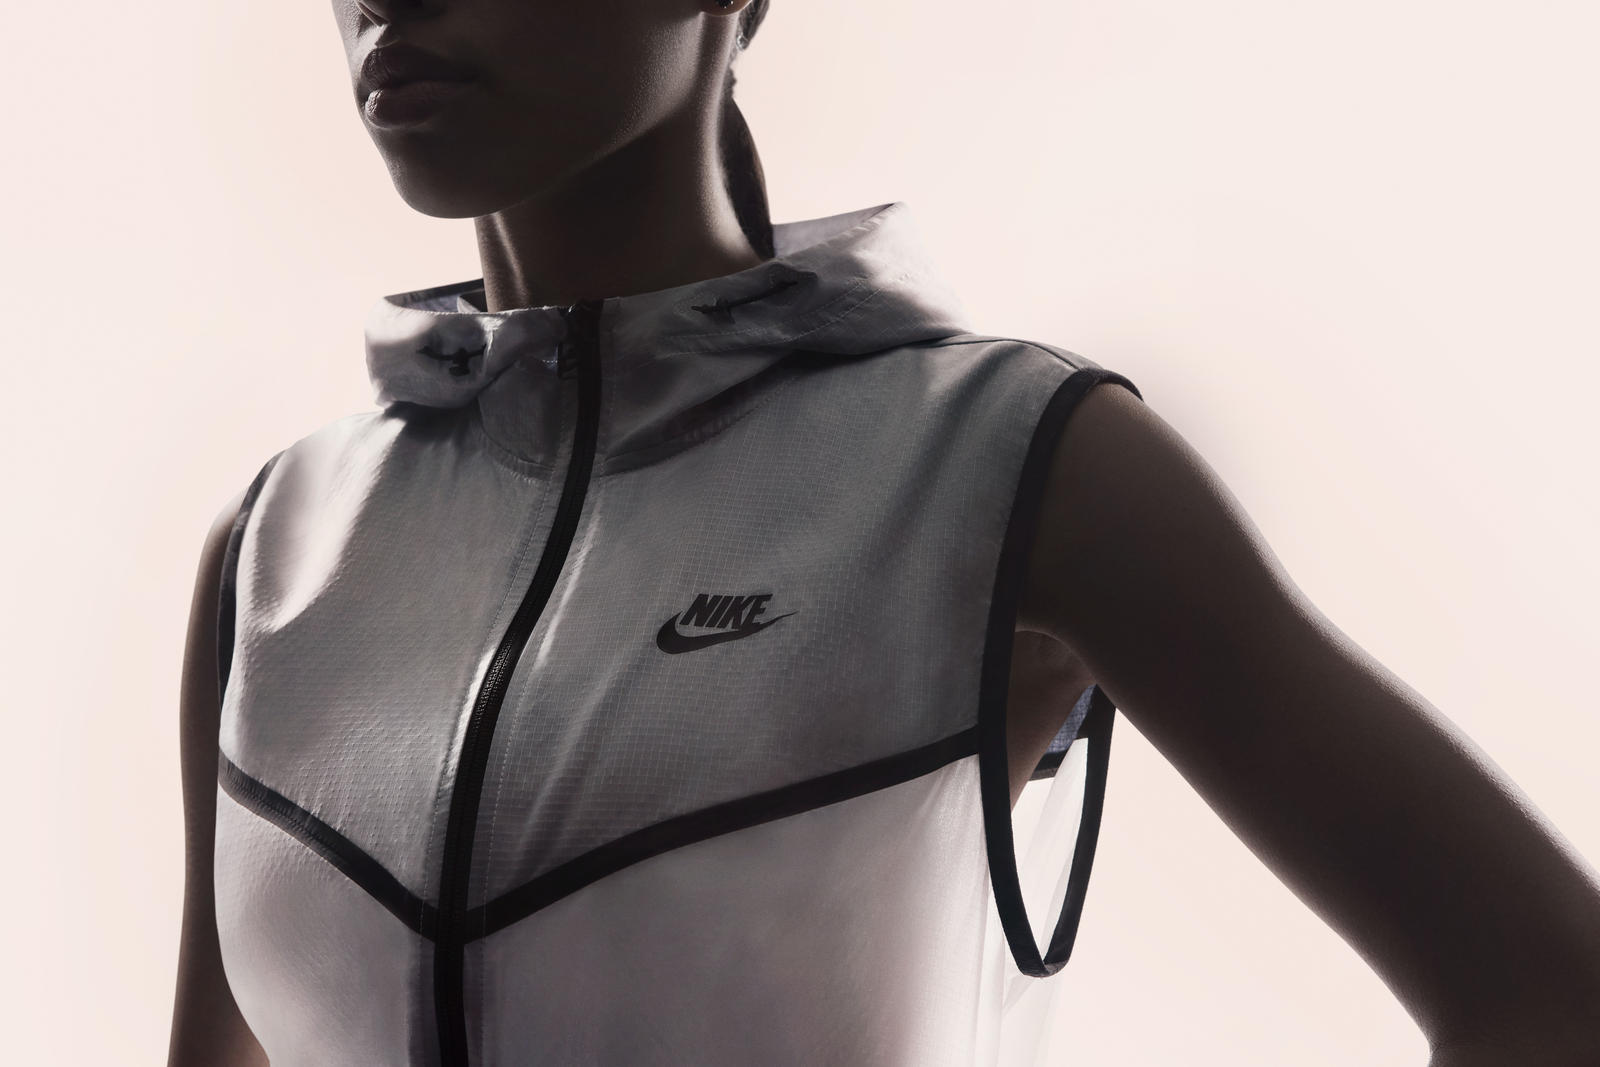
These unique features include breathable patches, special stitching and technical material. It’s important to capture these details to promote the garments’ benefits.
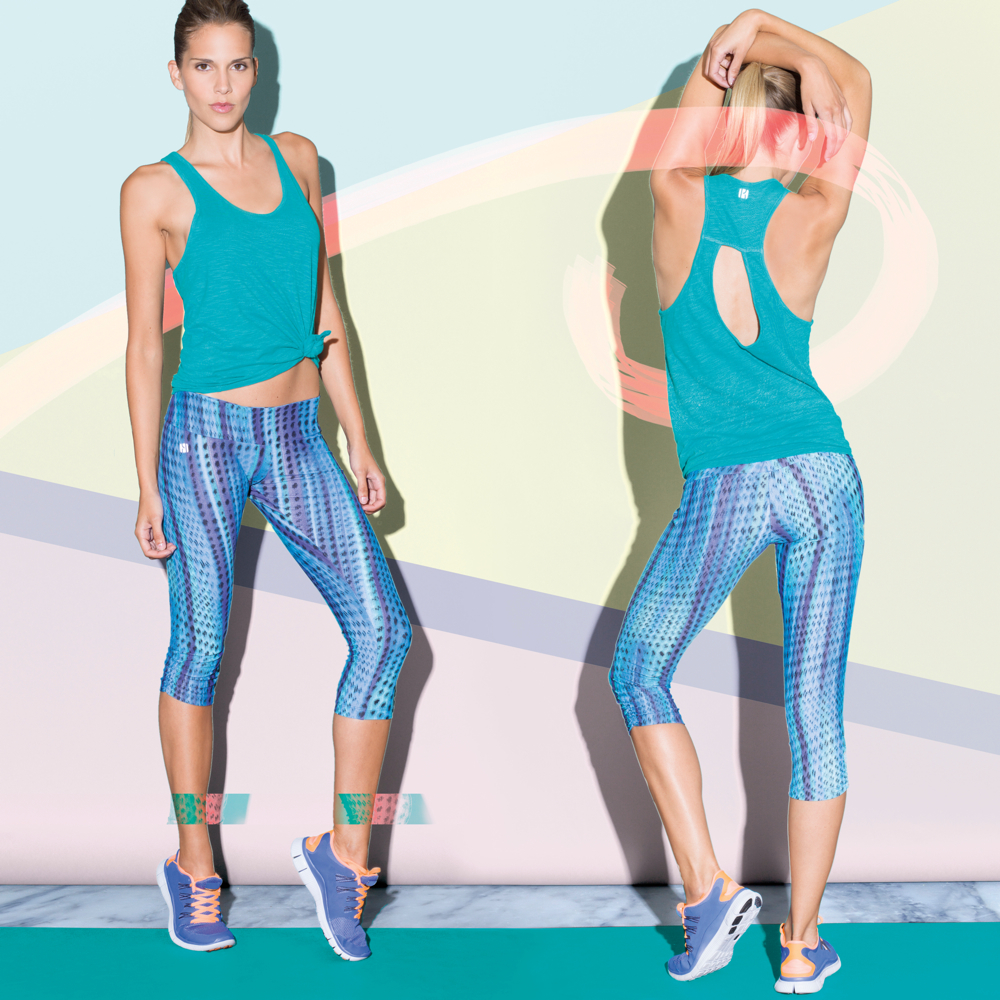
The colors are usually quite bright.
Depending on current trends, activewear tends to be loud and garish. Bright colors can cause more issues when it comes to lighting management and also in post production when tweaking saturation and color settings.
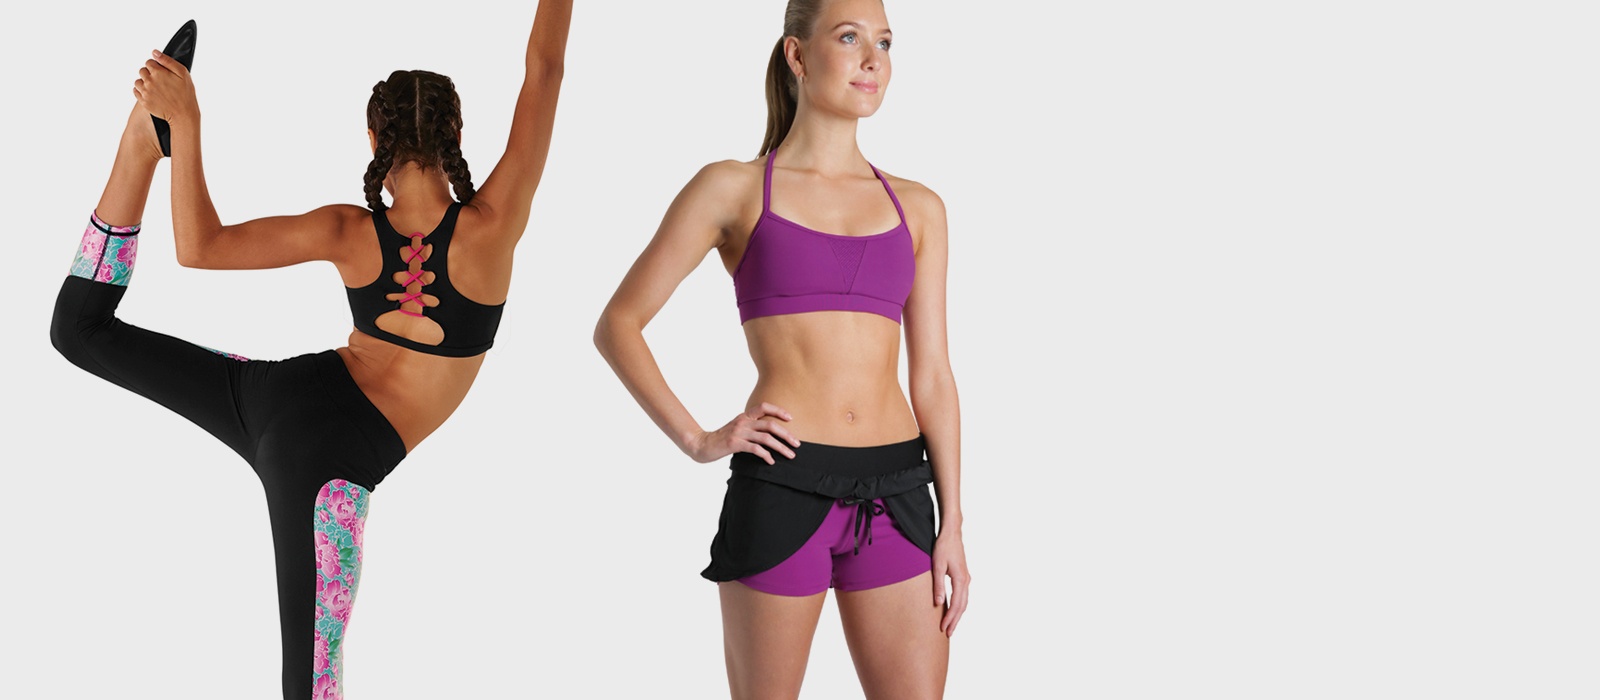
Source: thestylishmd
It is tight-fitting,
It’s necessary to use mannequins or real life models to capture tight-fitting clothing’s true shape. But shooting on real life models is costly, while mannequins bring challenges of their own. You can find more general tips on shooting clothing here.
It is best shot in-context.
When shooting activewear, do not underestimate the importance of shooting it in context, i.e. shooting lifestyle images of athletes and fit, healthy people exercising. When selling activewear, you’re selling a lifestyle and aspiration. Make sure this is communicated in your photos!
Sure, these are some serious challenges to shooting activewear, but don’t let that put you off. It’s also very achievable! With the help of Pixc’s photo editing services and our tips below, you’ll be shooting professional-looking activewear images and increasing sales in no time.
Preparing for an activewear photo shoot
1. Prepare and plan your shoot list
Make a list of each garment you plan to photograph and its key features. This way, when you come to shoot each one, you won’t miss any details such as zippers on leggings or breathable material.
2. Prepare your activewear garments
Make sure each item of clothing is in perfect condition. Examine each item from top to bottom, checking for uneven hems, stains, labels and creases. In an ideal world, steam clean and iron each piece to ensure perfection
3. Invest in a macro lens or ensure your camera has macro capabilities
Activewear design can be very technical, and shooting such detail is likely to require some close-up shots. If you don’t have the right lens or camera, your close-ups will at best lack detail, at worst be out of focus. In addition, make sure you have all other required equipment on hand.
Source: Nike
4. Get the light right
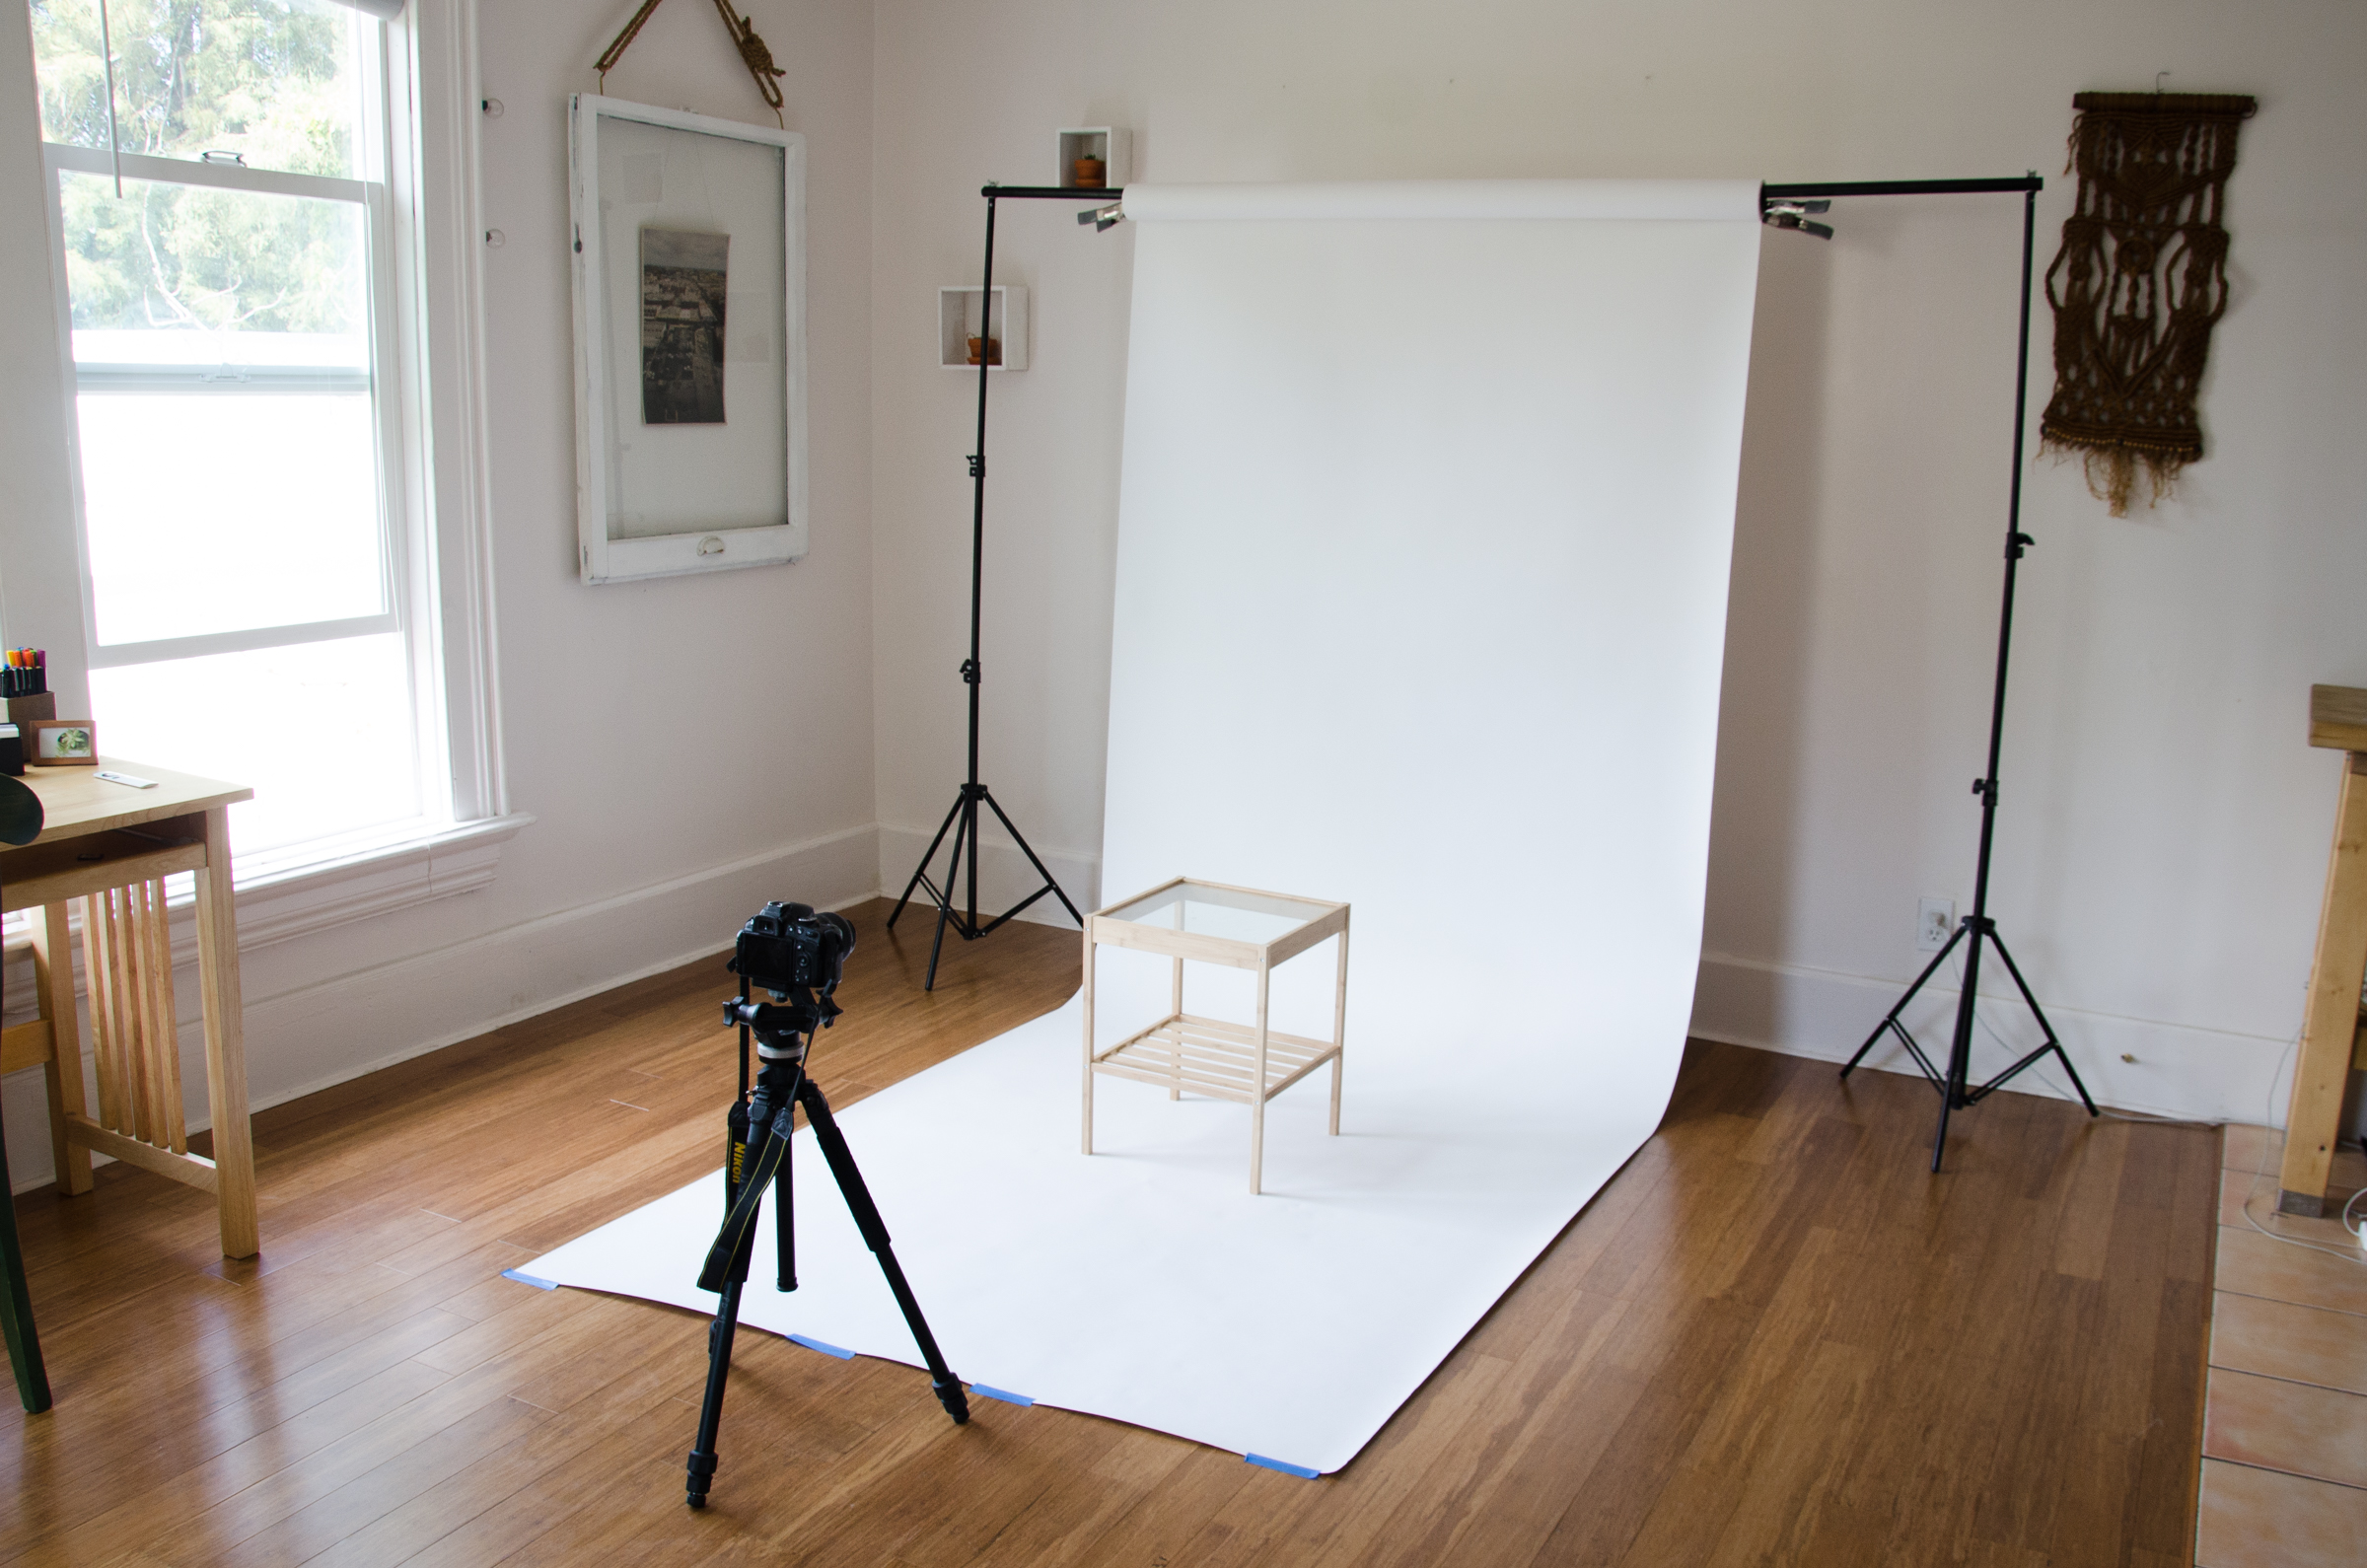
You’ve probably heard this a million times, but photography is all about light. To produce the best product images, you need consistent, high-quality diffused light. You can create beautiful, diffused light cheaply and easily in a DIY home studio – no need for professional lighting!
5. Get the backdrop right
Seamless rolls are the best option for your backdrop because they prevent creases and shadows. However, if you don’t have access to them, just a white wall will do. The Pixc team can easily remove backgrounds as part of their service.
Source: DIY Projects
6. Decide on image combinations
Plan which angles you are going to shoot each item from and whether you are going to use mannequins or have the clothing laid out. These style decisions should be consistent across all of the items.
Photographing activewear
1. Shoot from different angles
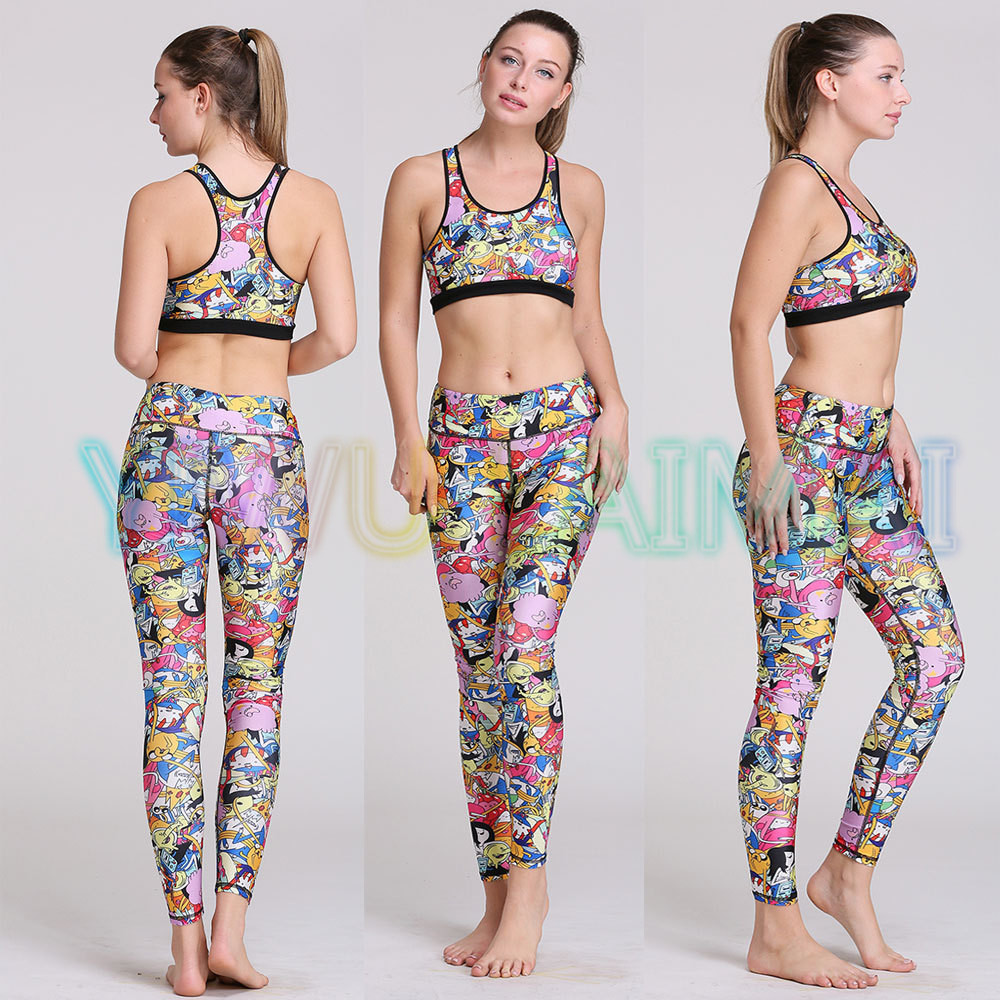
As mentioned above, you’ll need to decide on the different image combinations for each item. Customers won’t just want to see the t-shirt from face on; they’ll want to know what the back looks like, how it will look with their sports bra and whether the tracksuit top they’re buying has a hood or not.
Here are a few ideas on how you could choose to shoot each item:
- Front on
- From the back
- 45 degree to the right and left
- Flat from above
- Detail shot
- Lifestyle / model shot
Source: Sandi Pointe
2. Beware of reflections when shooting shiny or reflective material
Activewear tends to incorporate shiny materials, such as lycra, and reflective materials for night exercise. If using a flash, avoid shooting reflective material front-on as the light will shine right back at you causing a flare that is difficult, if not impossible to edit out.
Source: AtCrux
Pro Tip: The best way to avoid direct light when shooting with a flash gun is to point the flash gun towards the ceiling. That way, your garments will benefit from the diffused light bouncing off the ceiling. If you use this technique, make sure you use it consistently with all of the items!
3. Watch out for bright colors
Activewear trends can include lots of bright colors along with their shiny materials. There are two things you can do to make sure you capture these correctly:
First up, ensure you’re shooting on the right exposure. If your shots are under- or overexposed, you risk affecting the color. If you’re unsure, try bracketing.
Second, make sure you’re shooting on the right white balance for your setting. Don’t rely on automatic mode to get it right!
4. Shoot with movement in mind
Activewear is designed to promote movement during exercise. For this reason, getting the right angles is absolutely imperative. For example, if you’re shooting a pair of leggings, try shooting the mannequin or model in a running position to show the elasticity and ease of movement.
Pro Tip: Shooting movement can be tricky. In general, product photography should be crisp and clear. Shoot on a fast shutter speed to freeze motion and avoid blur.

Source: Taste The Style
5. Shoot in context
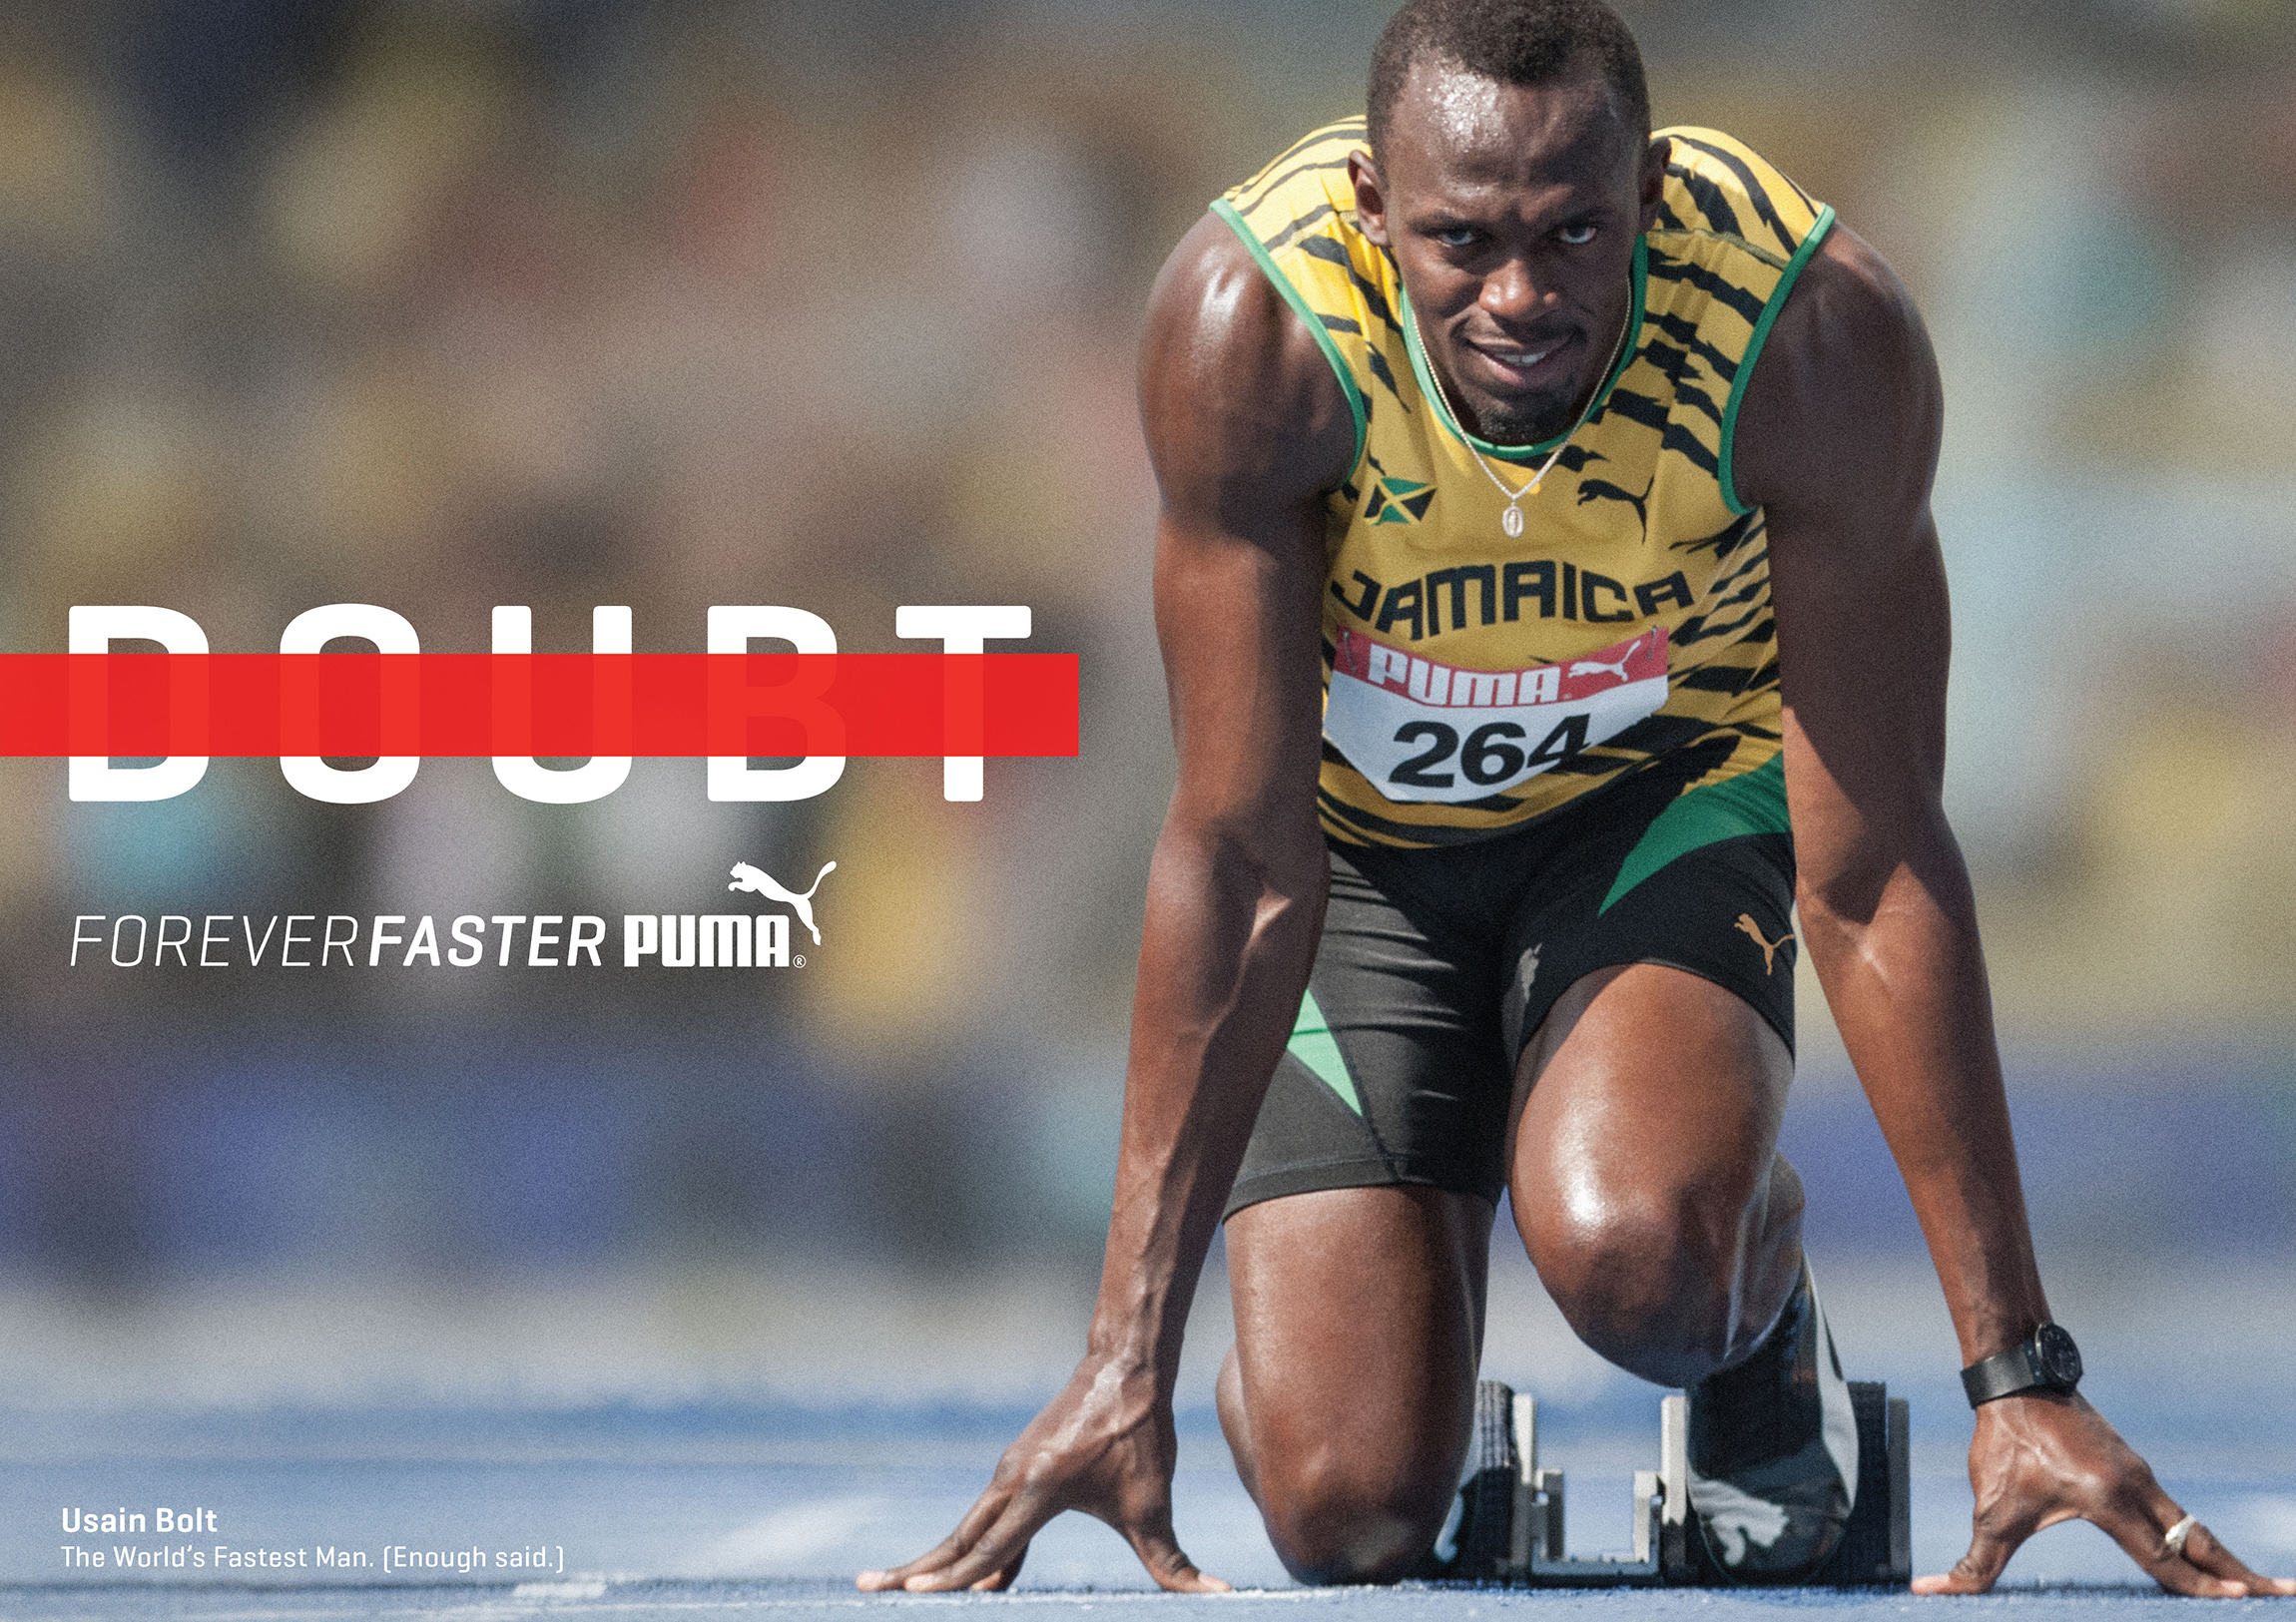
We’ve covered the importance of context within eCommerce photography previously, and activewear is no different. Photographing the gear in action & lifestyle shots using models is a great way to show off each item’s appropriate design.
For example, if you are shooting running leggings, an action shot of an athlete will not only communicate its recommended use to the user but also add an element of aspiration to the images. Think: “Pop on a pair of these Puma leggings, and you could run like Usain Bolt!”
Source: The Inspiration Room
6. Get detail shots
Again, include detail shots in your shoot list. Photograph any key features such as breathable material, reflective stripes (see above!) or special meshing. Detail shots should ideally be shot with a macro lens.
Don’t let the task of photographing activewear overwhelm you! You can shoot great product photography of activewear just like you can any other product as long as you know which tricks to incorporate and which areas to avoid.

