
You just started your online store and now realize you need photos to showcase your products. So you get yourself a camera, but then you hit a snag. The images you’re taking don’t seem to match your competitors’. Or worse, they still don’t look professional enough.
We’ve shared a lot of product photography tips over the years. But, we still see some mistakes many ecommerce business owners make. So even if you think you’re doing everything right, you might miss a few details that could impact how your product images look like.
Check out and follow our dos and don’ts to elevate your product images and translate them into sales for your online store.
What You First Need to Know
If you’re new to product photography, the first thing you need to learn is how to set up your camera. That means understanding photography basics, terms, and camera features to help you make the most out of your equipment.
Some of the terms you need to learn include aperture, focal length, shutter speed, and ISO.
Aperture
This can be easily described as the opening in a lens that allows light into the camera sensor. This is usually depicted by the values f/1.2 to f/32, depending on your lens.
Focal Length
This is the angle of view that your lens offers. Mainly, it defines how much of a given scene or subject your shot will cover. A longer focal length achieves a tighter shot, while a shorter focal length achieves a wider shot with more captured in the picture.
Shutter Speed
This is how long it takes to expose the light to the camera sensor while taking a photo. Usually, this is depicted as a fraction, for instance, 1/500, to show that light will be exposed at 1/500 of a second.
Usually, the faster the shutter speed, the darker the image. So, for instance, an image shot at 1/1000 would be darker than one shot at 1/250, with all other settings constant.
ISO
This is the camera’s sensitivity to light. A higher ISO value means that the camera is more sensitive to light, resulting in a brighter image.
This Youtube video is a good reference to use to understand these terms better:
With those terms out of the way, let us look at some of the product photography tips that can help you turn into an expert product photographer for your online business.
Have everything in focus
When you’re selling online, it’s crucial to show your customers exactly what they’re buying. Regardless of what you’re selling, your product photos should represent your products as if your buyers are looking at it in real life.
The key is to have everything in focus. This means shooting at a higher aperture.
We recommend at least an aperture of f/4.5 and not more than f/16 for product photos.
A shallow depth of field with that sweet bokeh may be tempting, but you’re trying to sell a product, so everything should be in focus.
On the other hand, apertures beyond f/16 tend to cause diffraction where light bounces off the aperture blades’ edge, resulting in a not-so-sharp image.
Dos
- Always shoot at least f/4.5 for tiny products.
- If your products are not that small, play with the aperture up to f/16 – as long as you have good enough lighting.
Don’ts
- Do not go below f/4.5.
- Do not go over f/16.

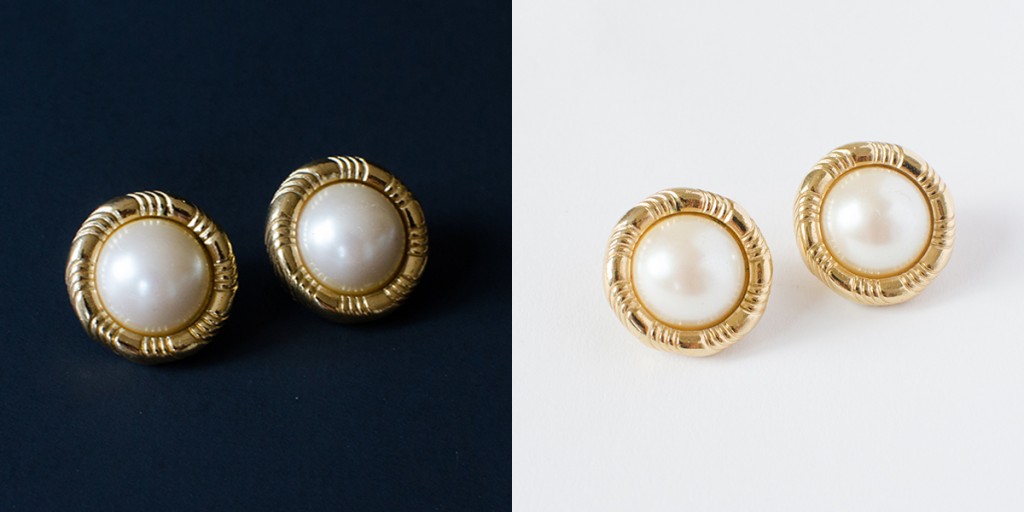
Have a neutral background
When browsing through a product page, you will get higher engagement and sales if there are few distractions. This means using neutral backgrounds that add consistency to your images while also directing the visitors’ attention to the product itself.
Having a neutral background also helps in post-production. It makes it easier to cut out the product and easily change backgrounds for different uses like social media, publishing or even creating promotional material.
Dos
- Use white, transparent, or any neutral background.
- Make sure your backdrop is clean before doing your shoot.
Don’ts
- Avoid textured backgrounds.
- Avoid dark-colored backgrounds.
Use proper lighting
When you use good lighting when taking photos, you will get product photos that look exactly how they look in real life.
With proper lighting, you can also use a higher aperture value. This means getting your product more in focus. Lesser work for you in post-production.
Dos
- If you can, use natural lighting.
- If you’re using lighting equipment, use at least two lights and place them on both sides of the product.
Don’ts
- Avoid using the camera’s direct flash
- Do not spend hundreds of dollars on lighting equipment if you don’t have the funds.
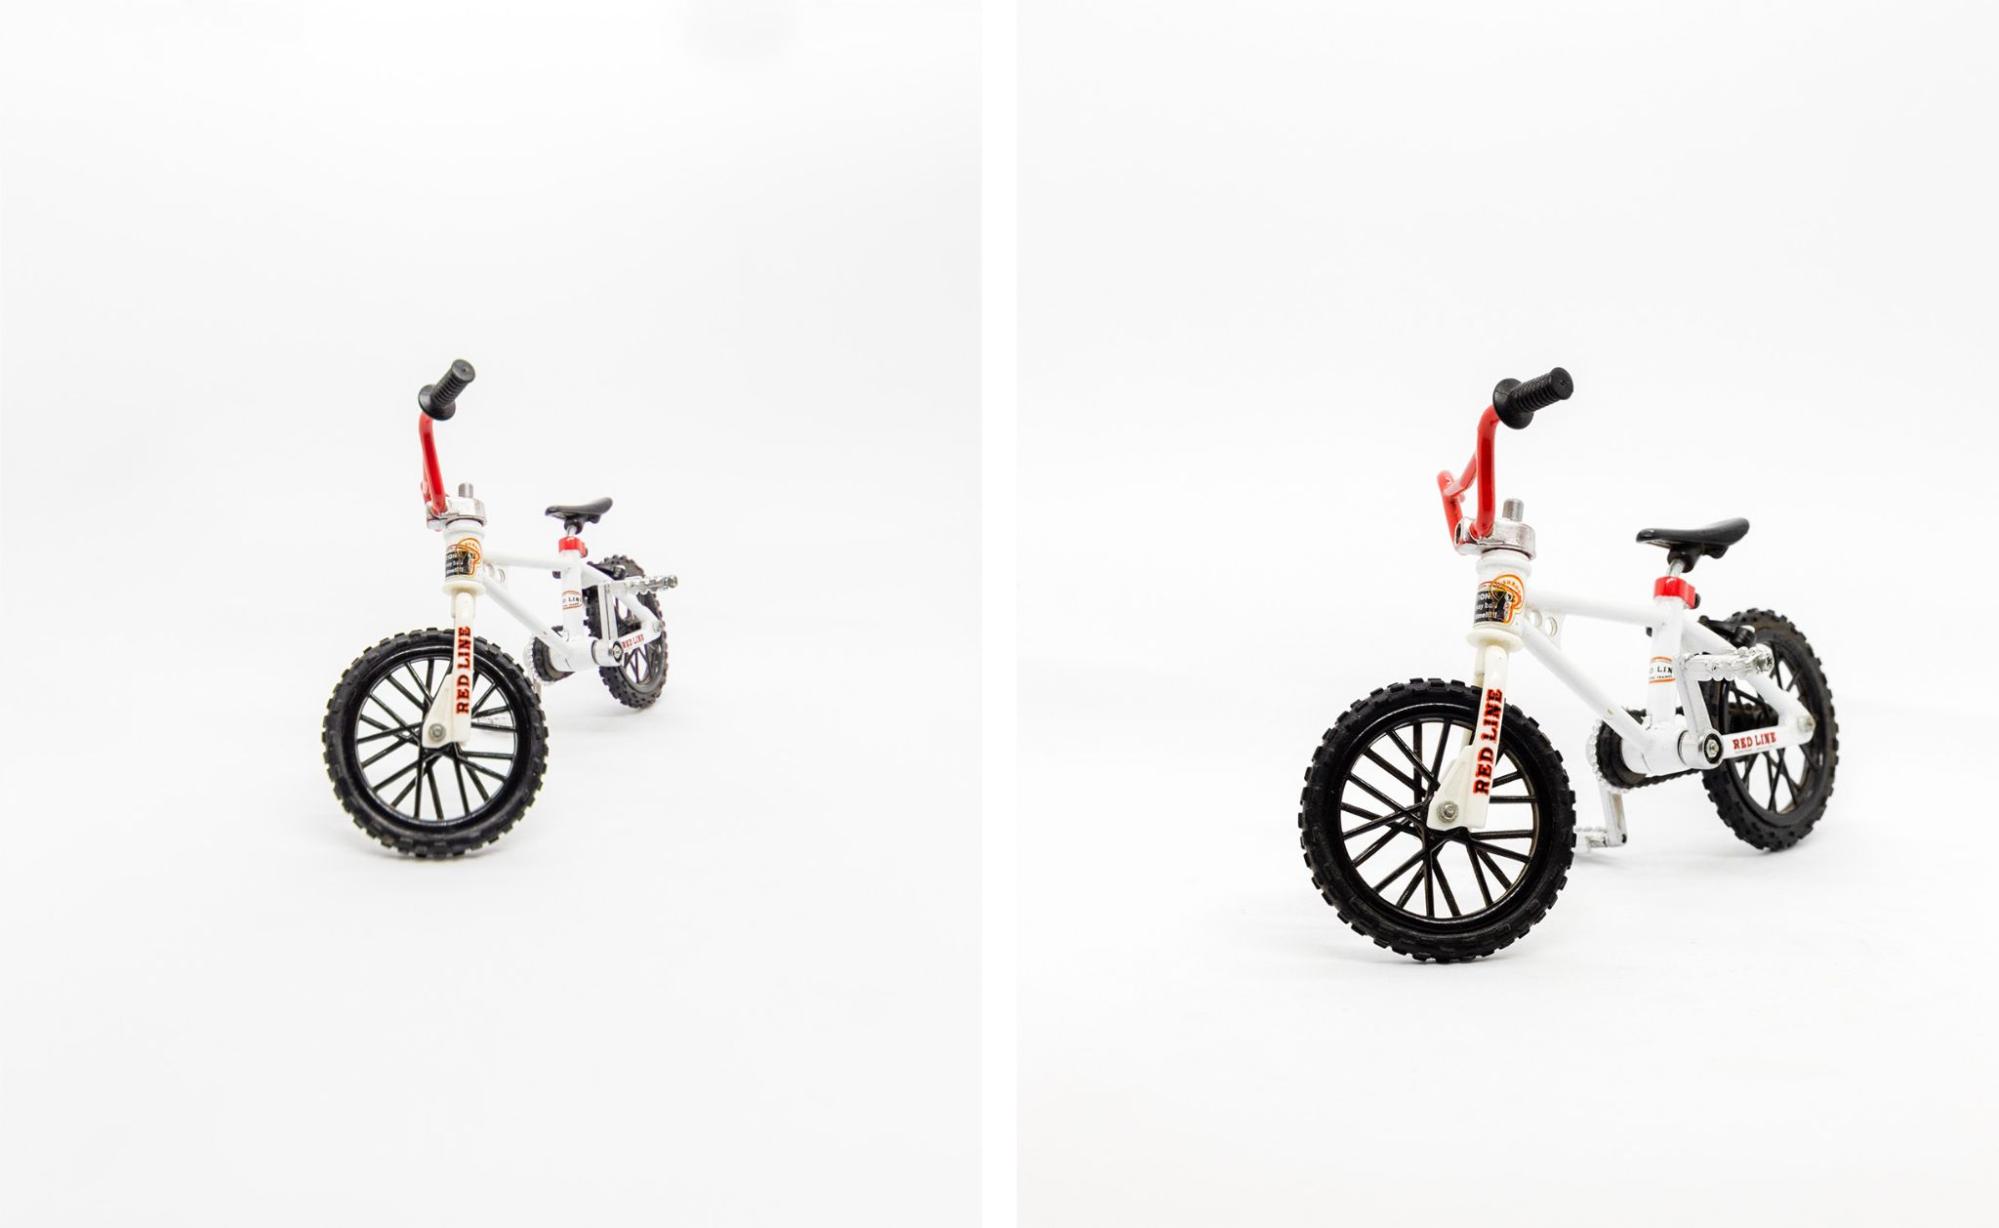
Make use of a tripod
Using a tripod in product photography gives you three benefits. First, it minimizes camera shakes, giving you sharper images. Tripods also help you get a more consistent shot, while allowing you to take long exposures when the lighting is not ideal.
Dos
- Always prop your camera at 45° to the product you’re shooting.
- Use your camera’s built-in timer if your lighting is not perfect
- Get an external trigger to release the shutter remotely
Don’ts
- If you’re shooting multiple angles, do not move the camera. Instead, move the product. This allows you to keep the lighting and angle consistent.
Use a normal focal length
The use of focal length relates to keeping accurate proportions of your products. With product photography, you don’t need a wide-angle lens or a telephoto lens.
The ideal focal length should be around 50mm on a full-frame camera. However, you can get away with anywhere between 40 and 58mm.
The only exception to this rule is when shooting small products such as jewelry. For this, you need to go with a macro lens. These lenses usually vary in focal length, from 50mm to 180mm.
Using a macro lens allows you to focus up close to the product. This gives you a sharper image, which is vital to jewelry products.
Dos
- If possible, go with a prime lens over a zoom lens to avoid lens diffraction.
- Use macro lens if you can to get those fine details of the product you’re taking.
Don’ts
- Do not use focal length smaller than 50mm to avoid image distortion
Bonus Product Photography Tips
- Once you’re done with your shoot, take a moment to review your raw files before editing them for post-production. Check the fine details of your product photos.
- Reshoot if needed. This will save you time with post-production.
- Keep the editing or post-production to a minimum. A few touch-ups should be okay, but just make sure that the colors on the product are accurate.
- Minimize reflections and light leaks in your photos. This can easily be solved when rigging out your lighting.
You don’t have to be an expert to get ideal product photos. In fact, you don’t even need the most sophisticated or expensive equipment to achieve the best results. All you need is to follow these product photography tips and implement them in your workflow.
It will make a substantial difference when you shoot your products. in your product photography. You’ll soon find that it will translate into more engagement and sales to your business.