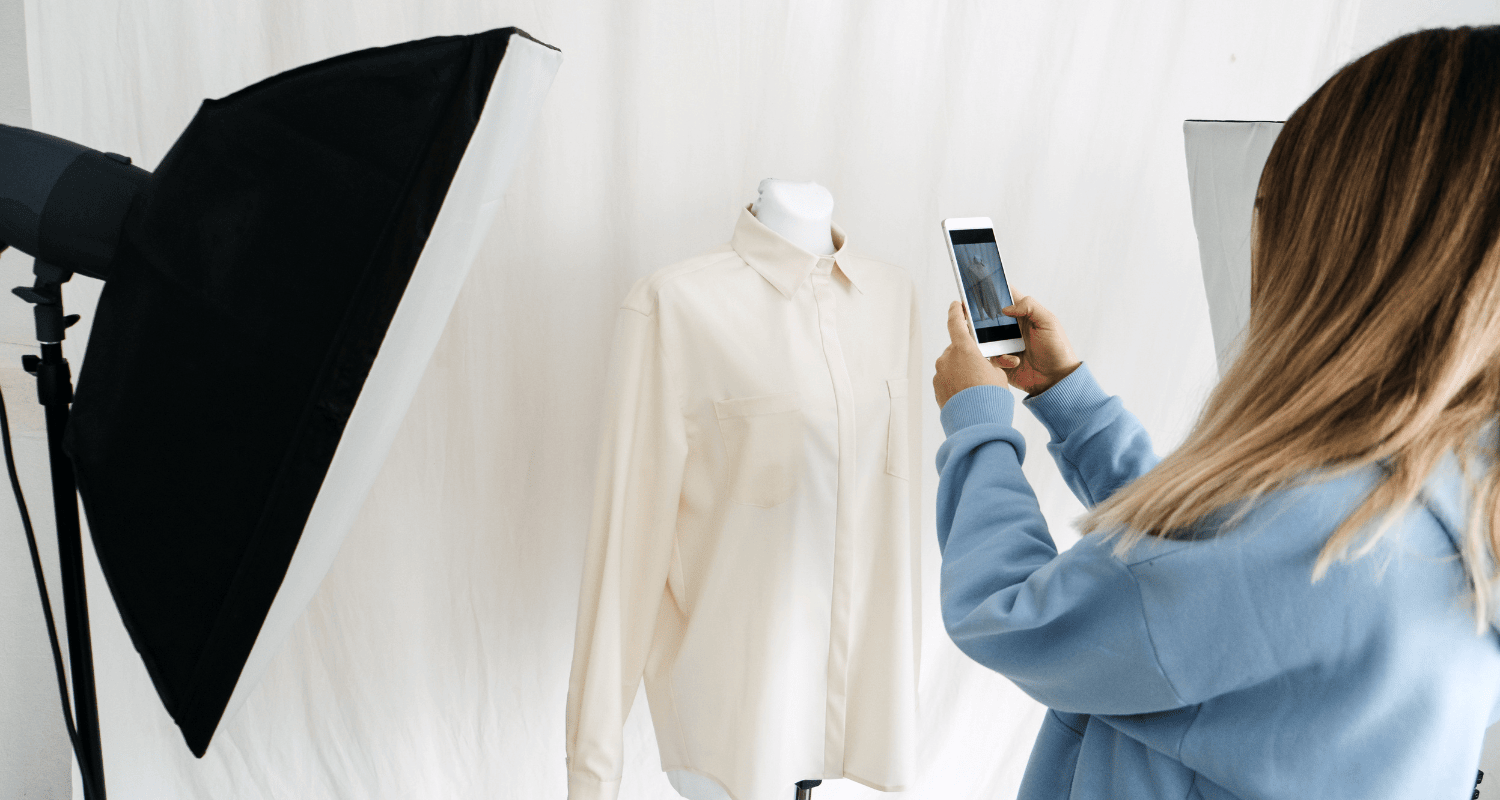
When it comes to selling apparel online, your images are the most important part of your product page. No matter how well you describe your product, nothing will convert a shopper to a customer better than good apparel photography.
For this reason, it’s important to get the photo right. I can’t tell you how many times I’ve gone through an entire shoot only to discover that one detail was out of place: a button, a thread, or a wrinkle I didn’t catch. Going back to reshoot is not only frustrating but is also a waste of time and money, so plan ahead!
In the following post, I’ve compiled a list of details that can be easily overlooked when shooting clothing. With a little study and a lot of practice, you’ll be able to train your eye for photographic success.
But before I get into the details, let’s quickly go for a few things you might need apparel photography.
- Mannequin or model
- Tripod
- Camera
- Lighting equipment
- Backdrop
- Pins, tape
- Appropriate camera settings
We have a whole other blog that gives step-by-step advice on how to photograph clothing and why each thing above is necessary. Be sure to give that a look.
Now let’s get into showing off the details.
Buttons
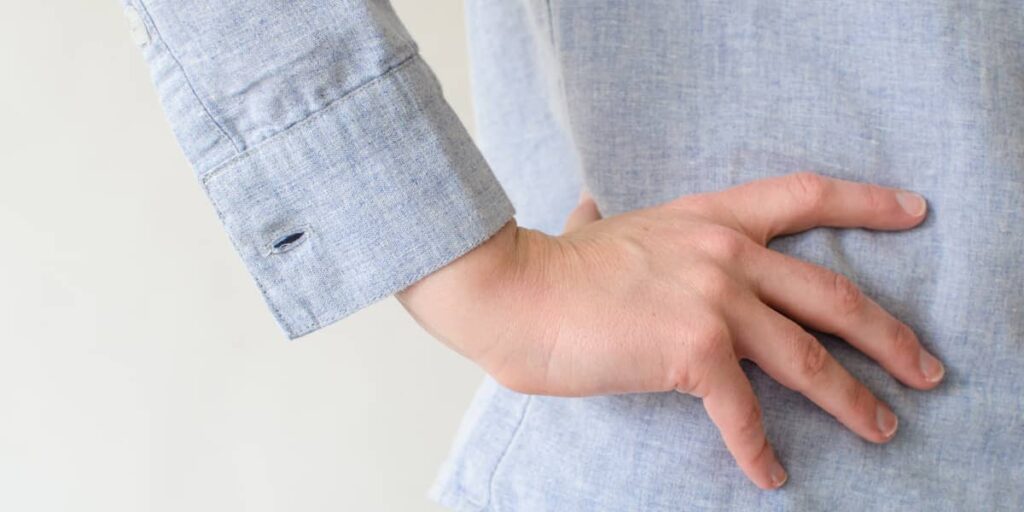
First and foremost, check to see that all of your buttons are accounted for and buttoned up. This can be trickier than it sounds so it’s always good to have someone helping you double-check these details as you shoot.
Ties
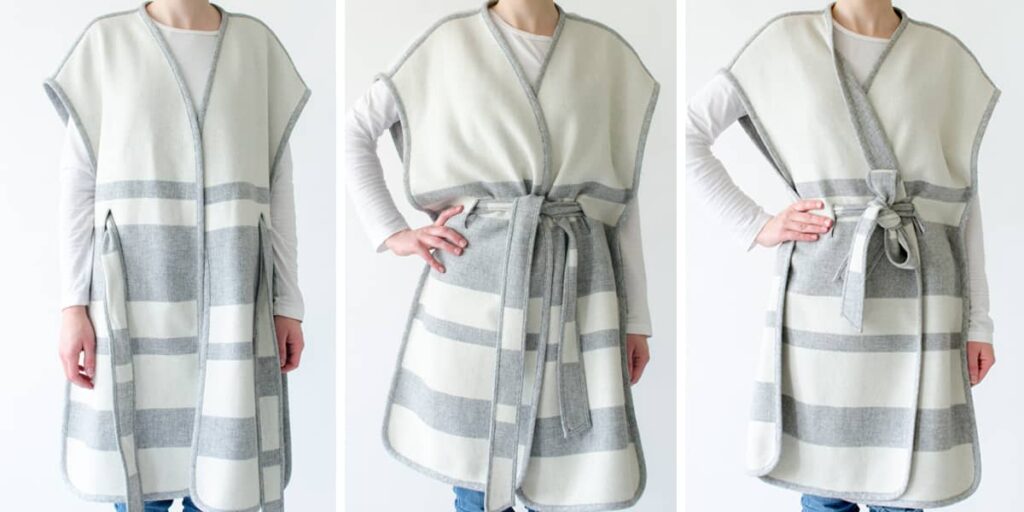
If your article has tassels or ties, make sure they’re styled neatly and consistently. It’s a good idea to practice beforehand to avoid possible frustration and wasted time. There are many great YouTube videos on tying the perfect knot, so take some time to plan ahead, and your shoot will go much smoother!
Collars
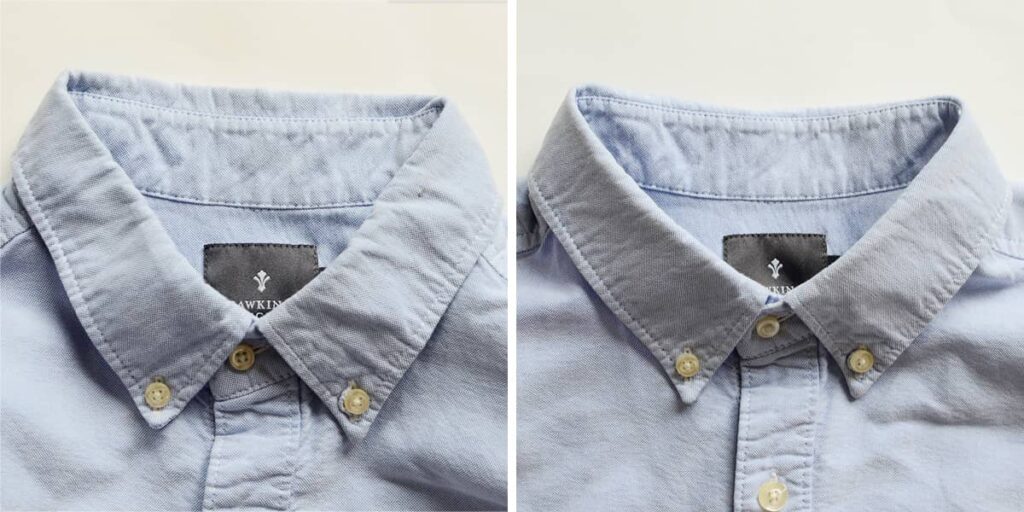
The collar should be ironed before ironing the rest of your article. The lines of a collar will draw your customer to look at the product longer, so you want to make sure they’re straight, flat, and enhance the quality of your image.
A wrinkled collar will make your item look sloppy and unrefined; spend extra time making sure it’s perfect before shooting.
Wrinkles
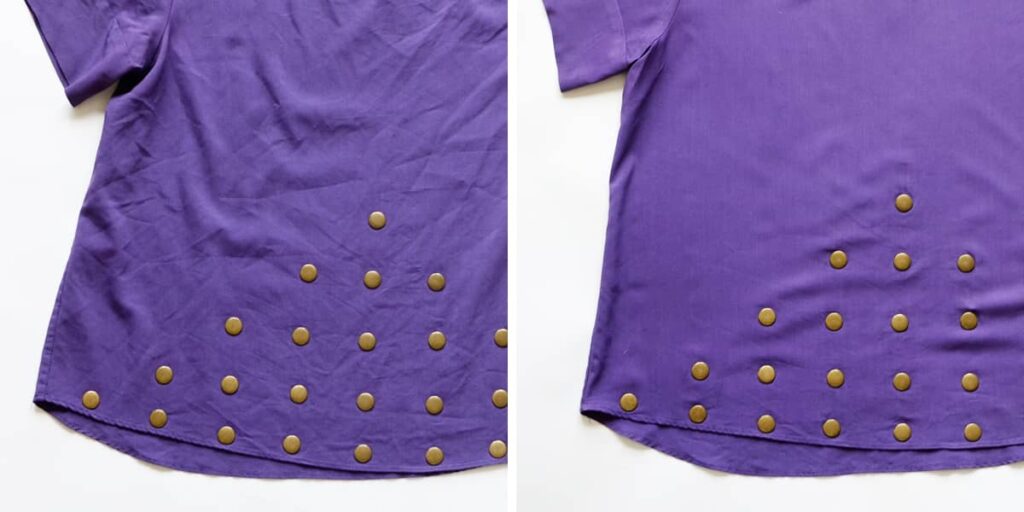
Iron out as many wrinkles in your product as possible. With some items, such as striped articles or articles with unique stitching, getting all the wrinkles out may prove to be difficult.
In such cases, think creatively and consider all the options you have when photographing your clothes. Sometimes using a different fold or new angle will help hide imperfections and enhance the quality of your photo.
Sleeves
Make sure your sleeves are not only folded neatly but folded consistently in each and every photograph. Additionally, make sure each sleeve looks symmetrical, or else your customer may question the fit of your product.
Stains
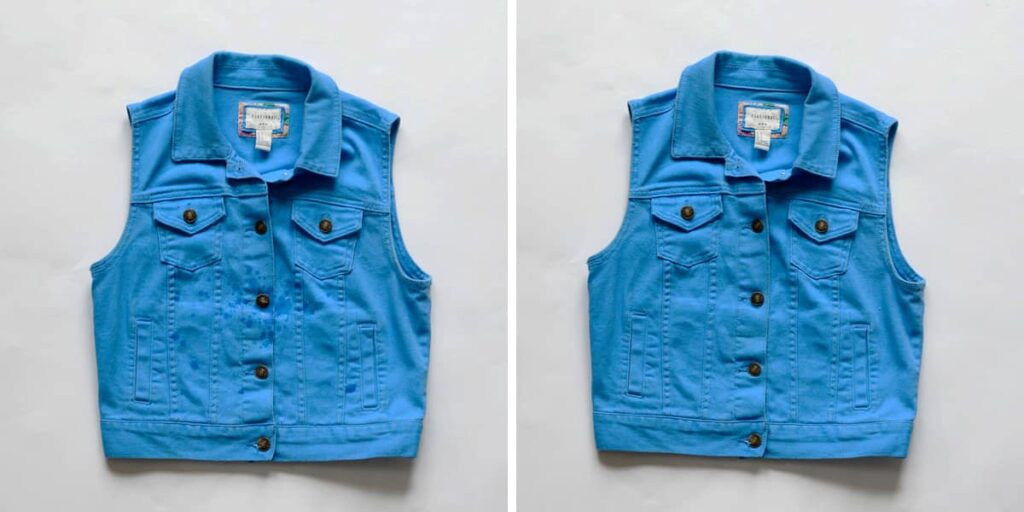
Stains are an obvious no-no but are all too easy to come across. Apparel photoshoots can be chaotic with lots of outfits and many people involved. Ideally, you’ll want to keep each article in a protective bag and hang it on a clothes rack or hook to prevent any accidents. Trust me, coffee is a lot more useful in a cup than in a shirt!
Pins
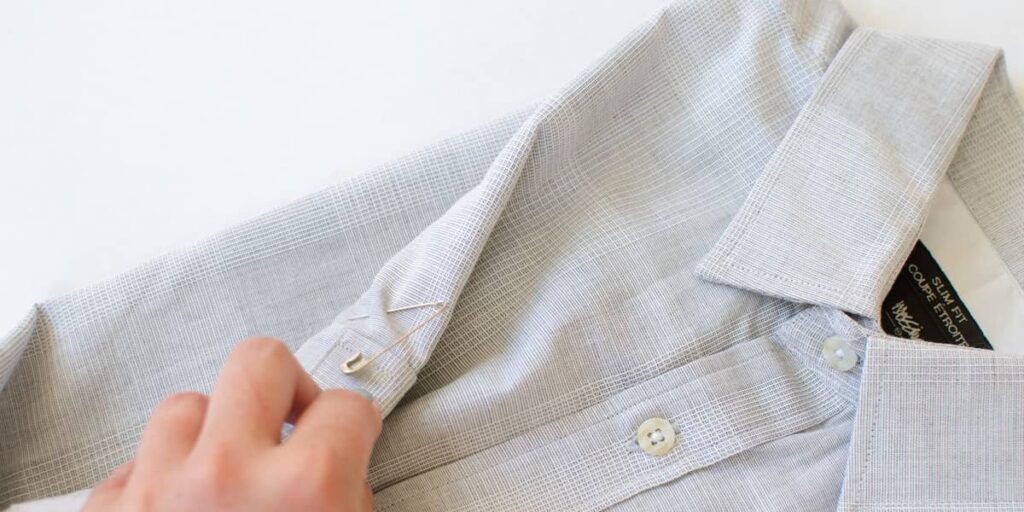
Photographers and designers often use clothespins or safety pins to ensure an article is styled just right for the shoot. When you’re behind the camera, keep the locations of your pins in mind and try to use angles that avoid exposing them.
Sometimes minor details like a pin or two can be removed in the photo editing process, but it’s always better to avoid the problem altogether if you can.
Keep these tips in mind for your next apparel photoshoot!
As simple as this list is, you’re bound to forget something when you have one million other things on your mind. I recommend keeping a physical reminder of these details, whether it is on a screen or on paper, in front of you at an apparel photography shoot. This way as you’re going through each frame, you’ll be repeating the steps each time and will be less likely to forget.
Happy Shooting!

