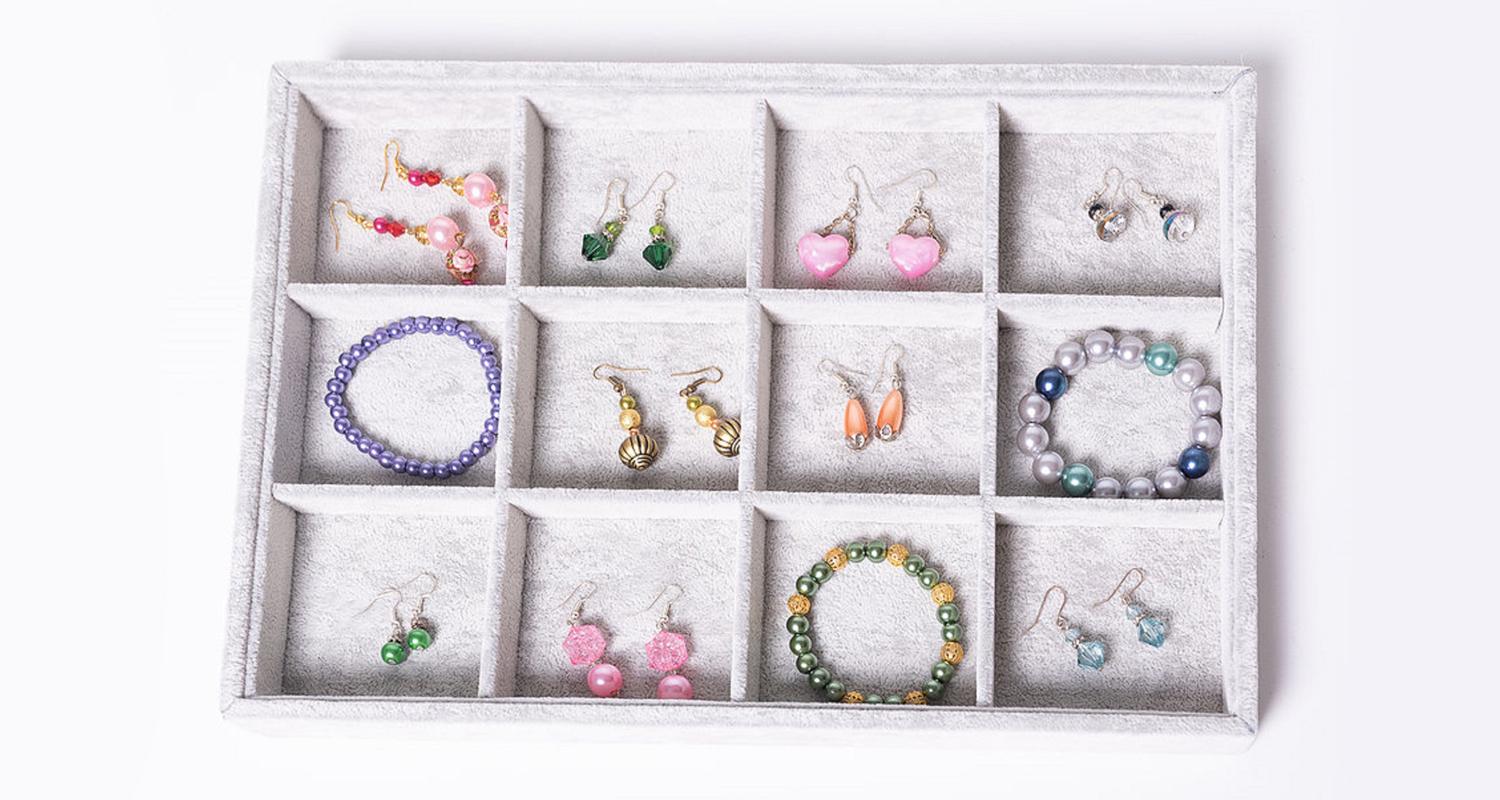
Have you ever wondered how to photograph jewelry?
It’s a more straightforward process than you first might have thought.
In this article, we will take you some common mistakes photographers and business owners make when setting up their imaging booth or studio to undertake the task of photographing jewelry.
Start by ensuring everything is clean
You should really be using white cotton gloves or a lint-free microfiber cloth to handle the jewelry at all times.
Fingerprints caused by oil from the skin can often be the cause of many hours of post-processing editing work. If you are photographing used jewelry, consider a high-quality jewelry cleaner to remove any build up dirt.
Don’t stop with clean jewelry, though. Ensure the camera’s lens and sensor (if you find yourself removing lenses on your camera) are clean.
A microfibre lens cloth will work well for lenses. On the other hand, a hand blower to remove dust particles found on the sensor should be more than sufficient for excellent images.
Use the correct camera equipment when photographing jewelry
Your essential photography equipment list should consist of a dedicated macro lens, flash studio lighting kit and a sturdy tripod.
The megapixel count on your camera doesn’t matter, but what matters is a macro lens. It is by far the most crucial part of your kit.
Without a macro lens, photos won’t appear to be close. It will also lack critical detail that will help sell a piece of jewelry.
When looking to purchase your first macro lens, we recommend choosing a lens with a focal length of 60mm. This focal length assists in obtaining half life size magnification (0.5x); whereas more expensive macro lenses provide life-size magnification (described as 1:1).
Incorrect lighting
A studio flash lighting kit found in many marketplaces online generally includes all the accessories you will need.
Once you have the camera on a sturdy tripod and constructed lighting equipment, turn your attention to the flash trigger on your camera. This little gadget is what controls your lights.
The critical thing to understand here is the shutter speed setting on your camera.
All cameras have a flash sync speed which means the camera’s shutter opens the lights go off at the same time. Consult your cameras manual to find this setting.
Reflections
If you find reflections are starting to appear in your jewelry photos, professional photographers utilize a simple tool to counteract this annoying problem – ‘flags’.
Flags are cheap black foam core boards that can be moved next to the subject or camera lens to cut or modify light from reflecting into the lens.
Having a few of these flags around indeed comes in handy when photographing watches or other jewelry pieces that contain high reflective surfaces.

Digital Photography School
Incorrectly displayed products
Photographing jewelry products against a plain white background will always outsell any other combination.
To achieve this look, turn your attention to the studio table or lighting tent with a few DIY stands to hold the jewelry.
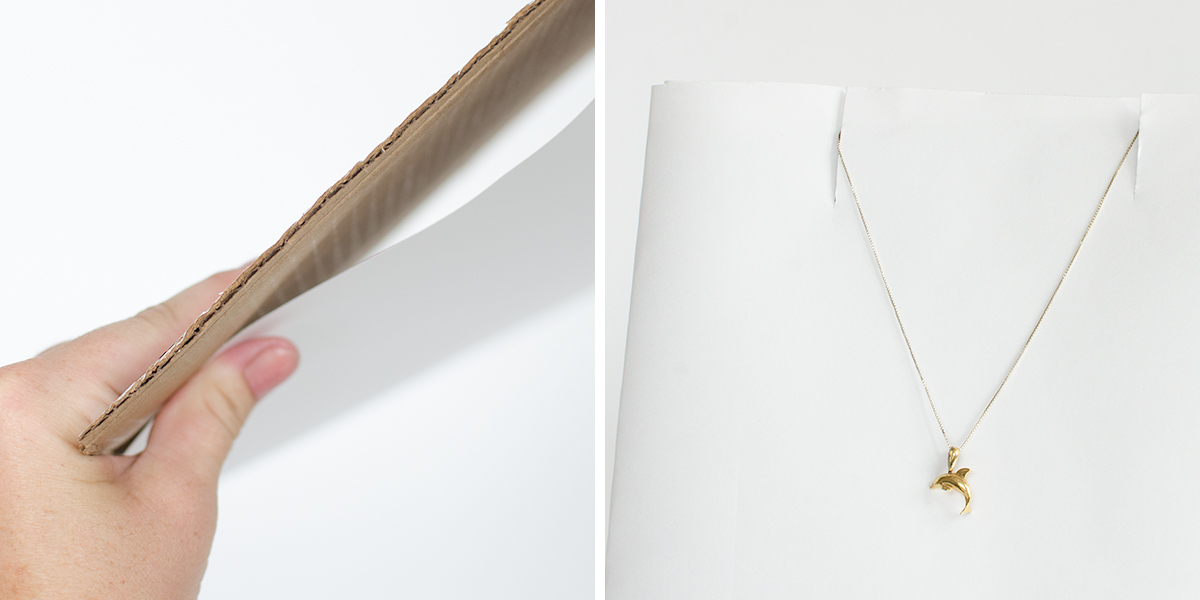
Homemade pendant stands work well for photographing jewelry. They allow a pendant to hang in front of a white backdrop making photography easy.
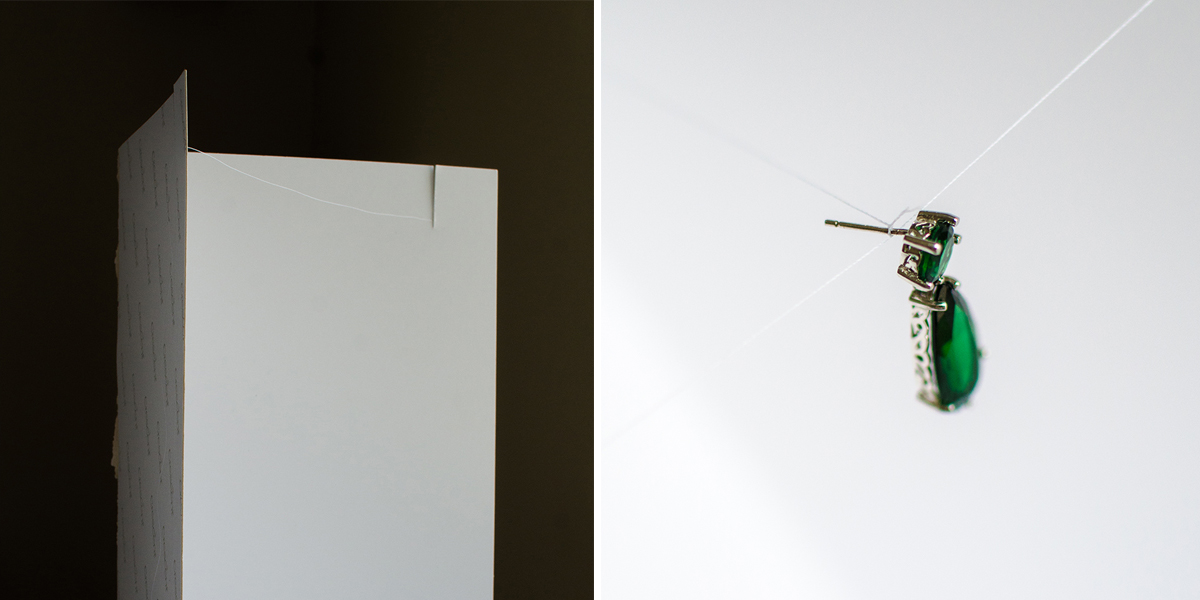
To make a stand all you need to do is apply some wood glue to the ends of two vertical pieces of pine. Then attach a horizontal section of wood to the tops of both vertical ends.
Allow the glue to dry and then hammer in a few nails on either end of the horizontal beam. When it comes time to photograph a pendant hang the pendant around the nails, and the piece should hang correctly in front of your white backdrop.
Other jewelry requires different displaying techniques.
Necklaces, for instance, are best positioned flat on a white backdrop and photographed from above. To replicate a perfect curve in the necklace chain, place a large bowl temporarily on the table and wrap the chain around the circumference of the container. Once the chain is taut remove the bowl, and the chain would have formed a perfect curve.
Using incorrect camera settings to photograph jewelry
Most people when they begin their photography journey use their cameras in an auto setting.
When photographing jewelry, this setting is not ideal. Instead turn your camera to a manual mode.
A manual mode enables you to take control of your camera’s settings.
A few of the advantages of manual mode include control over the camera’s flash, White Balance (colour temperature of the light), ISO (sensors sensitivity to light), aperture (the amount of subject in focus) and shutter speed (the exposure time).
As a useful guide, we would recommend using the following settings once you have the flash trigger connected to the top of your camera (the hot shoe).
- Set the White Balance to Flash (looks like a lightning bolt symbol).
- Set the ISO to the lowest setting, usually ISO 100.
- Change the aperture to either F11 or F16.
- Set the shutter speed to the flash sync (generally 1/180 or represented as an ‘X’ on the mode dial).
With these settings dialed in and the flash heads turned on you will be well on your way to capturing correct color and exposure. If underexposure is the result of these settings, we recommend you adjust the ISO setting higher or increase the output on the studio lights.
Don’t use the incorrect file format to capture images
A camera’s default recording file format out the box is .jpg. If you plan on wanting the best quality images and don’t mind some further editing, then changing this setting is a must.
Selecting RAW in the camera’s menu will do the trick.
With a RAW image format, you essentially capture all the raw data of the image file, without the camera applying any color or sharpening algorithms.
The reason why professional photographers use this mode is so they can edit the unprocessed data to obtain better color, dynamic range, saturation, tone and sharpness.
Something to note when using RAW is the larger file size.
Once images have been edited using a RAW file converter (like Adobe Lightroom), then they can be exported as .jpgs for ease of distribution.
Avoid off-white by selecting the white point level when post-processing
In your editing workflow, we recommend selecting the white point in each photograph.
To do this within Adobe Photoshop, open the photo and then press ‘Command + L’ or go to ‘Image > Adjustments > Levels’ in the file menu.
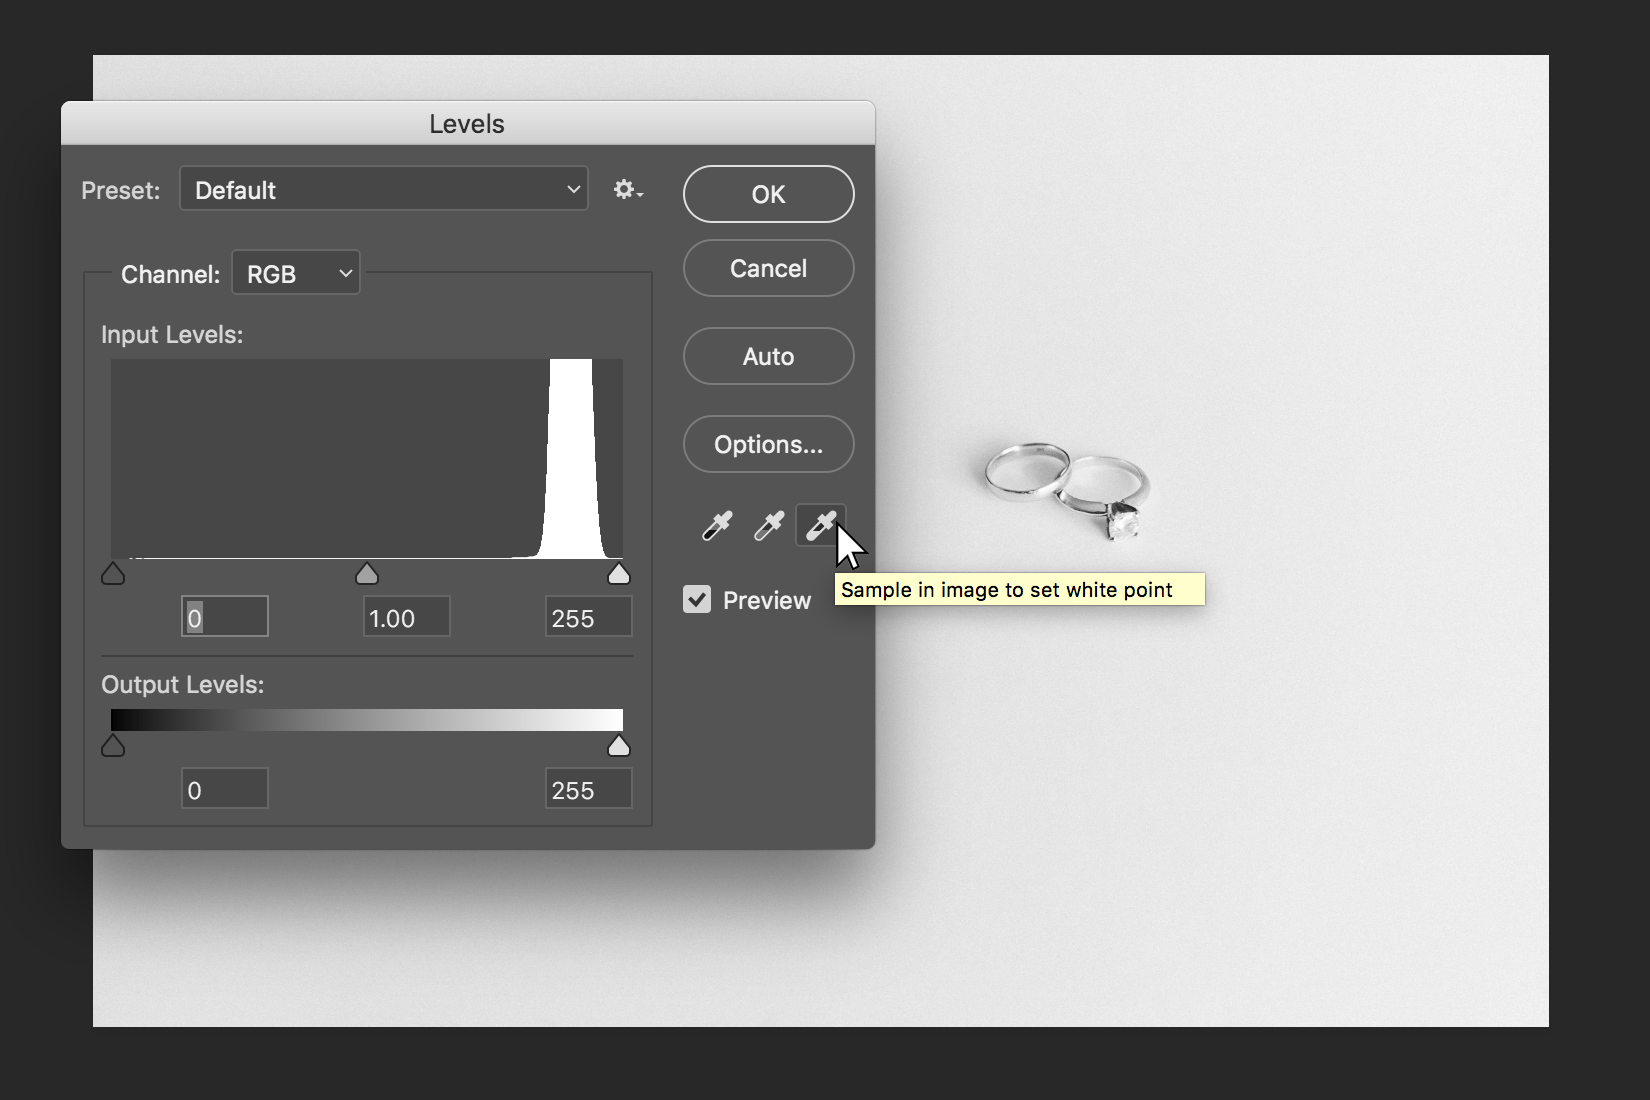
Then proceed to click on the white area of the image before pressing ‘OK’.
The result will help portray consistency across all your photographs by turning your off-white background to a true white.
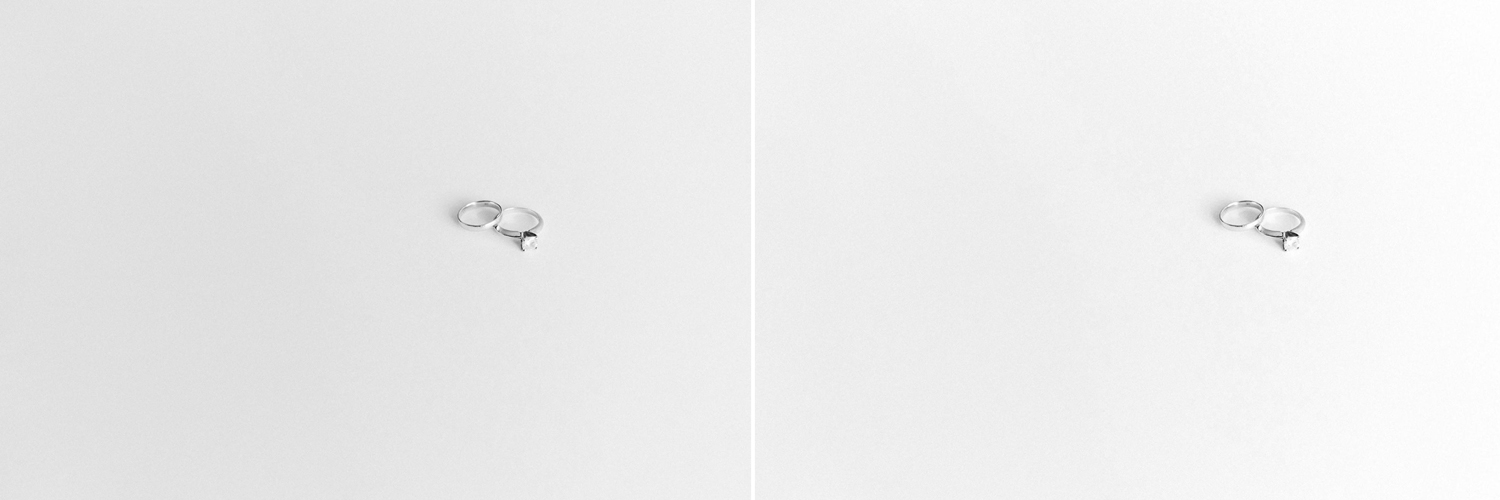
The only downside to this technique is it can be laborious to process many photos at a time, which is why we recommend using Pixc as an overall solution for managing and automating your image editing workflow.

