You might think you need an elaborate set up of professional lighting to take great product photos. But don’t worry! You already have access to one of the best light sources out there: the sun.
Take a look at these photos below. They’re pretty professional-looking, don’t you think?

Believe it or not, we didn’t take them in a studio with multiple flashes and strobes, but near a window on a nice day. After taking the photos, we simply removed the background to make them look even better. Embrace the sun as your natural lighting for product photos!
Natural lighting is amazing — here’s why
Using natural light means you can essentially shoot anywhere presuming there’s sunlight. You don’t need to spend money on equipment or waste your time and energy setting up a light source. This makes natural light the perfect light source for all those busy eCommerce store owners out there.
Using an artificial light source can affect your product’s colour, whereas using natural lighting for product photos preserves the natural colour of the product. This means you won’t need to modify the colour during post-processing, which is great if you’re not super tech-savvy.
Natural lighting complements homeware products really well; there’s a certain homely feel about natural lighting that is really difficult to recreate with artificial light sources, and you’re able to transport your viewer into a home (which is complete with only your product in it — wink wink nudge nudge) rather than into a studio.
The keys to using natural lighting
The key is to use the sunlight as an indirect light source so you brighten the whole photo as opposed to shining a direct light on the product. For the best possible photo, you should photograph your product near a window or in a shady outdoor area.

Of course, using natural lighting for product photos can either be effective or disastrous depending on how it’s done. Here are my tips for using natural lighting as a light source.
DOs:
-
DO take your photo at the brightest time of day (usually between late morning and early afternoon), because at these hours, sunlight is at its brightest and gives sufficient lighting near windows or in the shade.
-
DO take note of where your shadows fall, as some shadows may hide some details of your product. Using a window with grills or blinds might result in unwanted shadows.
-
DO take your product images at roughly the same time of day for consistent photos. The amount of light and even the colour of the lighting changes depending on the time of day. In general, morning light is bright and has less colour, whereas afternoon/evening light often has a warm undertone and brings out greater contrast in your images. You can always neutralise the image and make it cooler in post-production if want a cool, dark image.
-
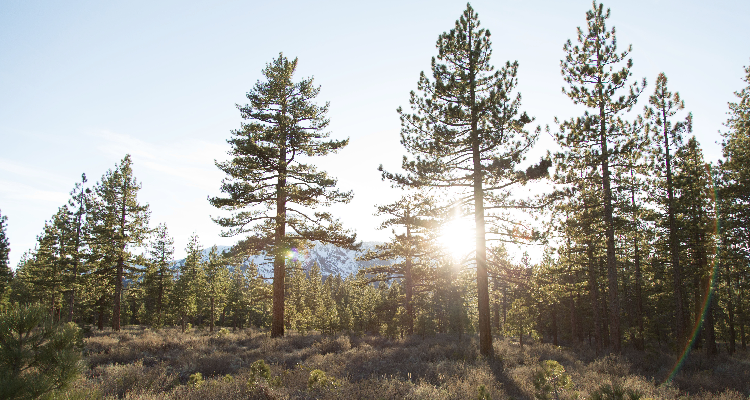
DO take note of the direction in which your windows face. Windows that face east provide that nice bright morning light I mentioned, whereas west-facing windows let in direct orange light close to sunset, known as the ‘golden hour’, which can often create sun flares. This can look great when you photograph your product in a nicely arranged setting to show it in use, but the sunset can also create harsh shadows or be too warm for a simple product photo that shows the item on its own.

DON’Ts:
-
DON’T place your product behind your light source (i.e., you should not be facing both the product and the light source); you’ll get a really dark photo.
-
DON’T position your item more than one foot away from a window if you’re shooting indoors. Logically, the farther away the product is from your light source, the less light your product will get.
-
DON’T use a harsh stream of sunlight. You can weaken the light source by covering the window with a thin, solid curtain or various types of paper.
- DON’T forget to focus on the product. Producing a nicely arranged photo of your product in use can be really effective and natural lighting can often produce beautiful effects, but make sure you also have a simple, well-lit photo of your product that’s free from distraction. Have a look at this article we wrote for Storenvy’s Photography Resources on the different ways you can photograph a product.
So, why not try using natural lighting for product photos? It’s the easiest and cheapest way of photographing products for an online store and it can turn out really well. If you want more to read, Cambridge in Colour has some interesting stuff on natural light photography outdoors and goes into detail about lighting effects produced by the sun at different times of the day.
Share on social: