A wise photographer named George Eastman once said,
‘‘Light makes photography. Embrace light, admire it. Love it. But above all, know light. Know it for all you are worth and you will know the key to photography”
This statement is as true for product photography as much as it is for all other types of photography. Knowing how to use lighting is the first thing anyone shooting product photography should consider before planning a shoot.
As someone shooting product photography, you’re lucky enough to have a huge range of lighting options available to you. Each comes with its own benefits and limitations from budget to space, through to complexity, and most importantly to the quality and consistency of light that each option delivers.
With so much to consider, and some lighting setups requiring a large financial investment, it’s important to understand your various options before making a decision. This guide will run through some of the main lighting options available to you and things to consider for each.
Natural Light
Source: Pinterest
Nothing beats natural light. If handled correctly, it can yield exquisitely beautiful results.
In fact, photographers spend thousands of dollars on lighting equipment, often with the intention of replicating natural light. Why do they bother when all they need to do is open the window you might ask?
Unfortunately, as with all of mother nature’s gifts, natural light can be inconsistent, unpredictable and tricky to harness.
Here are the key things to consider when using natural light to shoot product photography:
Time of day
If shooting indoors, it’s best to photograph when the light is at its brightest. You are then in the best position to manipulate the light in whatever way is necessary, for example with diffusing.
The golden hour
If you are shooting with no equipment (i.e. diffusers and reflectors), the golden hour, shortly before sunset or after sunrise, can be the best way to get warm, soft lighting.
Camera equipment and lenses
A good prime lens will be useful, with a wide aperture for low light conditions and a high ISO.
Diffusers and reflectors
These will definitely come in handy when managing a shoot in natural light, helping you to direct and intensify the light (reflectors) or, in contrast, diffuse and spread the light (diffusers). Very useful and very budget friendly
Light direction
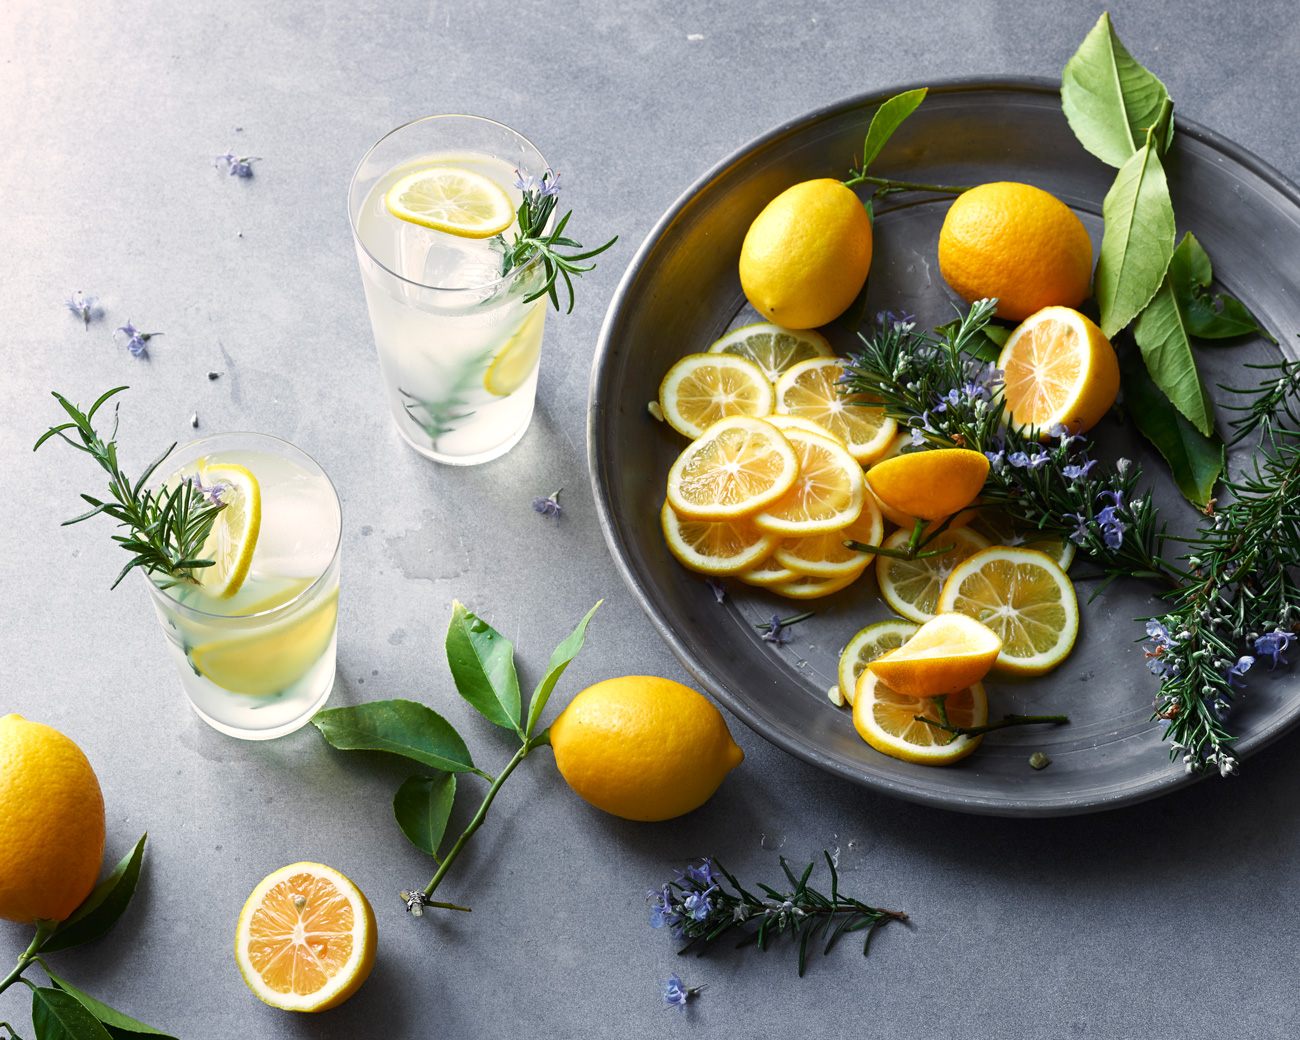
In contrast to studio lighting conditions where lighting can be moved, the sun is boss here. Your products, however, are moveable. So you’ll need to think about where the sun is pointing and place your products accordingly.
Source: Pinterest
Studio lighting
Source: White Room Studio
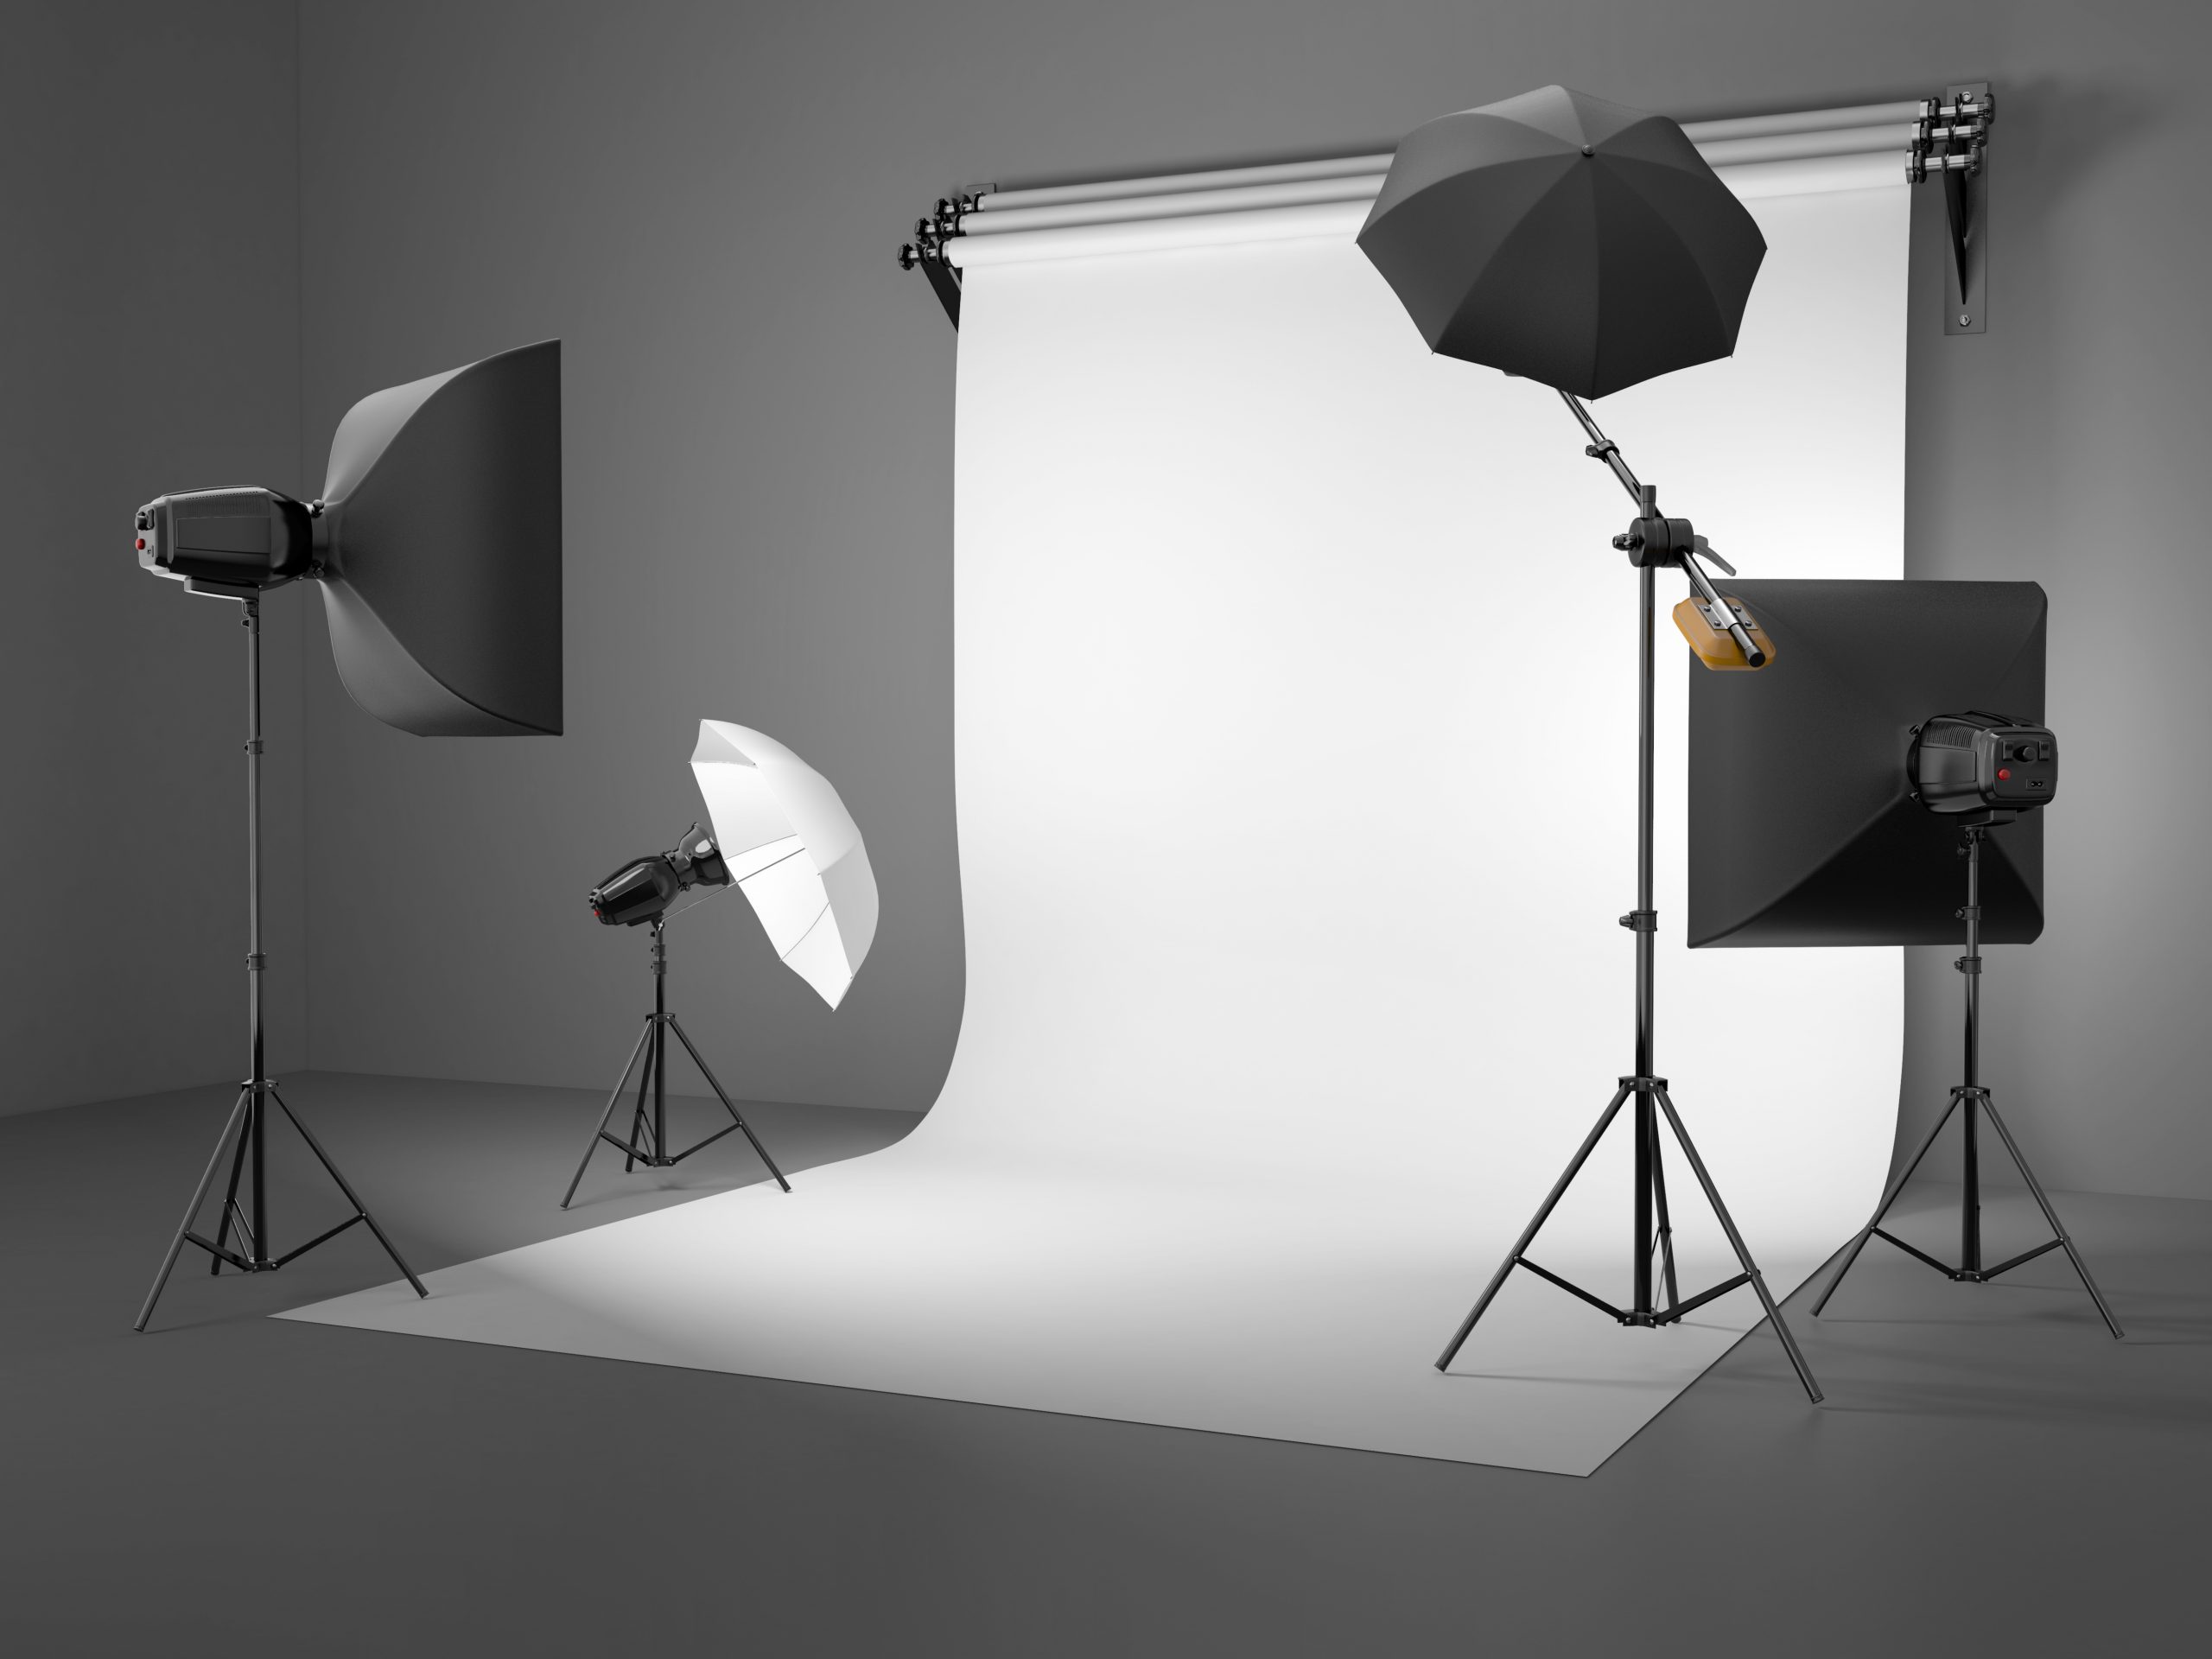
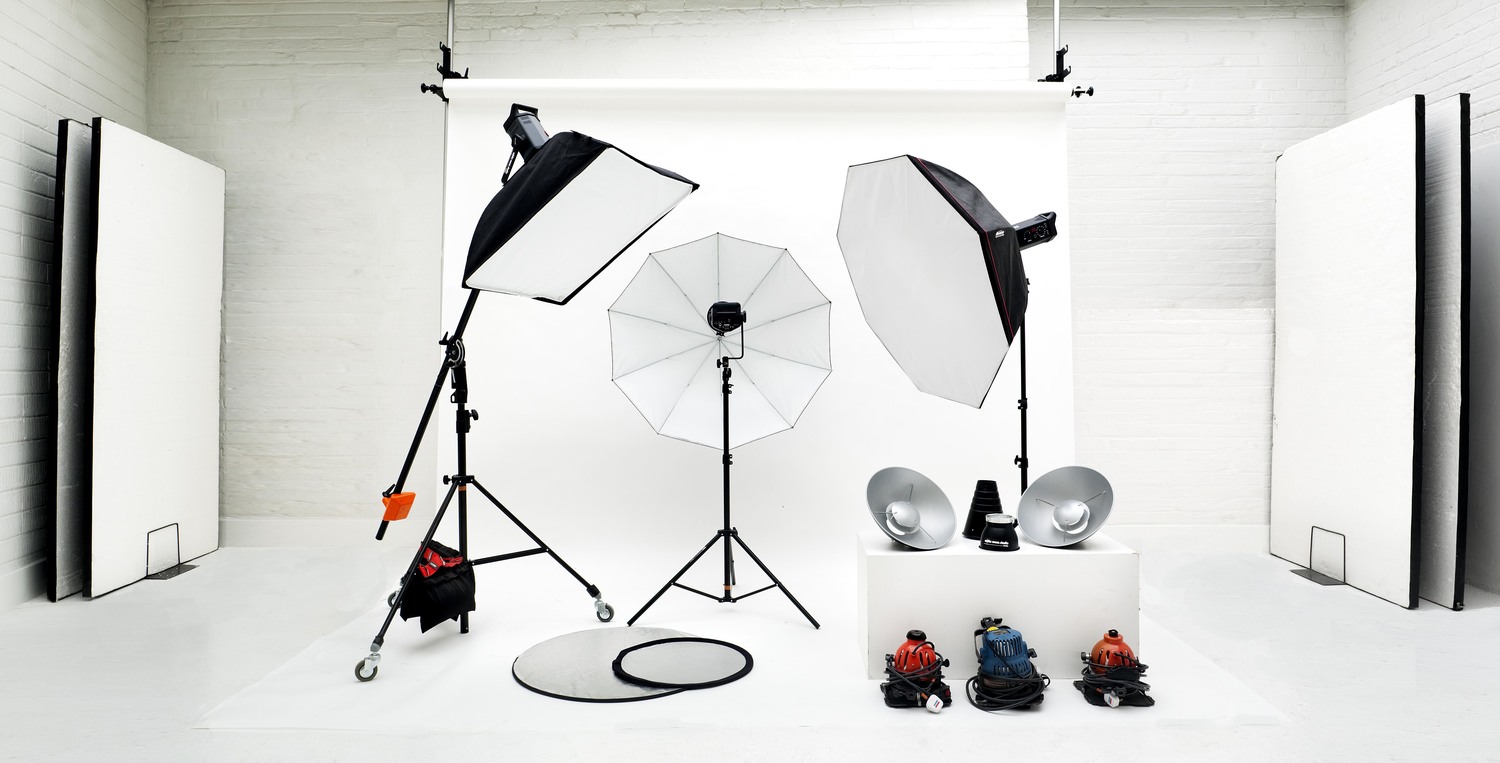
Using studio lighting is the surest way to consistent, professional results. Studio lighting enables you to manage intensity, type of light and direction of light giving you fully controlled lighting conditions.
The catch? Unfortunately, traditional studio lighting is costly (although there are some DIY studio cost cutting options) You’ll need to invest in the lights themselves, plus stands, diffusers, light boxes, backdrops. All of this adds up. But if you’re in product photography for the long term, it’ll be worth it.
In addition, pro lighting is bulky, so you’ll need a studio or space to store it and shoot.
And last but by no means least, studio lighting can be tricky to master and require an element of expertise to get the best results.
Things to consider when using artificial or studio lighting
Which type of light to use
There is a world of options available to you when choosing the right type of studio lighting. For example, if you’re using continuous lighting, there are three main types; Tungsten, Fluorescent and LED. There are various advantages and disadvantages relating to the cost, heat, size and energy efficiency of each. In addition, you have flash. Consider which to invest in carefully!
Diffusion techniques
The process of softening harsh light sources is a critical part of studio photography. There are many ways this can be done, from simply placing a piece of tracing paper over the light source, through to the use of light tents and soft boxes.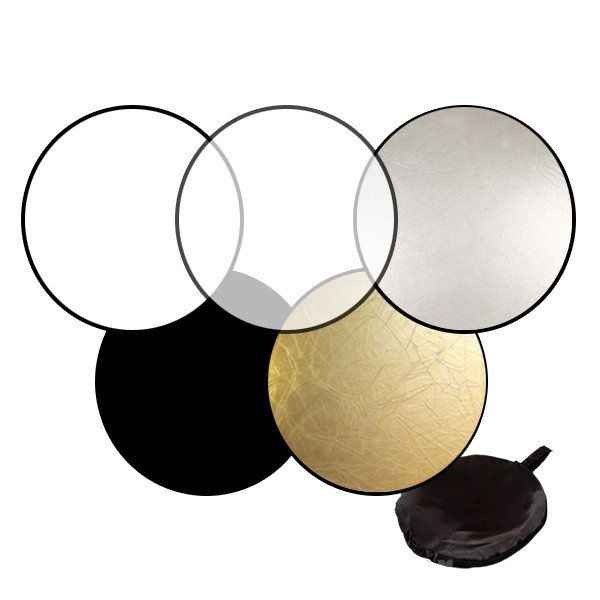
Source: Ali Express
Scene setting and backdrop
This will be dependent on how you’ve chosen to art direct your shoot. When using studio lighting you will need to overcome reflections, shadows so working with a plain background is the easiest option.
Set up
There are a number of different lighting set ups commonly used for photography. How you position your lights will depend on what effect you want to achieve. For example, do you want the object to appear flat, or do you want to remove shadows? These are all things you need to decide before setting up your lighting.
Light tent
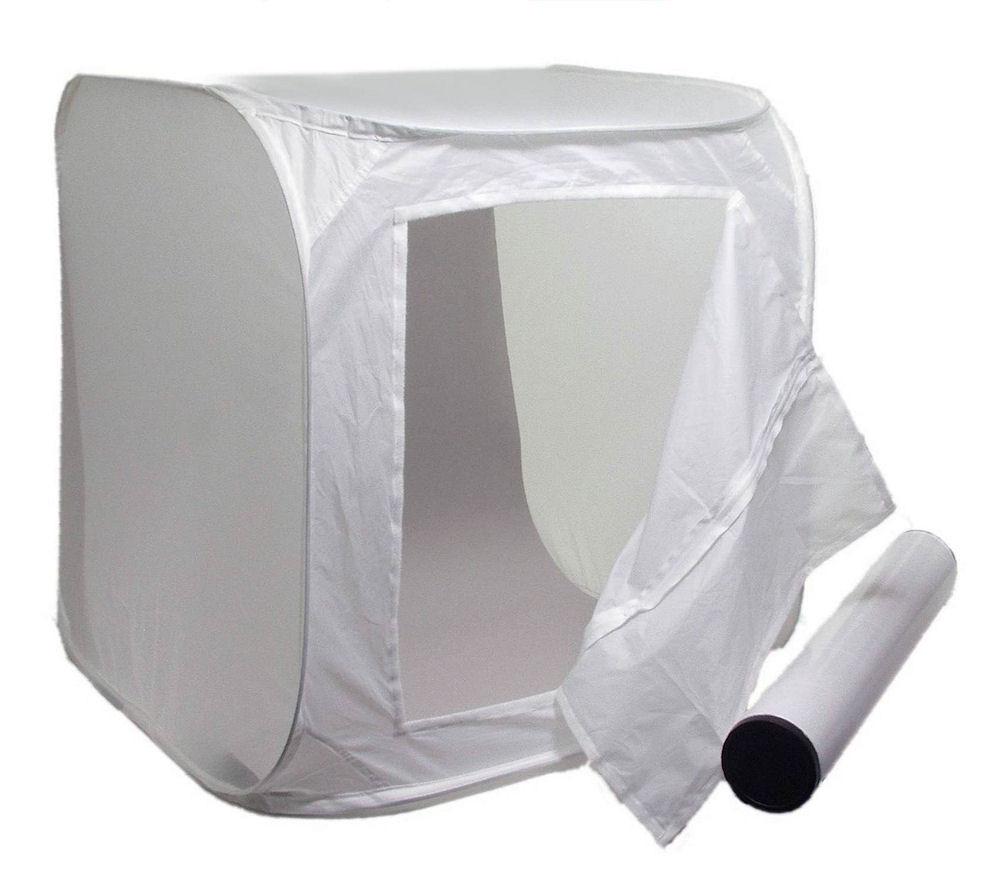
Source: Alzo Digital
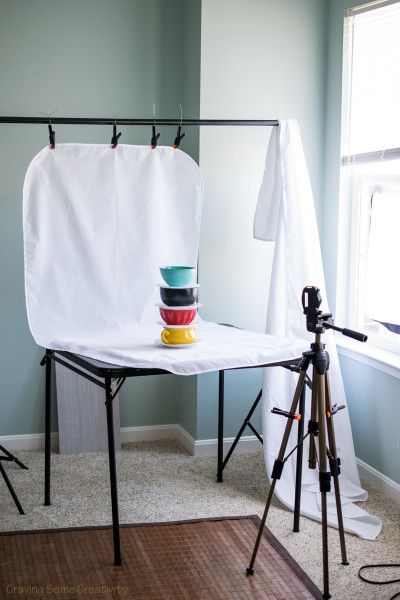
If you want a studio lit effect, but you’re shooting small objects, then a light tent (or light box as they’re also known) might be the perfect solution for you. Budget friendly, easy and reliable, a light tent is basically a box-shaped tent with translucent sides that functions like a giant diffuser, removing shadows and distributing light evenly over the item you’re shooting.
Things to think about when using light tent:
Light sources
The great thing about light tents is they enable you to use a variety of light sources. However, two lamps using 100-watt daylight light bulbs placed on each side is standard practice.
Backdrop
You will need a solid backdrop to ensure light is entering from the sides and not the back. Make sure the backdrop is clean, free of wrinkles and ideally falls down into a gentle curve and across the bottom to avoid lines and corners in your shots.
Buy a kit or make your own light tent
Think about making your own? DIY light tents can be a great budget-friendly alternative
Portable lighting kits
Some great, affordable portable lighting kits have recently come on the market. Not only are they small and adaptable, but they offer a great entry into the world of pro lighting. They give you similar results to but are less complicated than studio lighting.
A full LED lighting kit will set you back around $500, but this is likely to include lighting, battery charger and stands. The great thing about good LED lighting is that you can also change the color balance, making them super adaptable. 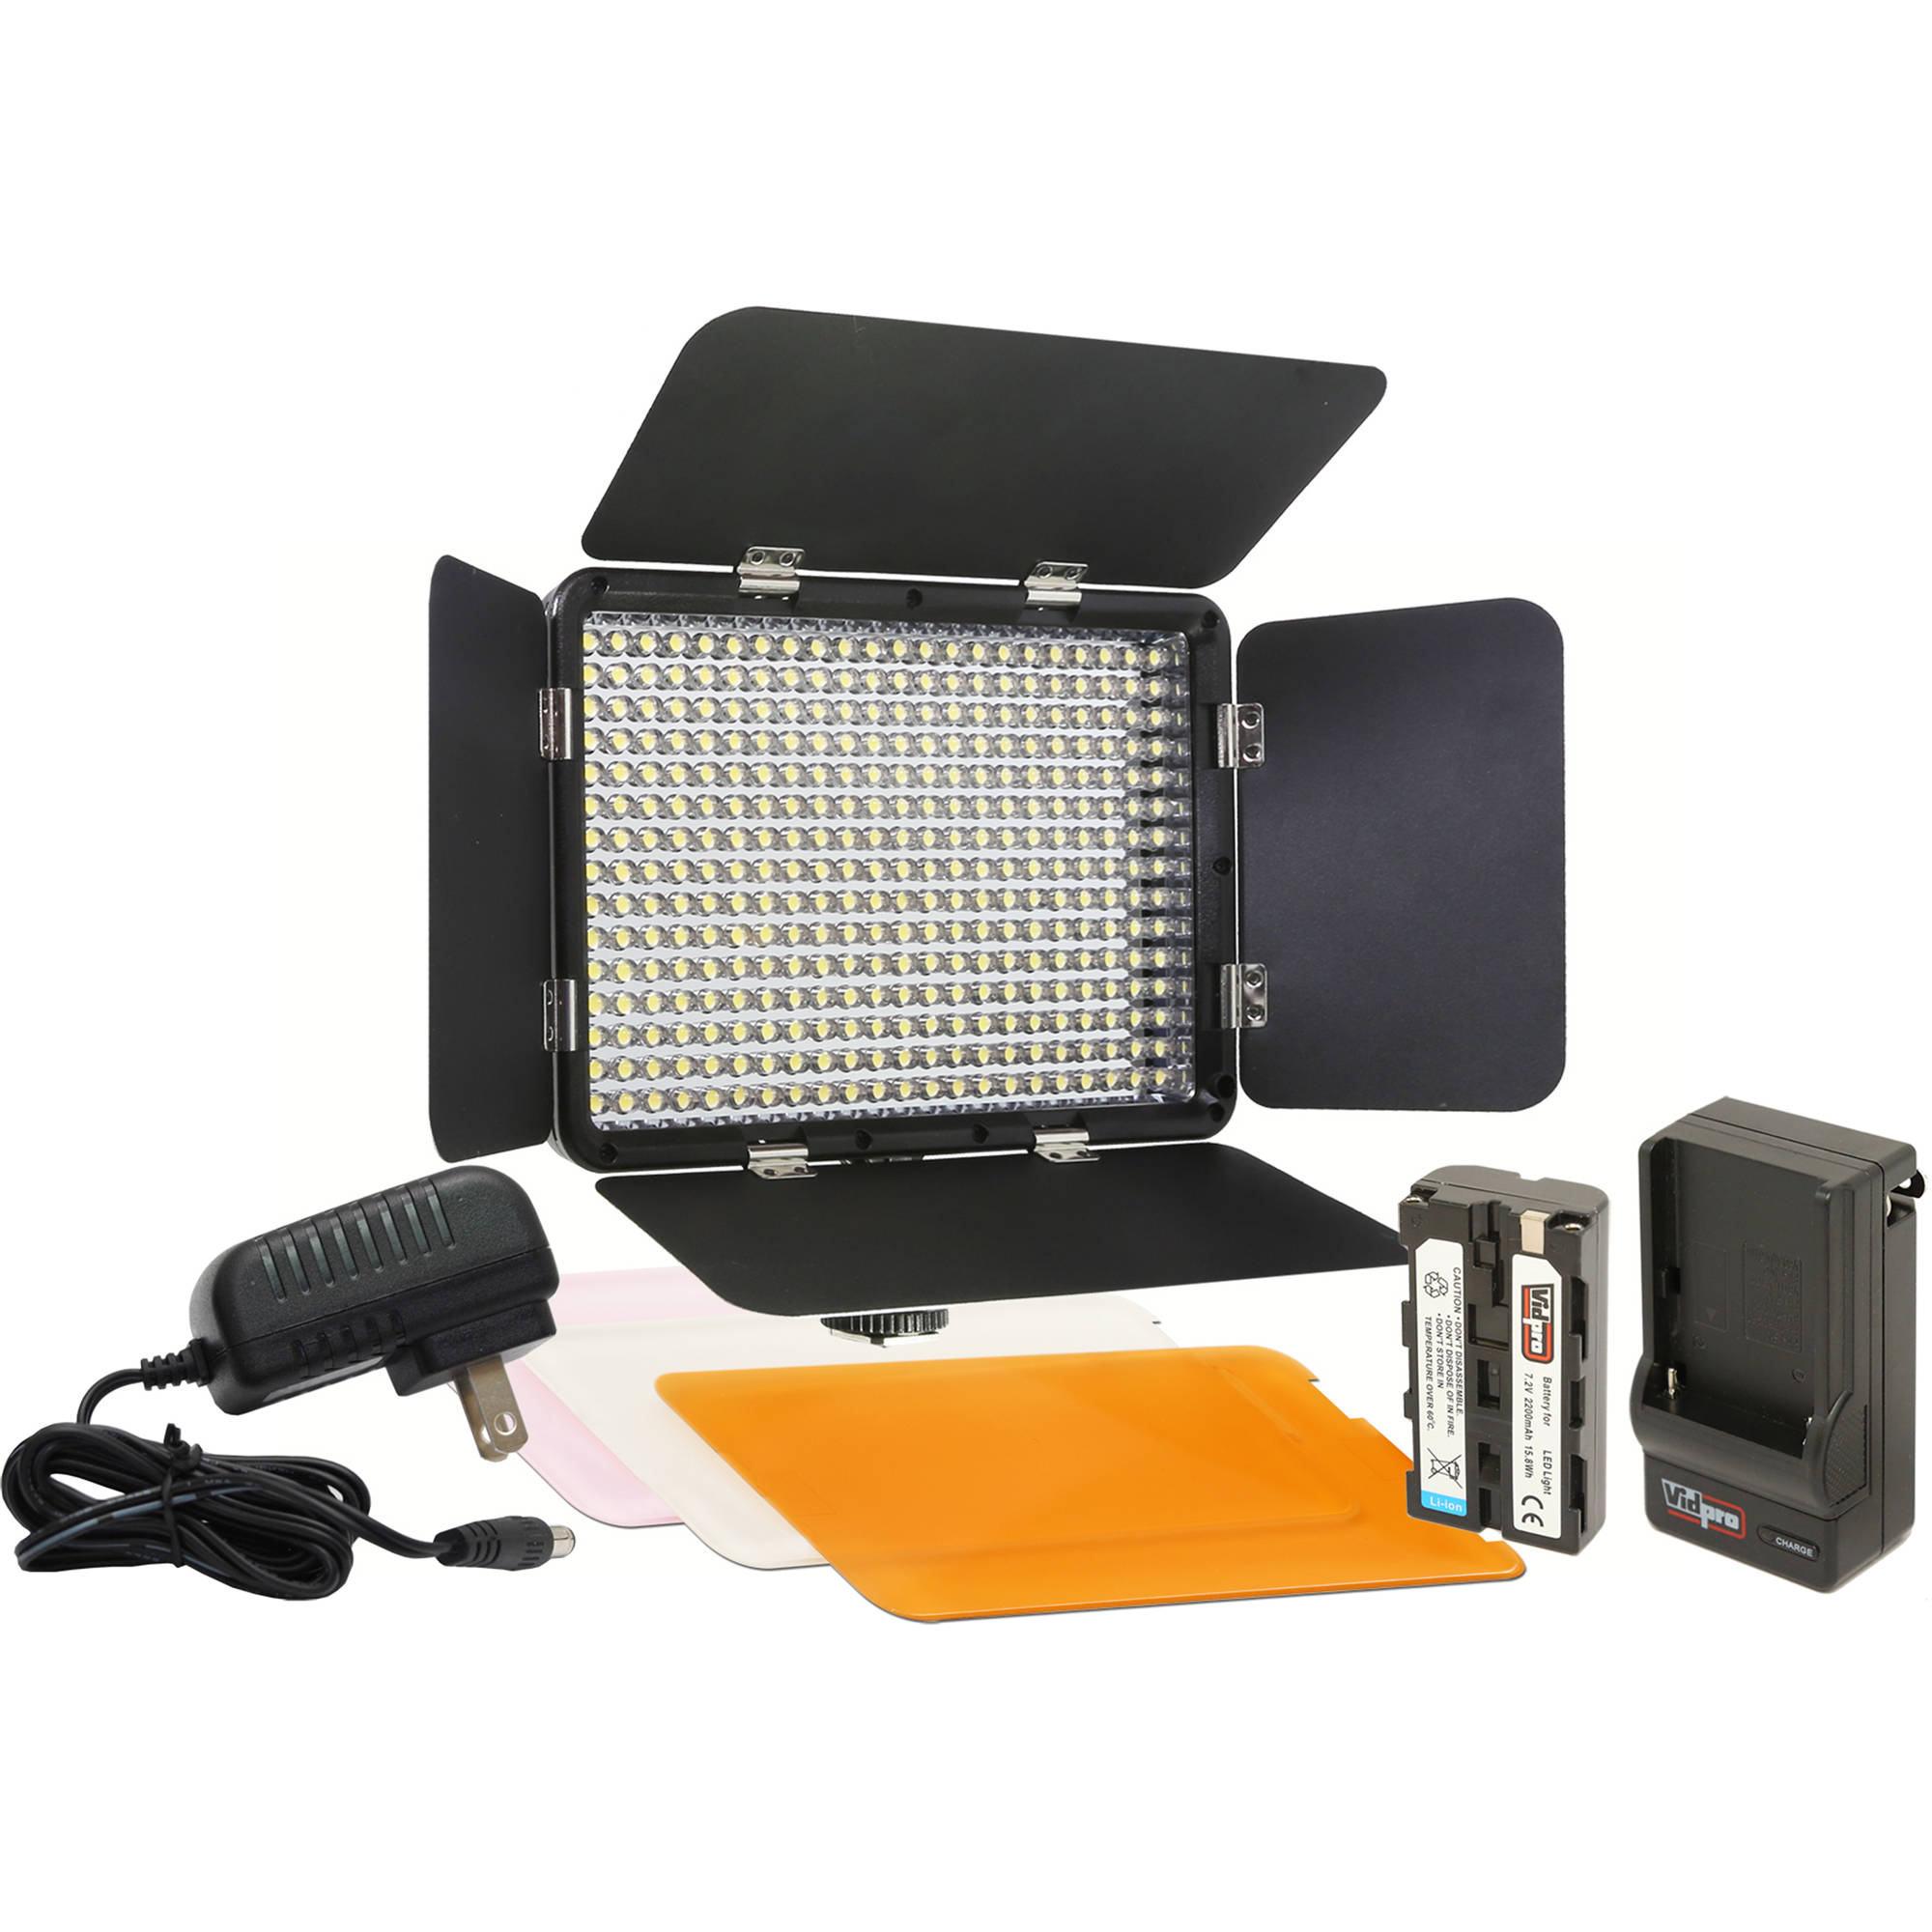
Source: B & H
Things to consider when shooting using portable kits:
Stands
You will need stands or tripods to fix your lights to and enable tweaking of angles and distances.
Battery life
If you’re using portable lights, the battery will be rechargeable. Make sure the battery life is sufficient to last a shoot. Otherwise, you could end up on location with no light source and no photos (not good – trust me, I’ve been there!)
Power
LED lights are great, but as the old saying goes, you get what you pay for and LED lighting only goes so far when it comes to power and reach. If you’re shooting large objects such as people or furniture, studio or natural lighting may be preferable.
So there you have it, a quick round-up of what is one of the most complex areas of photography. Hopefully, this guide will give you an idea of the options available to you when it comes to lighting your products and help make your photos as impactful as possible!

