Like all product photography, shooting jewelry for eCommerce comes with its own unique set of challenges.
Jewelry comes in all shapes and sizes, from chunky and artsy to delicate and shiny. As a result, your approach to each and every jewelry range you shoot will need to be different. Lighting will have to be adjusted, backgrounds will need to be considered and styling will need to be front of mind.
A lot to think about? Absolutely! But we’re here to help with this guide to shooting jewelry photography that shines and sells.
We’ll talk through the top ten things to consider when shooting your jewelry range and then offer up some inspiration from some top jewelry photographers to help you formulate a creative vision.
First up, here are the top ten practical things to consider when photographing jewelry:
1. Pay attention to the prep
Before beginning your shoot, make sure you pay sufficient attention to preparing your jewelry, from ensuring everything is polished and clean to looking out for imperfections and inconsistencies.
By removing any dirt or dust, it will save you photo editing work after your shoot.
2. Keep the shooting and cropping style consistent
All your images should be shot from a similar distance so that when it comes to post-production and cropping, you can keep the area around the jewelry consistent across all the shots.
This will help the look of your eCommerce store when you upload your photos.
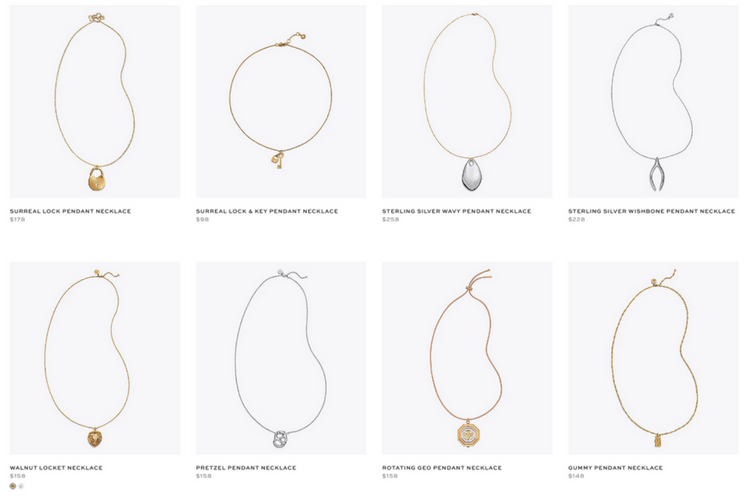
Tory Burch keeps their photography style and cropping consistent
3. Keep it simple
Try to keep the focus on the jewelry itself and stay away from any distractions. Which means avoiding unnecessary props or jewelry stands and aiming to shoot the core image set against a white background. This doesn’t mean you can’t get creative with supplementary lifestyle images to build a story, but your core sales images should be the priority.
4. Try shooting 360
Jewelry lends itself very well to 360 photography. It’s small, it’s detailed and by creating 360 photography, it can be viewed easily from each and every angle.
If you have the time and budget, try shooting 360 and watch your conversions skyrocket.
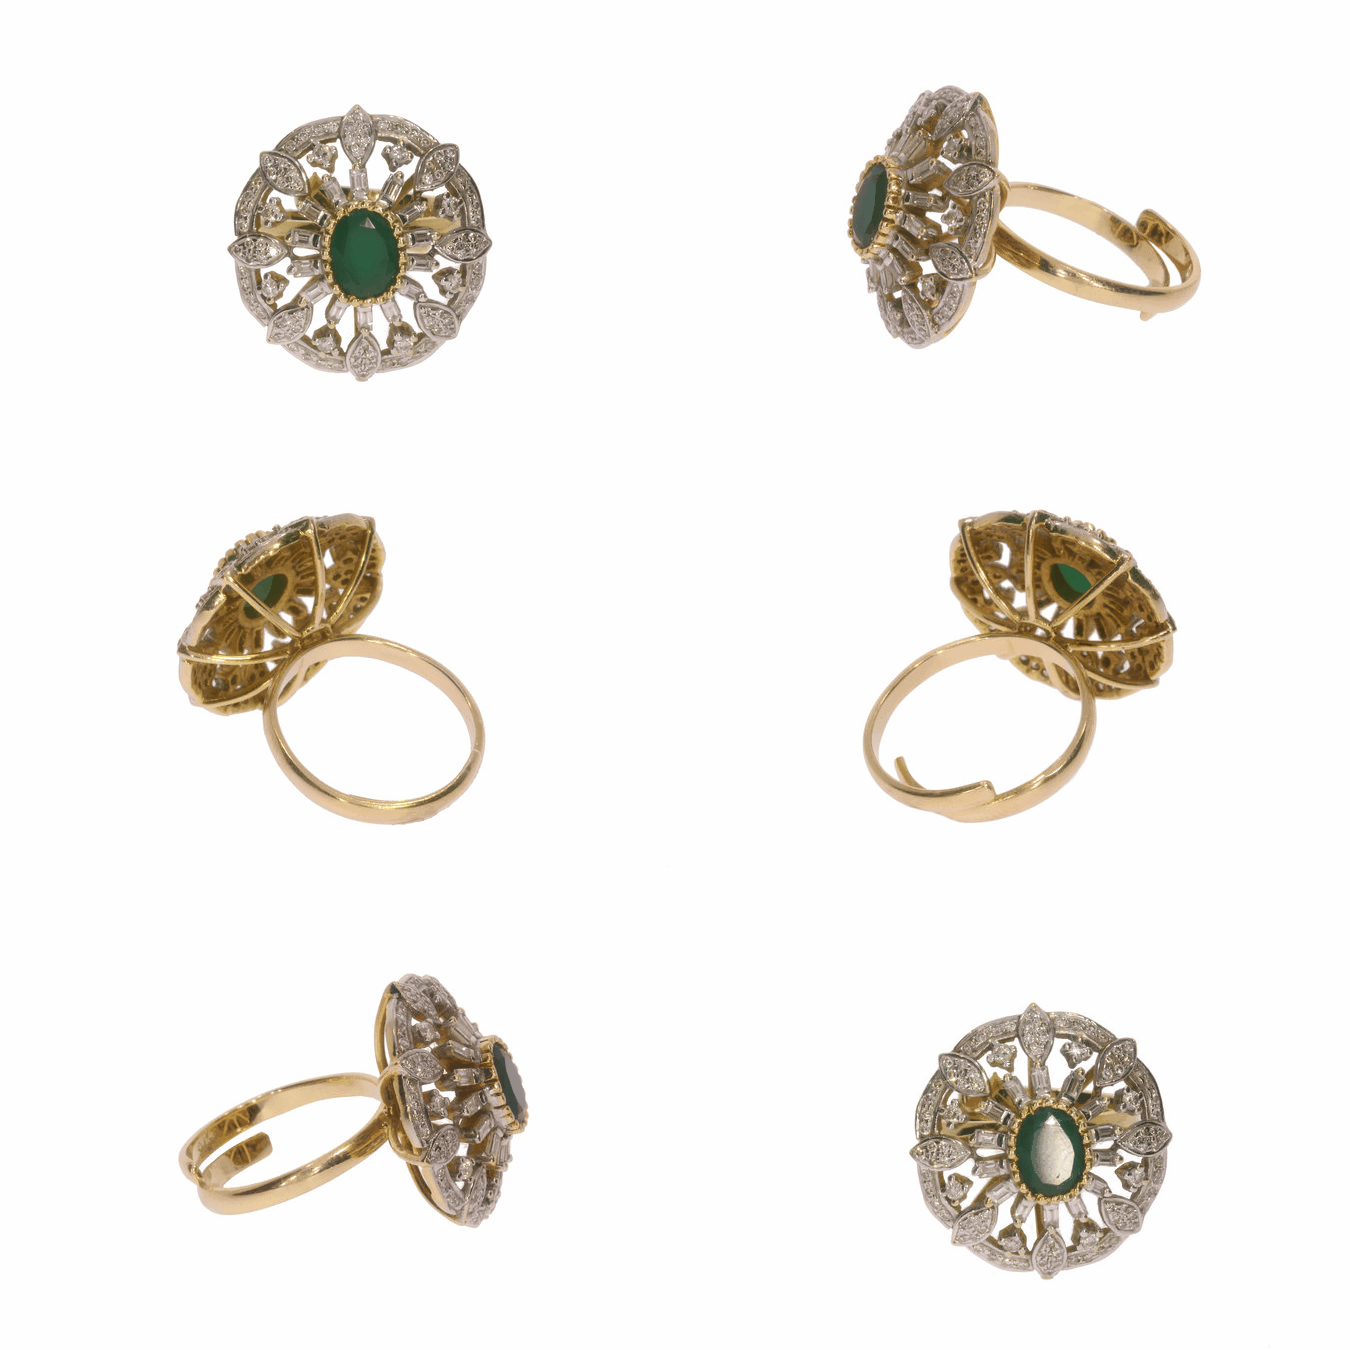
360 degree photography created by Brandshape.in is a great example of what you could do with your product images
5. Watch out for reflections
Depending on what type of jewelry you’re shooting, one common flaw happens over and over again. While you’re aiming to show off how lovely and shiny the jewelry is, the reflection always gets in the way. Fear not! There are many photography hacks to help you avoid reflections, one of which is using a double lighting setup and diffusing the light.
6. Get the white balance right
White balance is easy to master, but many people continue to struggle with the concept. Shooting jewelry on the wrong white balance will result in unattractive color inconsistencies, such as orangey hues. Either shoot on auto or make sure your white balance settings are in line with your lighting conditions.
7. Aim to keep everything in focus
Although the creative application of depth of field can work really well for some types of photography, when shooting jewelry, it’s best to stick to a high aperture to keep all parts of the jewelry crisp and clear to avoid distracting the customer’s eye.
8. Capture the detail
Jewelry is all about detail. Whether it’s the type of metal used, the gemstone or more practical details such as the clasp, make sure you collate a shoot list of all the key details from each article of jewelry so nothing is missed during the shoot.
9. Avoid shadows
Manipulate your lighting setup, whether studio or natural light, to minimize shadows and get a crisp, clean white background.
10. Combine simplicity with creativity
You’ll notice a theme running through this article: Simplicity. It’s important in all forms of product photography but particularly jewelry photography (as jewelry is often packed with detail) to keep things as simple as possible. Remember, the center of attention should be the jewelry. That means including as few distractions as possible. That being said, as a supplement to your white background product photography, you do have room to get creative.
Which leads me to my next point…
Get creative and be inspired by others
Creatives will tell you, getting inspired by others is half of the game. So I thought we’d take this chance to look at some great examples of jewelry photography and styling and draw some inspiration from each.
Try working with color
This beautiful image uses a variety of backgrounds and a pastel color palette to add personality and depth to the jewelry range
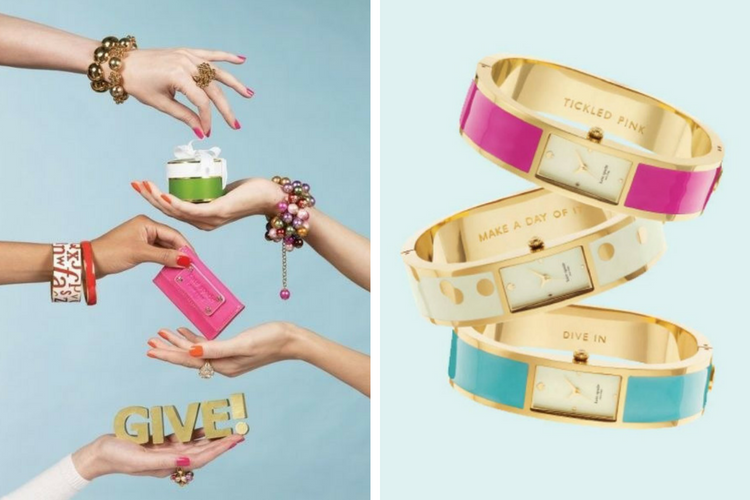
Kate Spade campaigns use a lot of color to add personality and brand into their photos
Tell a story
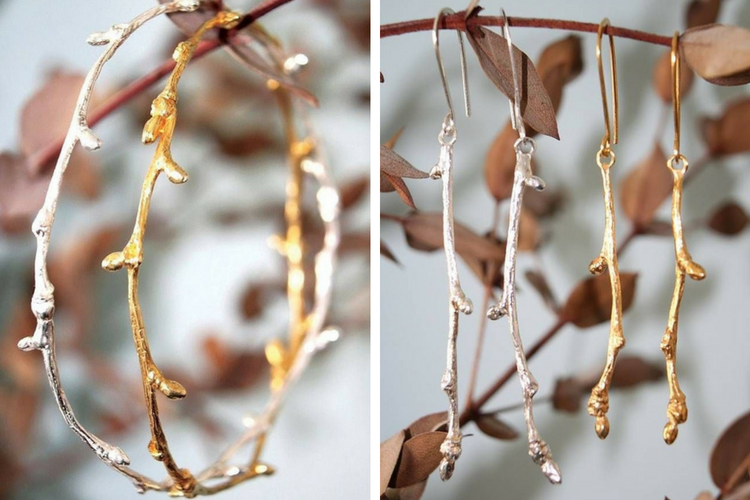
This photographer has used real tree branches to enhance the organic concept of the jewelry design, which is styled to look like tree branches themselves.
Marie Walshe uses props to tell a story
Work with shadows
In the previous section, I said to avoid shadows. This is not entirely true. Try using shadows for creative effect like this photographer has!
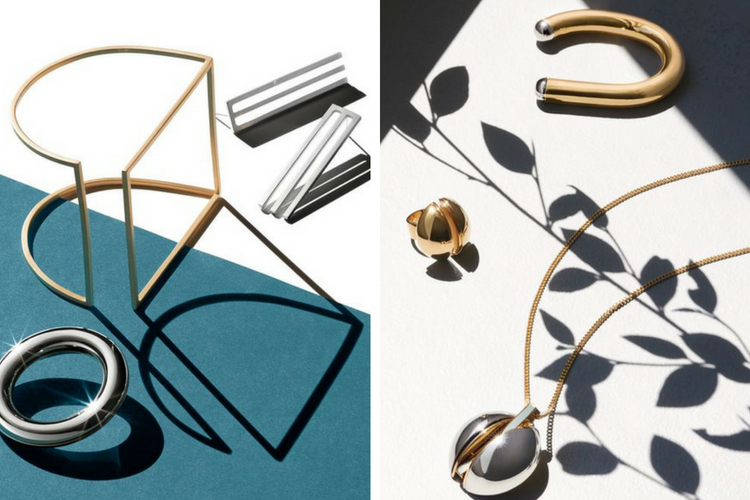
Images using shadows via Chloe and Pinterest
Use backgrounds to provide texture and color
For your standard product images, backgrounds should be kept white and as plain as possible. When it comes to lifestyle images, however, play around with different background styles, using textures and objects to tell the story.
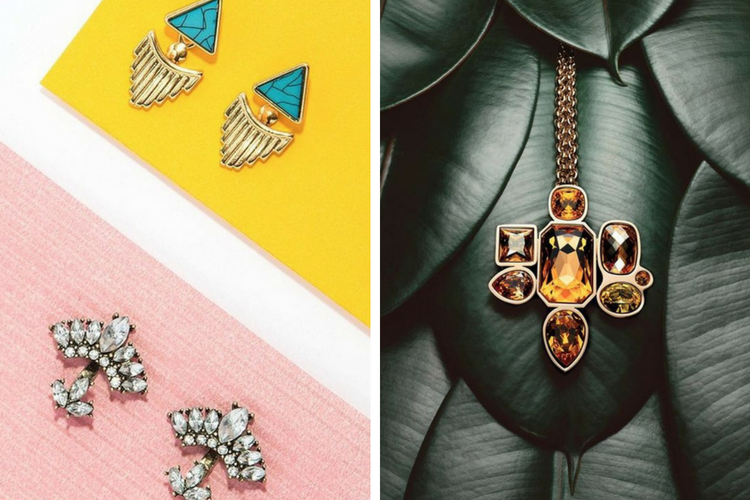 Companies like Bauble Bar (left image) use different textured backgrounds. Image on the right via Pinterest.
Try using props
Explore the use of props. You can really have fun with them – from colorful candies to organic objects. Good use of props will really make the images stand out.
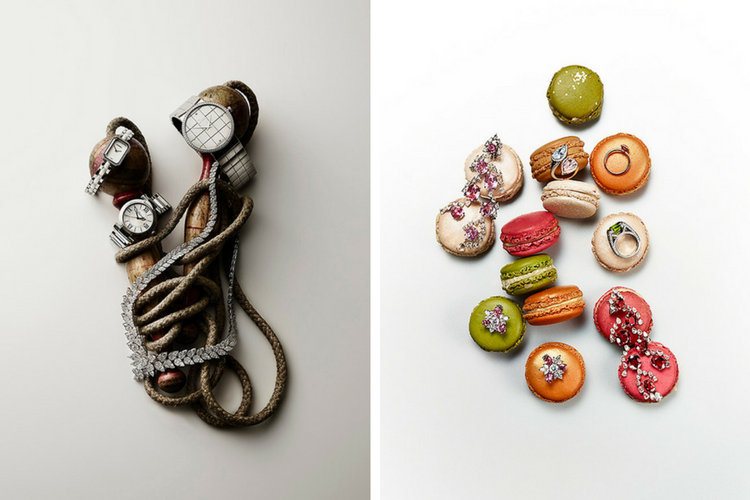 Paul Zak uses props to photograph jewelry
Photograph multiple pieces at the same time
Why not cover your whole range of jewelry pieces in one photo? This can be a great way of selling a concept as long as all the different pieces work together in a coherent way.
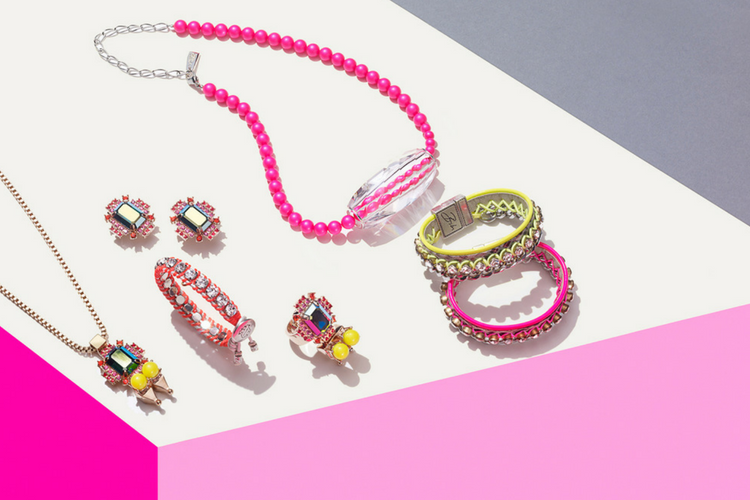 Bruce Anderson photographs mutliple pieces of jewelry to form a collection.
Work with models
If budget allows, models can add an important extra element to your jewelry photography. And they don’t need to be your standard model shots. Try focusing on the relevant parts of the model’s body for added impact.

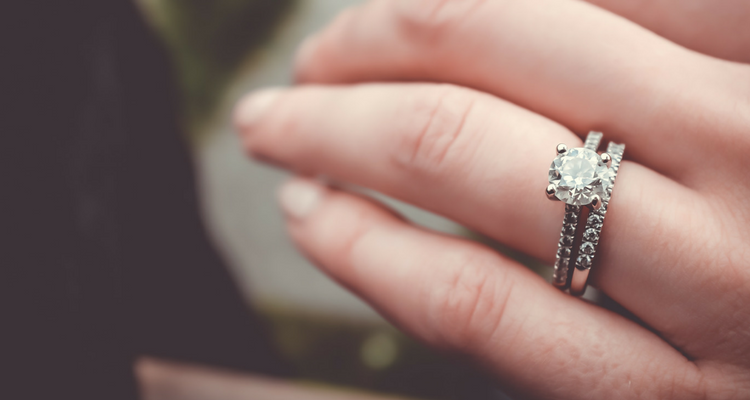
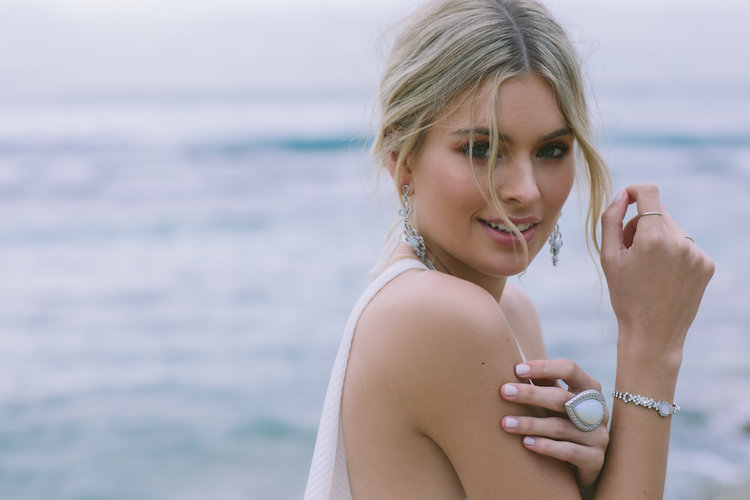 Samantha Wills uses models to showcase her pieces


