Follow this step-by-step guide on how to photograph furniture for your ecommerce store, and you’ll be able to take high-quality photos that your customers can trust.
Whether it be new, used, damaged, or in perfect condition, selling and buying furniture is stressful for everyone involved.
Customers are always looking for an experience that is quick, trustworthy, and completely stress-free. And what about you, the seller?
Space is a valuable resource whether you’re selling out of your home or a commercial storefront. You also want to turn your inventory over as fast as possible. But just because you need to move your products fast doesn’t mean you need to sacrifice the quality of your product photography and product images.
Step 1: Polish your products
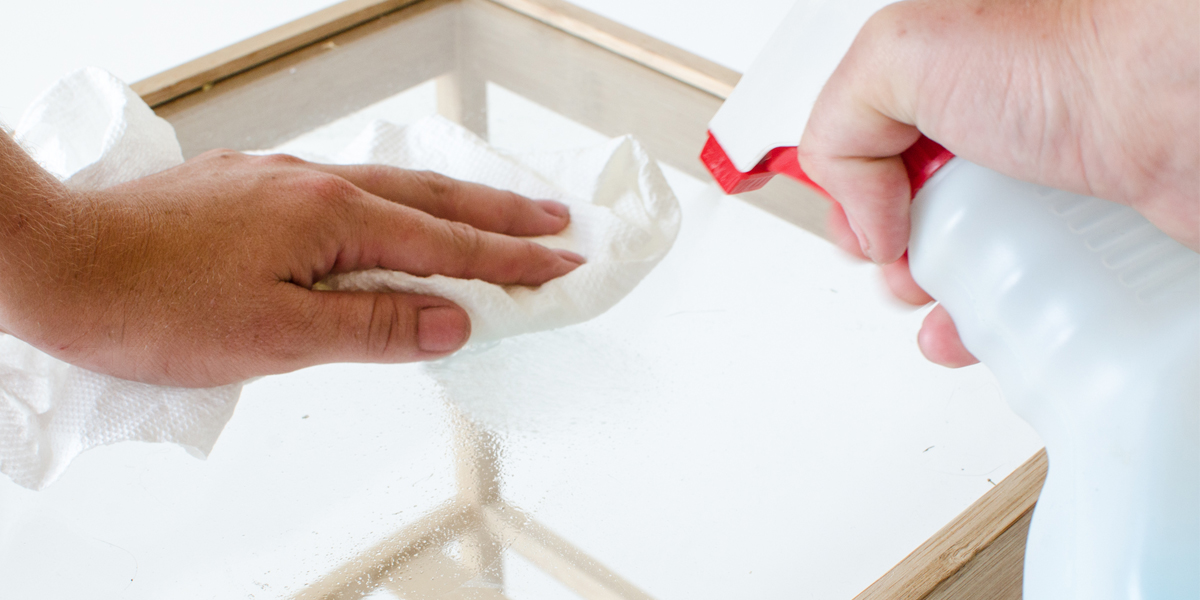
Attention to detail is key to any type of successful product photography – and photographing furniture is no exception. There are many nooks and crannies in furniture products. Unless your piece has been freshly crafted there are sure to be a few dust bunnies hiding in them.
So, make sure you dust those bunnies and buff out any and all marks and imperfections. Polish your furniture with furniture polish or multi-purpose cleaner so it looks its best before starting your photoshoot. Your customer expects the products to arrive in great shape anyway. So, you’re saving yourself an extra step before shipping.
Step 2: Choose a space and time to photograph furniture
Unfortunately, your furniture pieces are unlikely to fit within our classic tabletop photoshoot set up. So, choosing a space to photograph furniture can be tricky. Find a space at least three times as large as your piece with ample light. For example, next to a window or even outside on an overcast day.
Using natural light is best, especially with the unique sizes and shapes of furniture. Try to avoid direct sunlight if you’re shooting outside or right next to a window. You don’t want the light to create harsh shadows.
If you photograph furniture next to a window and you notice bad shadows, you can diffuse the light with a sheet or white piece of paper. This will make the light softer and allow it to wrap around your object instead of warping its appearance.
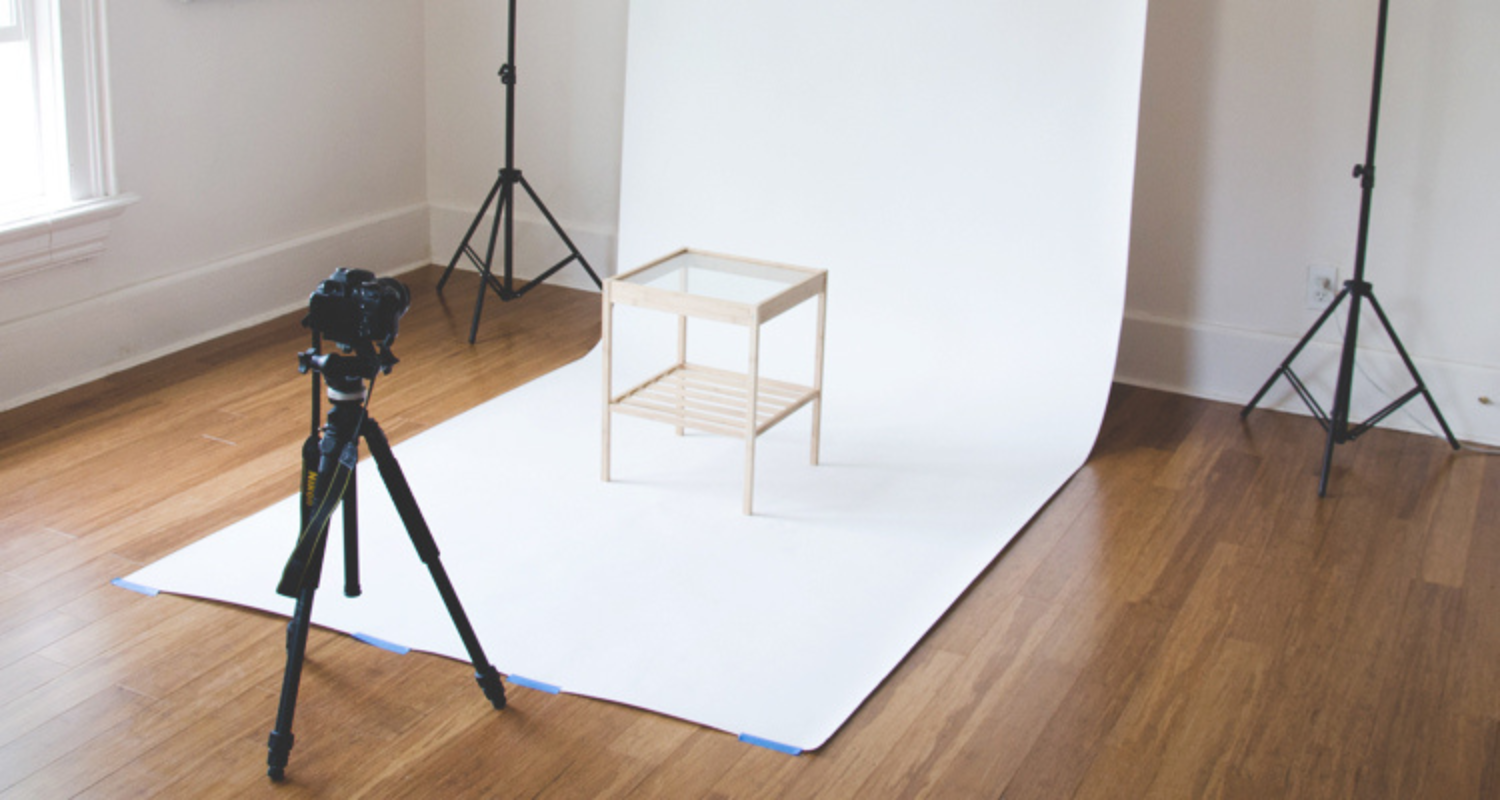
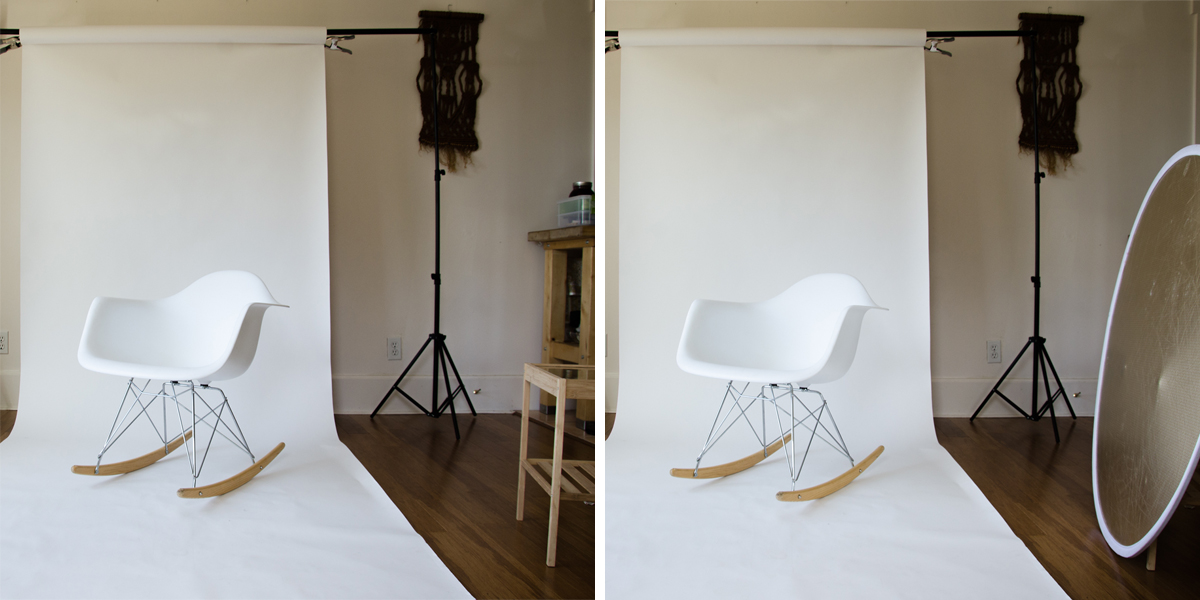
Step 3: Set up your backdrop
To showcase a single piece of furniture, it’s best to set up your product in front of a white backdrop. With a product so large, it’s easiest to find inexpensive background stands and rolls of paper online.

However, it’s always possible to make your own DIY setup. To succeed here you’ll just need a white sheet or piece of paper three times the size of your product as well as a few clamps from your ‘Photographer’s Toolbox’.
The most important step here is to create a photography sweep by making a seamless transition between the vertical and horizontal planes. The setup you see above – with a background stand, a roll of paper, and a few clamps – worked perfectly!
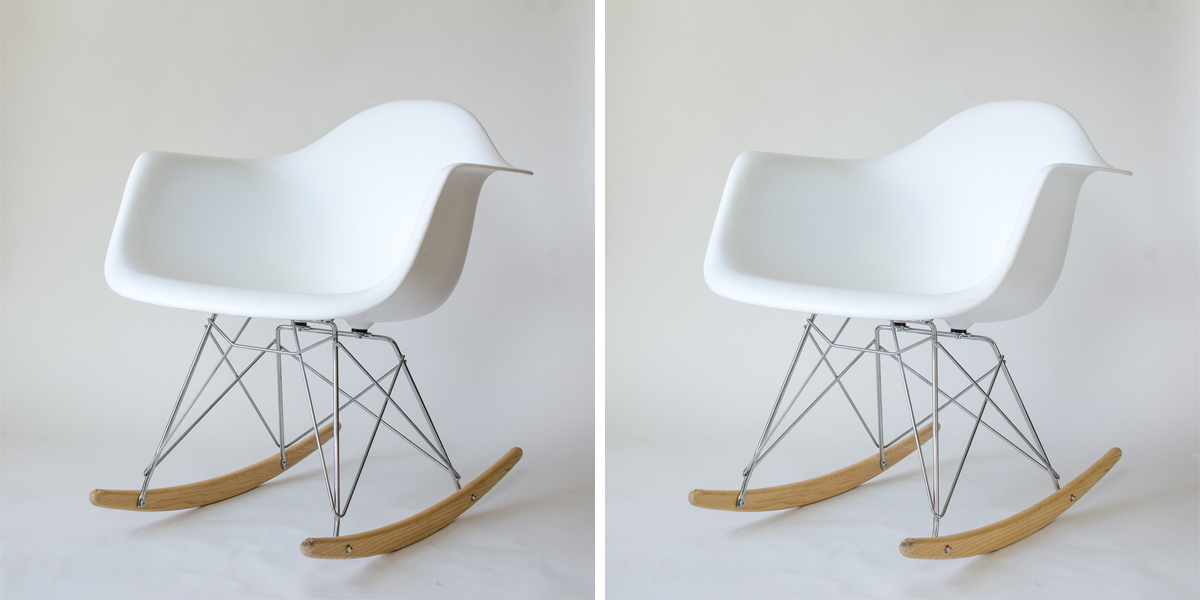
Step 4: Choose your lens
Choosing your lens, or understanding the lens or camera you’re working with, is incredibly important when you photograph furniture. The key factor to pay attention to here is your optical zoom – not your digital zoom. Using your optical zoom properly will let you get a closer view of the object you’re photographing, while digital zoom simply crops a photo.
When you photograph furniture, you’ll want your focal length, measured in millimeters, to be at its maximum. In other words, you’ll want to zoom in – with optical zoom – as far as you can. This means you’ll need a large distance between the product you’re photographing and your lens. Make sure to remember this step when choosing your space.
The reason behind this is when you shoot with a smaller focal length, or a ‘wide-angle lens’, the lines in your product will be distorted and your photo will not accurately represent the product your customer will receive.
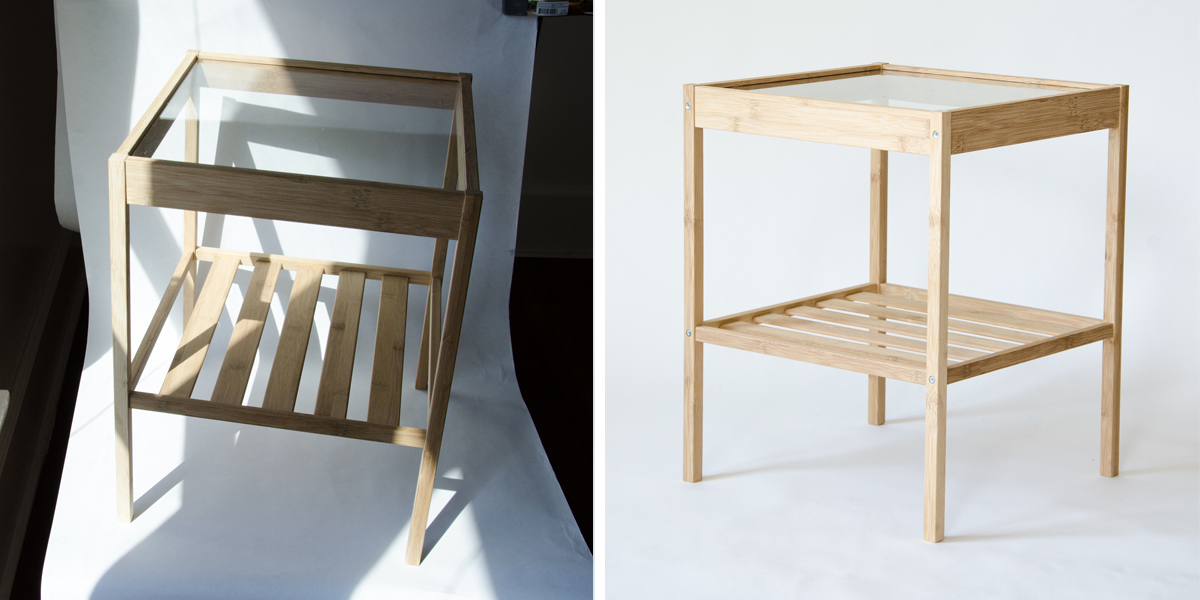
Below is an example of a product that was shot first with an 18mm focal length, and then re-shot with a 55mm focal length. Notice the way the first shot is warped and the lines seem to curve, whereas the lines in the second photo are perfectly straight.
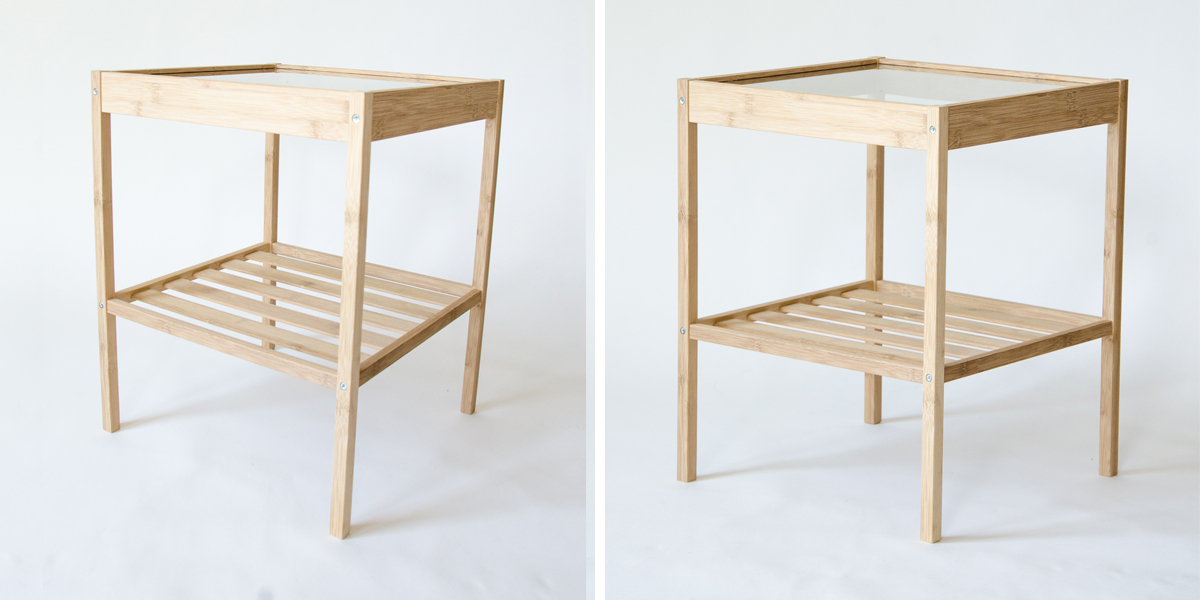
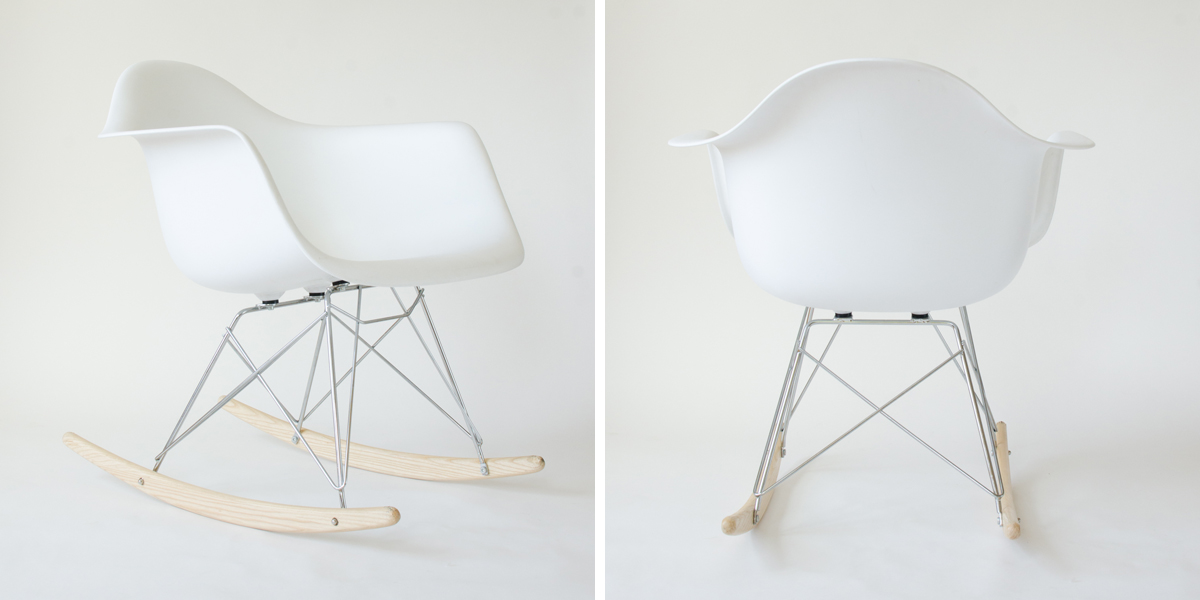
Step 5: Choose your angle
Choose an angle that allows you to see the front, side, and top of your furniture in one image. Shooting front-on will confuse your customer and make your piece appear flat while shooting from an angle will give the customer a better visual representation of your product’s dimensions.
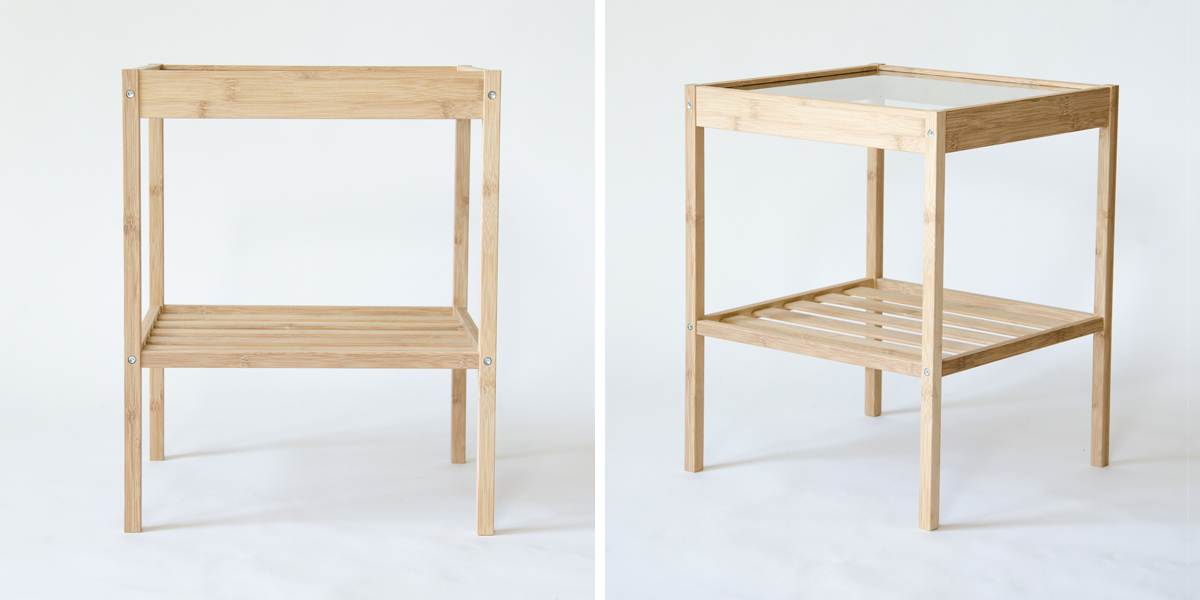
Step 6: Take multiple photos
Taking multiple photos will also help your customer better grasp the look and feel of your furniture piece. Remember, your customers can’t touch or feel the furniture, so allowing them to feel as though they are walking around your product will encourage them to trust you as a seller and hopefully envision your piece as their own.
Step 7: Photograph furniture with a small aperture
The long dimensions of furniture, combined with a long focal length, will demand that you use the smallest aperture you possibly can so you get your entire product in focus. If you’re not comfortable shooting manually, set your camera to ‘A’ (Aperture Priority) and move the aperture dial so your f-stop is at least 8 (you want a higher number if possible).
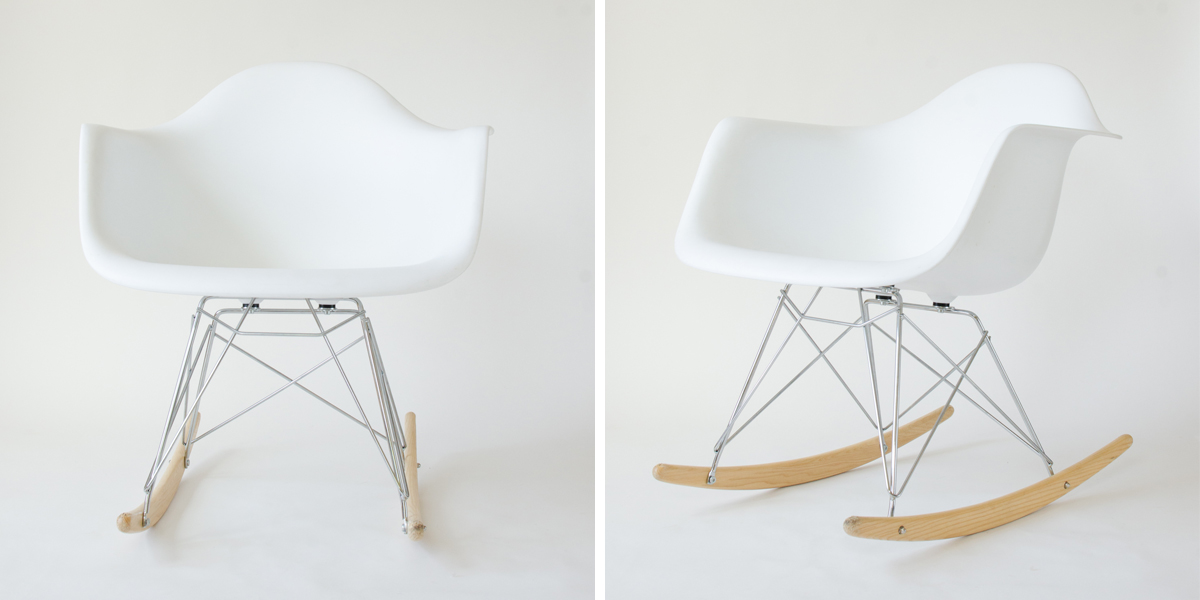
Shooting with a small aperture will help you capture all the details of your product, which is especially important when your ecommerce store features a zoom function. The image below, on the left, was shot with a small aperture (f/10) whereas the image on the right was shot with a large aperture (f/1.8). Notice how you can see the wicker details much better in the left-hand image.
Last-minute tips
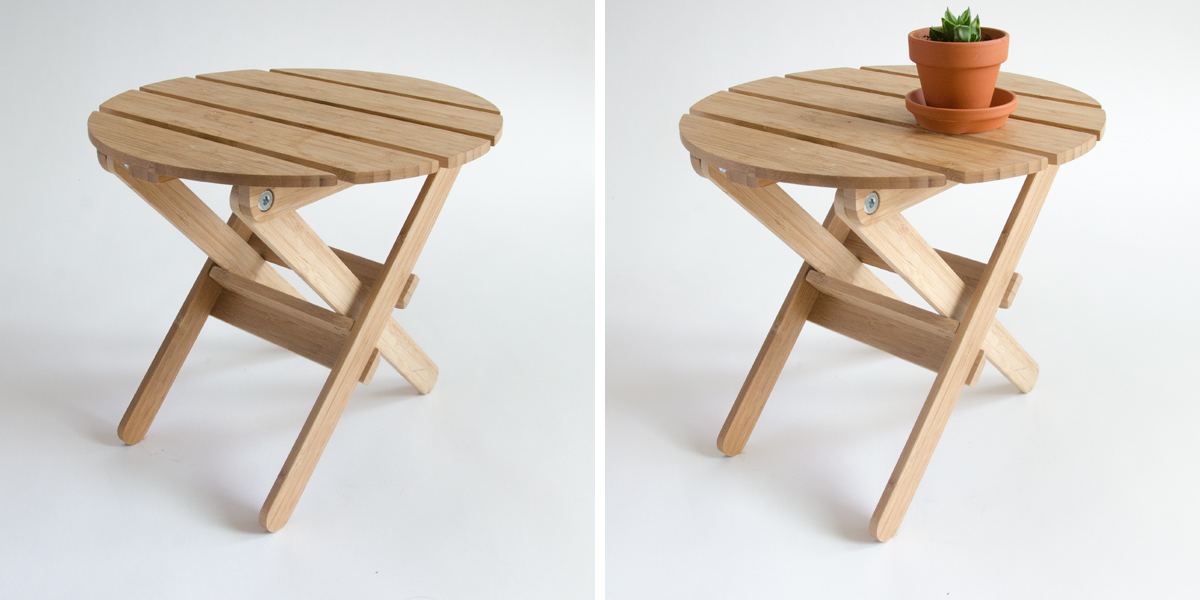
- Don’t over-style your product. In fact, don’t style at all. In most cases, the purpose of your furniture piece is obvious, and adding products will just distract the viewer from the main focus.
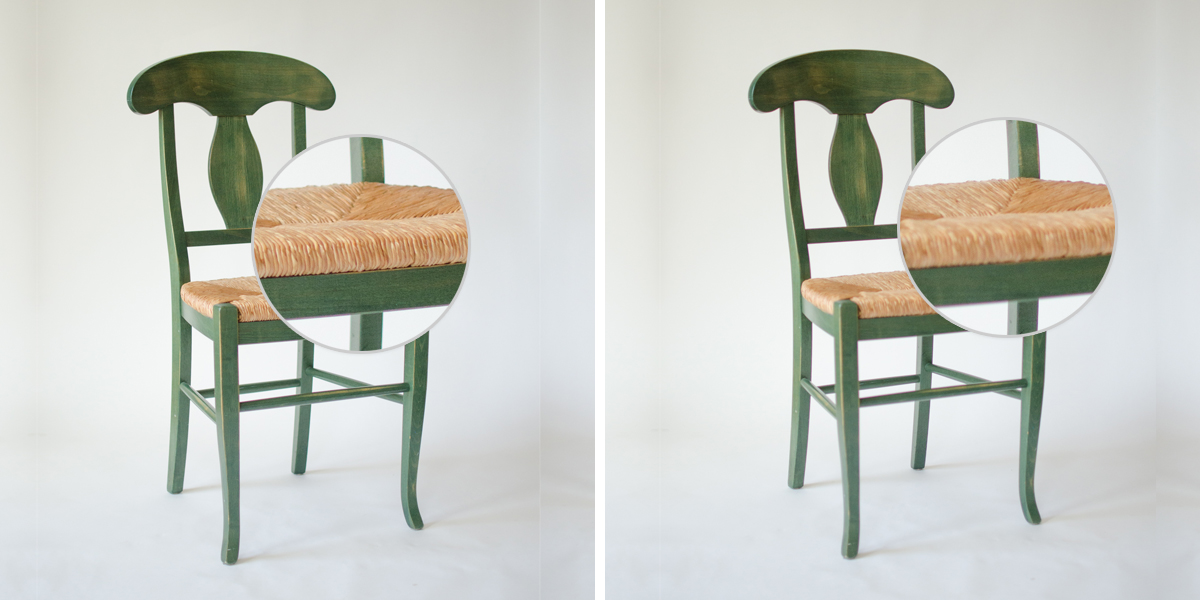
- If you photograph furniture that is used, don’t cover up any damage. If your customer is purchasing used furniture, they expect minor wear and tear. Just make sure to highlight your product’s best features first, and then go full-disclosure on any parts that aren’t in perfect condition.
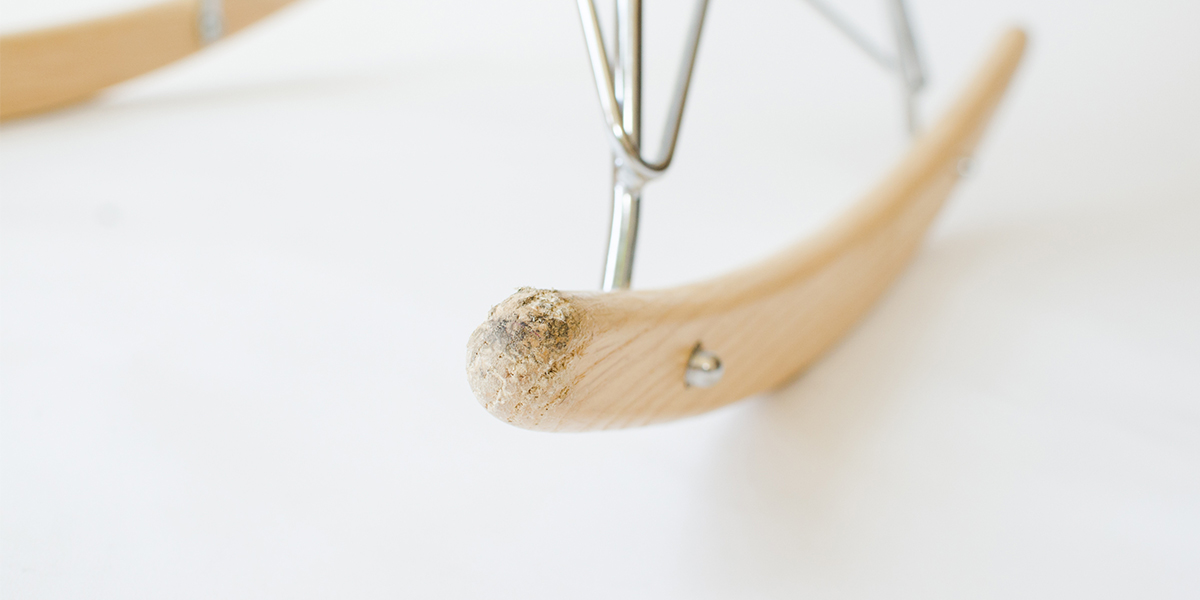
- Use a reflector. The size of the furniture will create large shadows on sides furthest from your light source. Using a reflector will prevent any parts of your product from hiding in the darkness.
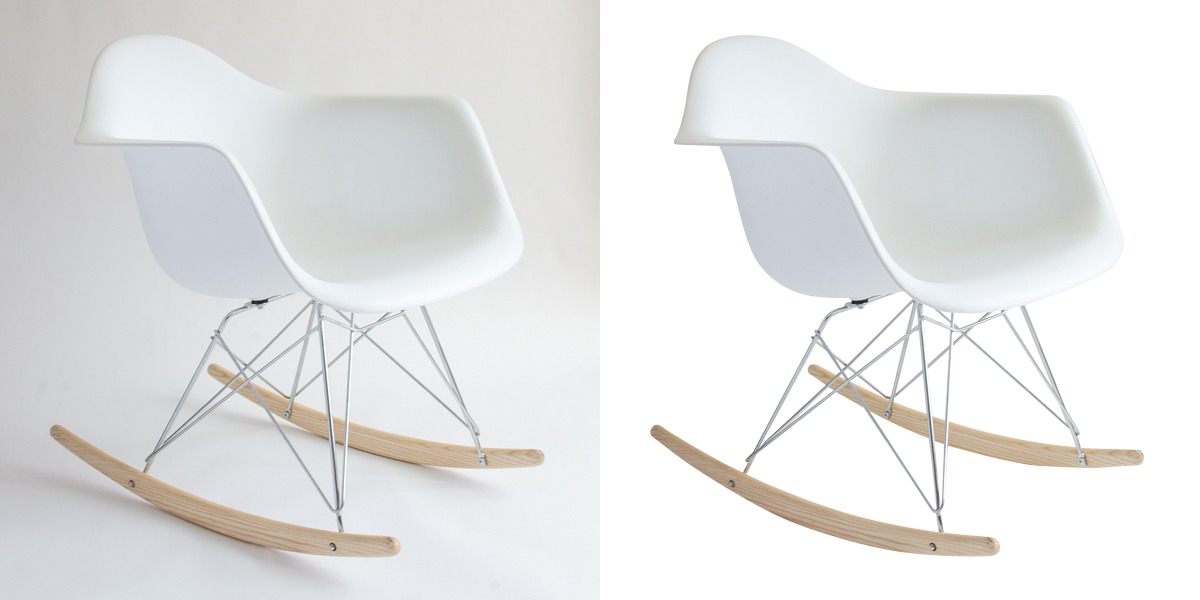
- Remove the background of your photos to give your product images a professional touch.
Share on social: