So you’ve got a great product and your online store is ready to go — now it’s time to get your products online.
At this point, many business owners run into a problem – How can you get those clean, uncluttered product images with beautiful white backgrounds?
Today, we’re going to learn how to remove the background of an image.
Using Photoshop for a white or transparent product image background
In this article, I’ll explain how to edit a photo to remove the background, leaving a clean white or transparent area surrounding your product.
To do this, we’ll be using Adobe Photoshop, and more specifically, the pen tool. This method can be a bit confusing at first, but once you’ve done it a few times it should be a quick and easy procedure. Hang in there — in just a second you’ll learn how to remove the background of an image!
1. Choosing the right image to remove the background
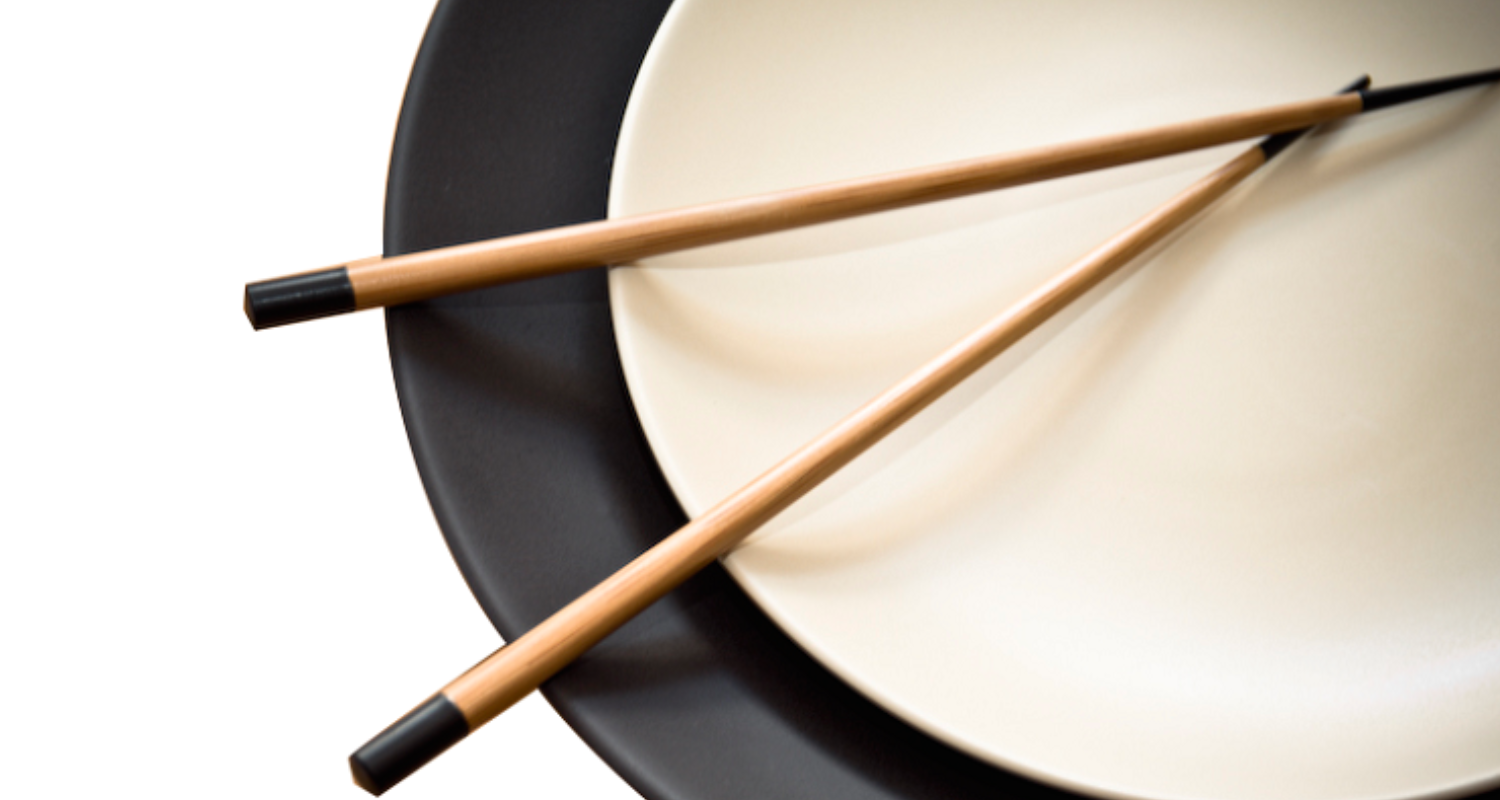
For this tutorial, I’ll be demonstrating the technique on this image of a plate and pair of chopsticks. It’s this sort of simple, striking composition that works best for this technique.
Before we jump into the technical details, it’s worth talking briefly about the picture itself. This image is a good candidate for background removal because the subject is clearly differentiated from the background.
When you’re taking product photography, try to use a background that contrasts with your subject. This will make the technical work of removing the background much easier.
2. Prepare your tools
Anyone with Photoshop 7 or a more recent version should be able to follow these same steps. You can follow along with our example images if you’d like.
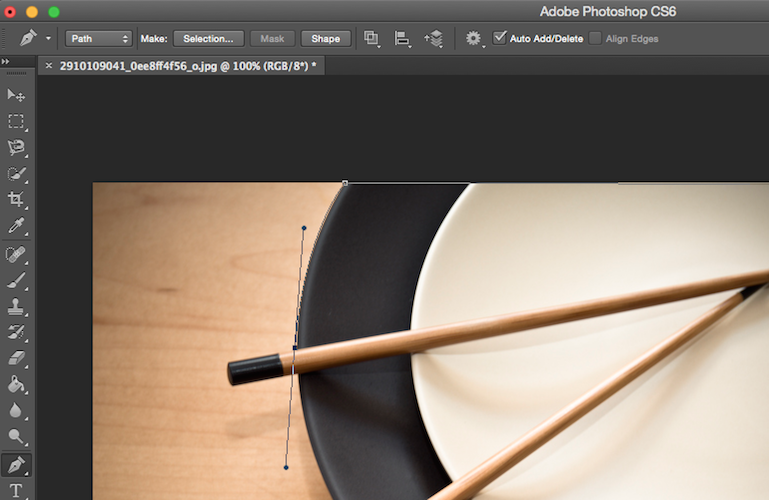
To get started, open Photoshop and load the image file. Now, find the pen tool, which is located in the tools palette along the left side of the app. If you right-click the icon, other options will appear, but for now we’re sticking with the default. You can always use the keyboard shortcut ‘P’ to select the pen tool at any time.
The pen tool is used in this screenshot:
3. Start working with the pen tool
The pen tool works by using ‘anchor points‘ that link together different line segments into something Photoshop calls a ‘path‘. Everything inside this path can then be selected, allowing you to delete the background. Whenever you click on your image with the pen tool, a new anchor point is created.
Work your way around the outline of your product, creating anchor points as you go. This will take a bit of practice, so remember the keyboard shortcut for ‘undo’ (‘Command + Z’ on Macs, ‘Control + Z’ on PCs) and ‘step backward’ (‘Command + Option + Z’ on Macs, ‘Ctrl + Alt + Z’ on PCs). In this case, I’m moving around the image counterclockwise.

Start with the straight edges of the photo to get a sense of how the tool works before tackling the curves.
As you move on to the curves, you’ll have to introduce a new step. Don’t worry, it’s not difficult! As I just mentioned, I’m moving counterclockwise with the pen tool in this image, placing anchor points. My next logical anchor point is where the edge of the plate intersects with the uppermost chopstick — but I’ll need a curved line along the edge of the plate.
The pen tool makes this easy. Click the next anchor point, but hold down your mouse and drag it away from the anchor point. You’ll see two ‘handles’, called bezier handles, appear. These handles will allow you to manipulate the curve of your line. The two handles affect the line on either side of the anchor point you just placed. You can adjust each handle individually by holding down the Option or Alt key and dragging the handle.

It takes a bit of fiddling to figure out exactly how these things work, but once you get the hang of it this should be no problem. Using this method, work your way around the image and connect your last anchor point to your first.
4. Fine-tune your selection
If you need to adjust the anchor points you’ve already placed, you’re in luck — you don’t have to go all the way back to the beginning.
Instead, simply hold down the Command or Alt key while clicking and dragging an anchor point. This will temporarily switch your tool to the Direct Selection Tool. You can also do this manually by clicking on the tool palette or by hitting the keyboard shortcut ‘A’, but it’s easier to use the Command key.

5. Delete the background
Congratulations, the hard part is over! All that’s left now is to select the background and delete it.
To do this, we first have to save the current selection path. To get started, switch back to the pen tool by pressing the ‘P’ key. Then look to the paths palette at the top of the screen. Click the button that says ‘Selection…’.

Ignore the options for now. If you’ve made a clean path around your product, they won’t make a difference. Just click ‘OK’ and your product will now be selected. (The ‘marching ants’ will show what is selected.)

Now you should invert your selection because if you hit ‘delete’ now, your product will be removed and the background will remain.
In the program menu at the top of the screen, click the Select menu and then the Inverse option. Now the background should be selected. Almost done! Now simply hit the shortcut ‘Control/Command + X’ and you will cut away the background, leaving your product on a clean, white background.

But what if you want your image on a transparent background? From here, this is easy. Head into the Select menu and click ‘Re-Select’. The white space of your image should be selected. Invert your selection once again, then hit ‘Control/Command + X’ to cut away your product. Now you should see nothing but a blank white canvas. Don’t panic!
Click on the File menu and create a new document. The dimensions of the file should be filled in based on the size of the item on your clipboard. Make sure to select ‘transparent’ as the background setting, then hit ‘OK’ to create your document. Now use ‘Control/Command + V’ to paste your product image in place, and voila — you’re done!

Here’s the finished image, ready for use! Note that Photoshop uses this checkerboard pattern to represent transparency.
If you’re too busy to edit images in Photoshop, try out Pixc! Our design team will do everything described above for all your product images and have them back to you within 24 hours.

