
Product photography pricing is hard to pin down. It’s such a broad market that it can be difficult to answer the question, ‘What does it truly cost?’
On one end of the spectrum, you have businesses spending hundreds or thousands of dollars for a single product image. On the other end, you have people taking low-quality images on outdated digital cameras.
ALSO ON THE PIXC BLOG: Pixc’s Ultimate Guide to DIY Product Photography
Neither of those options makes much sense to most business owners. You probably want a high-quality image without spending a fortune.
So let’s take a deeper look at product photography costs
This article will break down the true cost of product photography and make some basic recommendations for equipment and technique that will help you get the biggest bang for your buck. Sound good? Let’s get to it.
First up, the costs of product photography can be broken down into four main categories: scene, photographer, equipment and lighting, and editing. Let’s look at each of these categories in turn.
1. The scene: Display stands, mannequins, etc.
To make your products look as good as possible, you need to display them correctly. How this is done differs depending on what the product is.
If you’re selling jewelry, for example, you will need some sort of bust for necklaces, a hand for rings, etc. If your business is fashion, you’ll need a mannequin to make your clothing drape correctly.
It can cost between $50 and $200 to rent a mannequin or dress-form for a week, so factor the cost into your photography budget. (CLICK TO TWEET)
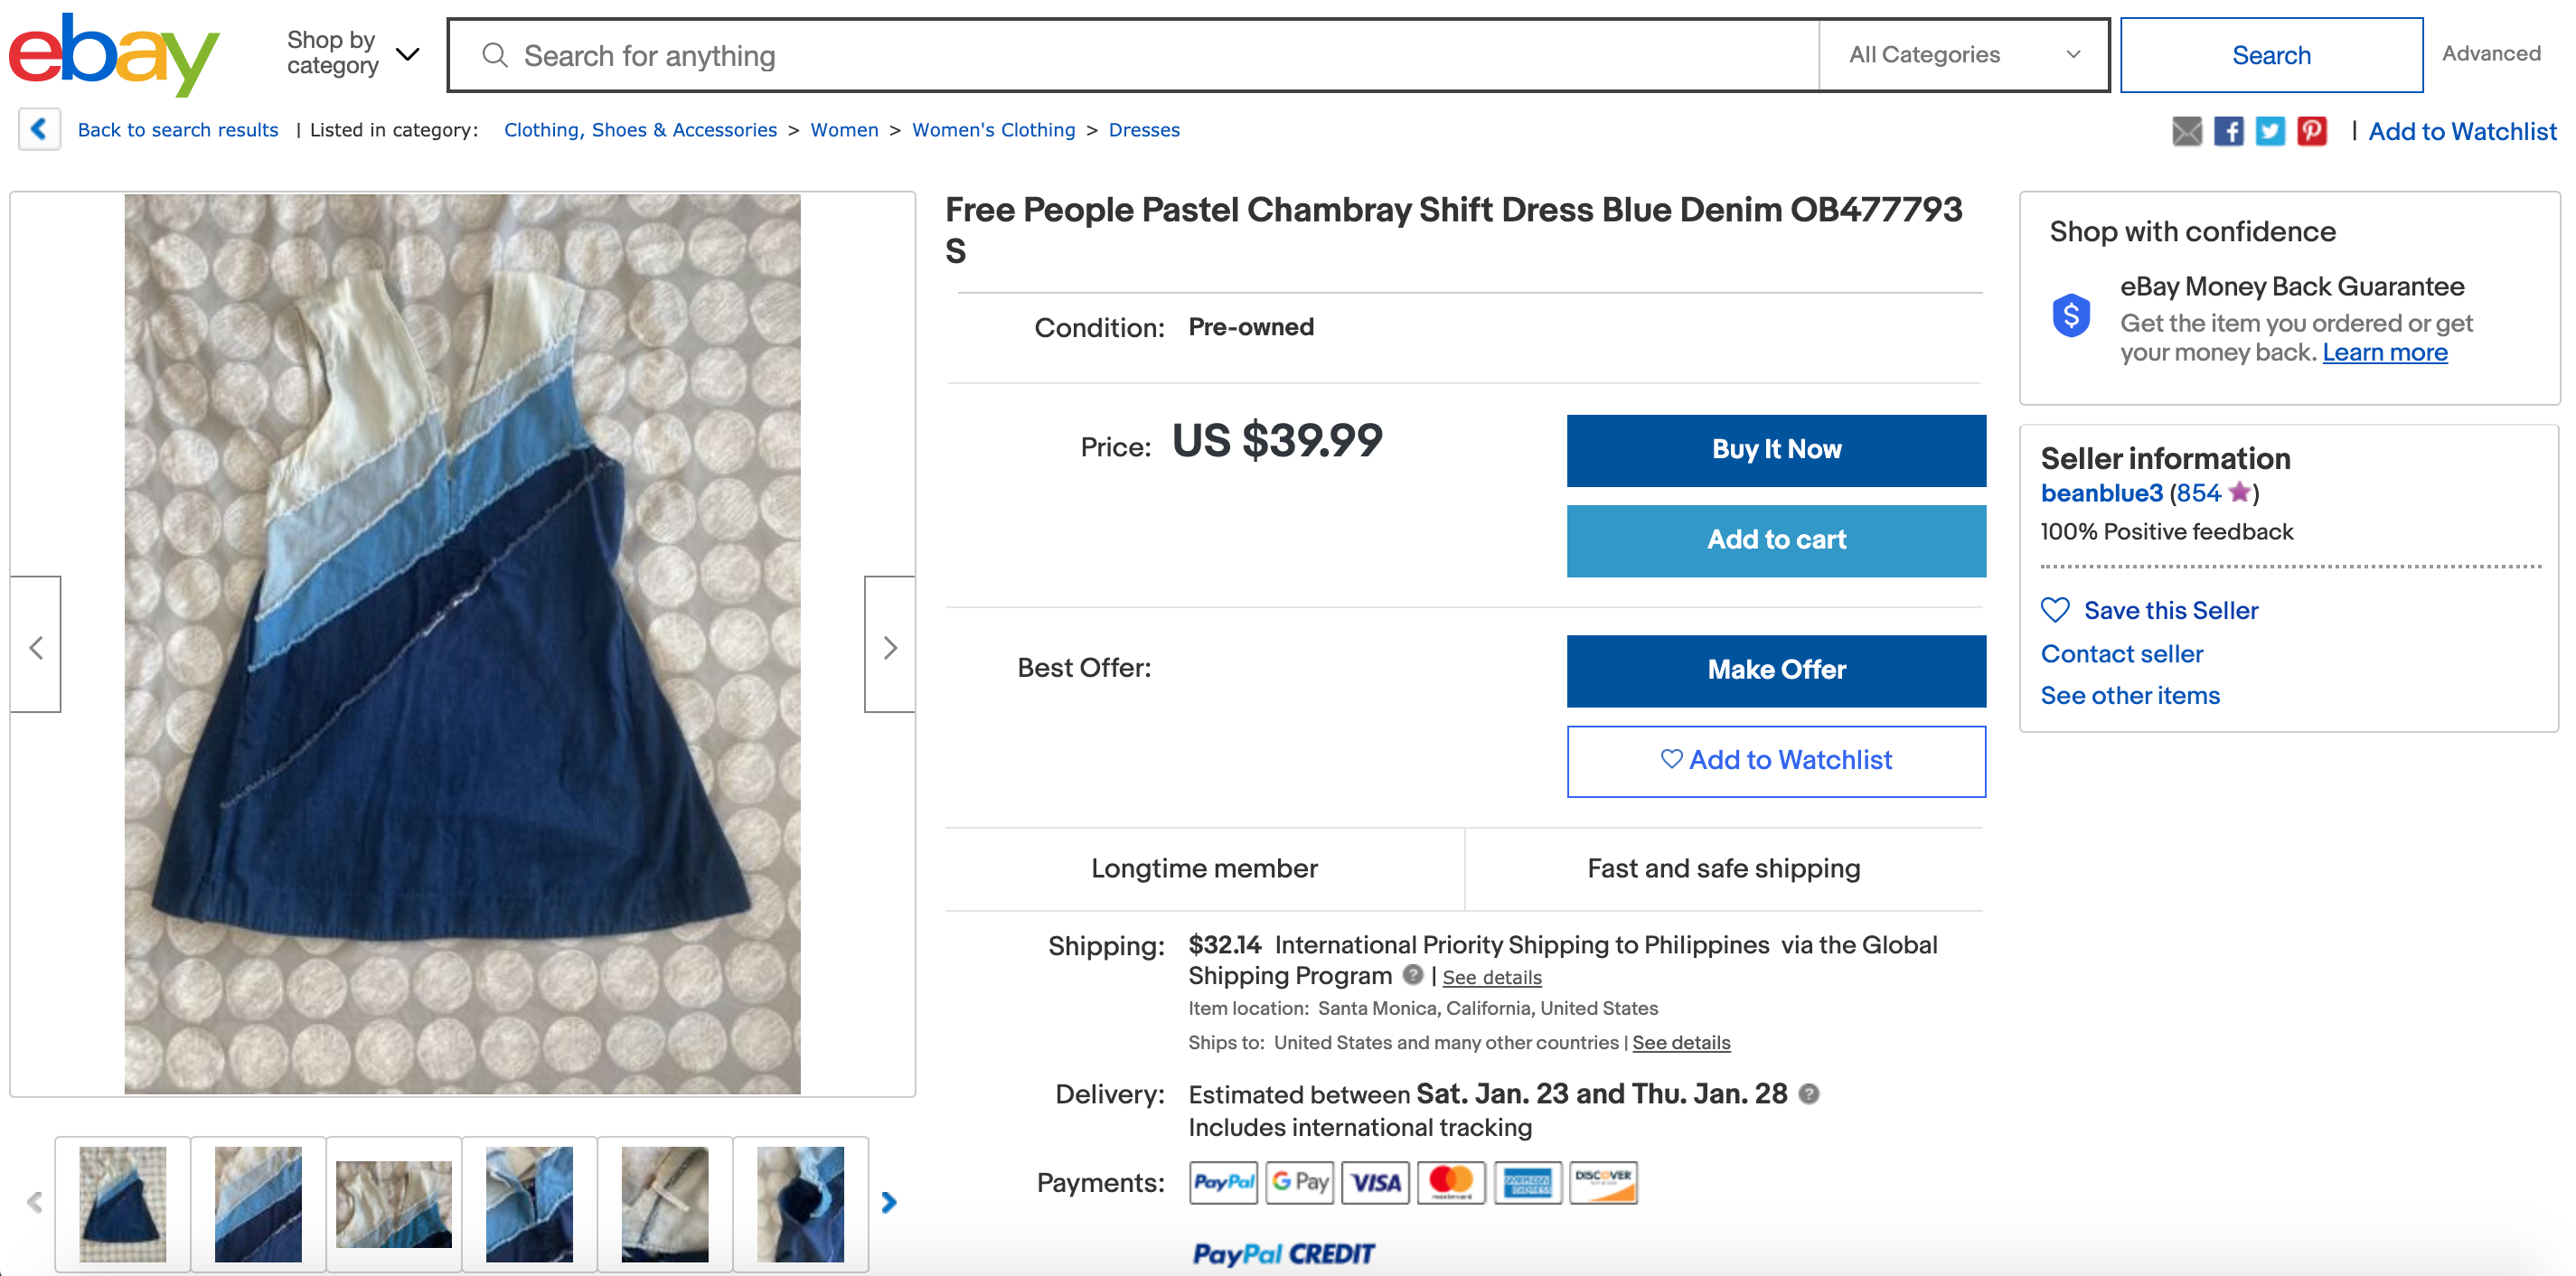
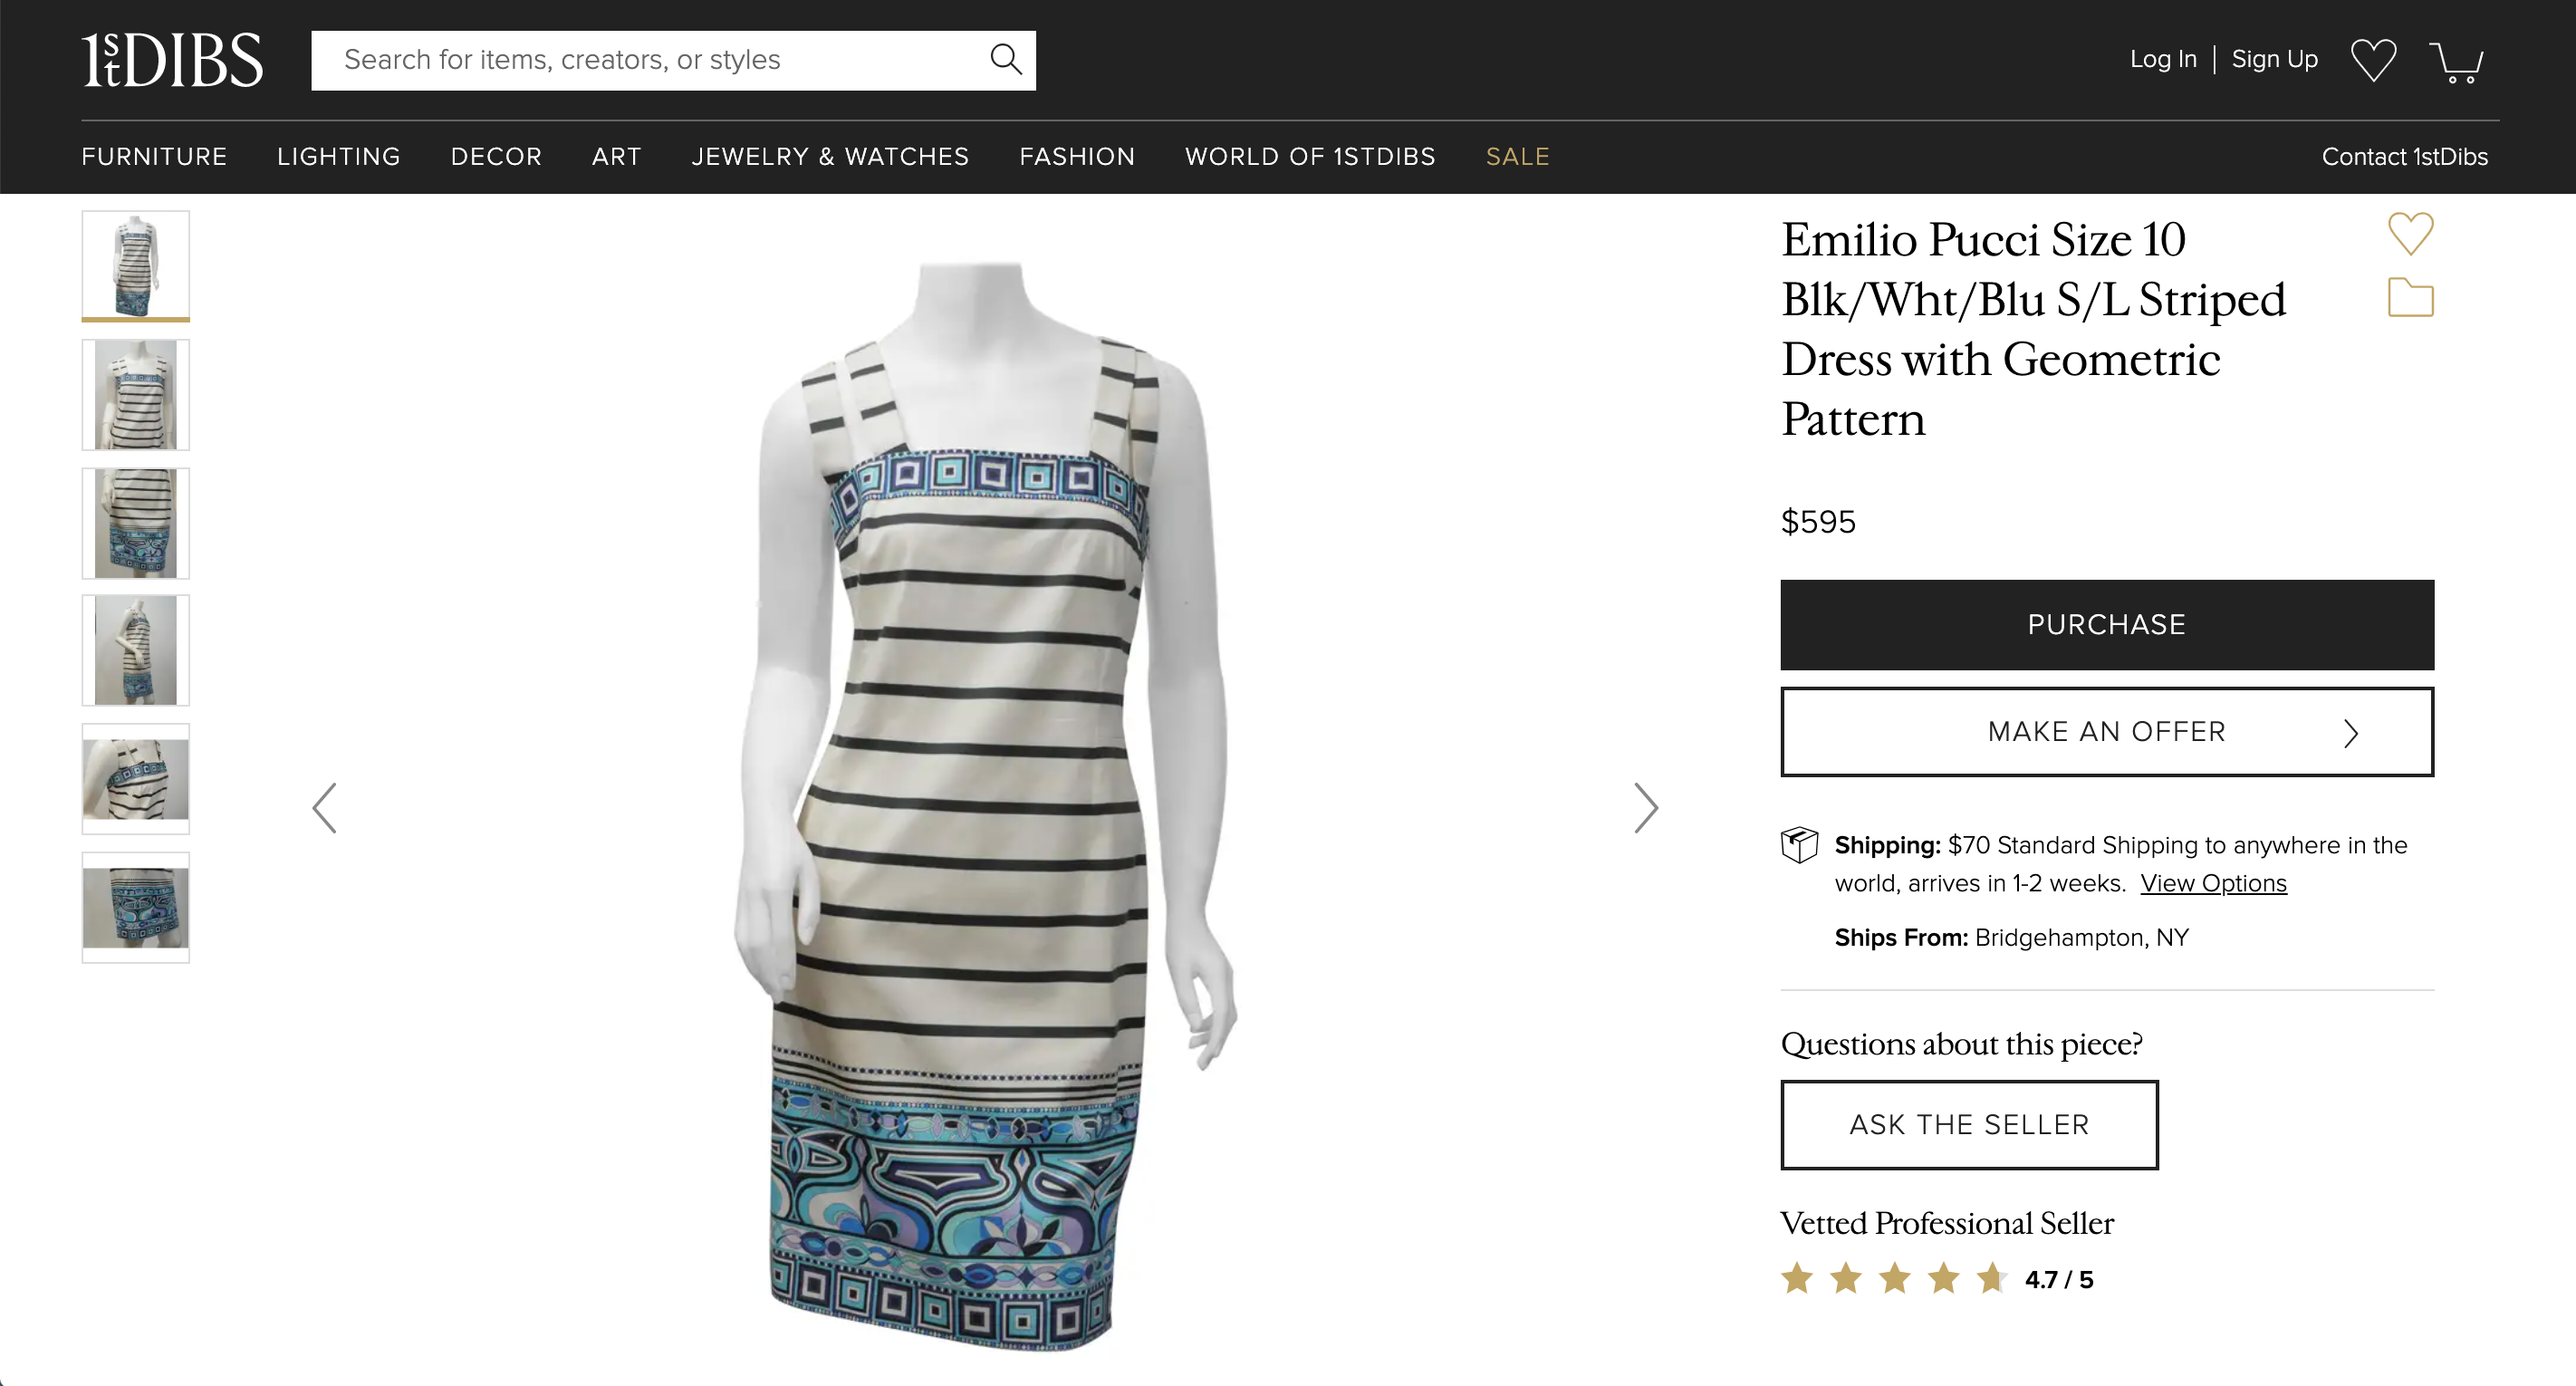
Many people end up skimping on proper display of their products, but that is a mistake. Don’t discount the importance of this step. When your products are displayed properly, it makes a big difference. For example, check out the screenshots below from Ebay and 1stdibs. The dress looks a lot better displayed on a mannequin, where you can see the drape of the fabric.
It can cost between $50 and $200 to rent a mannequin or dress-form for a week, so make sure to factor these types of costs into your budget.
2. The photographer
The next cost of product photography to consider is the cost of the photographer. There are two options here: DIY, or hiring a professional.
Professional product photographers are highly trained and experienced. Their job may not seem that hard, but when you try to take a great product photo of your own, you may soon realize that you’re no pro. It’s no wonder these folks are able to charge hundreds or thousands of dollars for a single shoot. If you’ve got the budget and want only the best, this is the way to go. You’ll pay, but you’ll get the best possible image.
Of course, taking product photos yourself is a great option for many businesses. By doing the job yourself, you can cut costs and create a quick turnaround. But either way, the photographer is a cost. Either you’re taking time out of your busy schedule or you’re paying someone else to do it. Think about what you can budget for the photographer — in terms of time and money — when planning your product photography budget.
ALSO ON THE PIXC BLOG: Images That Drive Sales: 5 Essential Product Photography Tips
3. Equipment and lighting
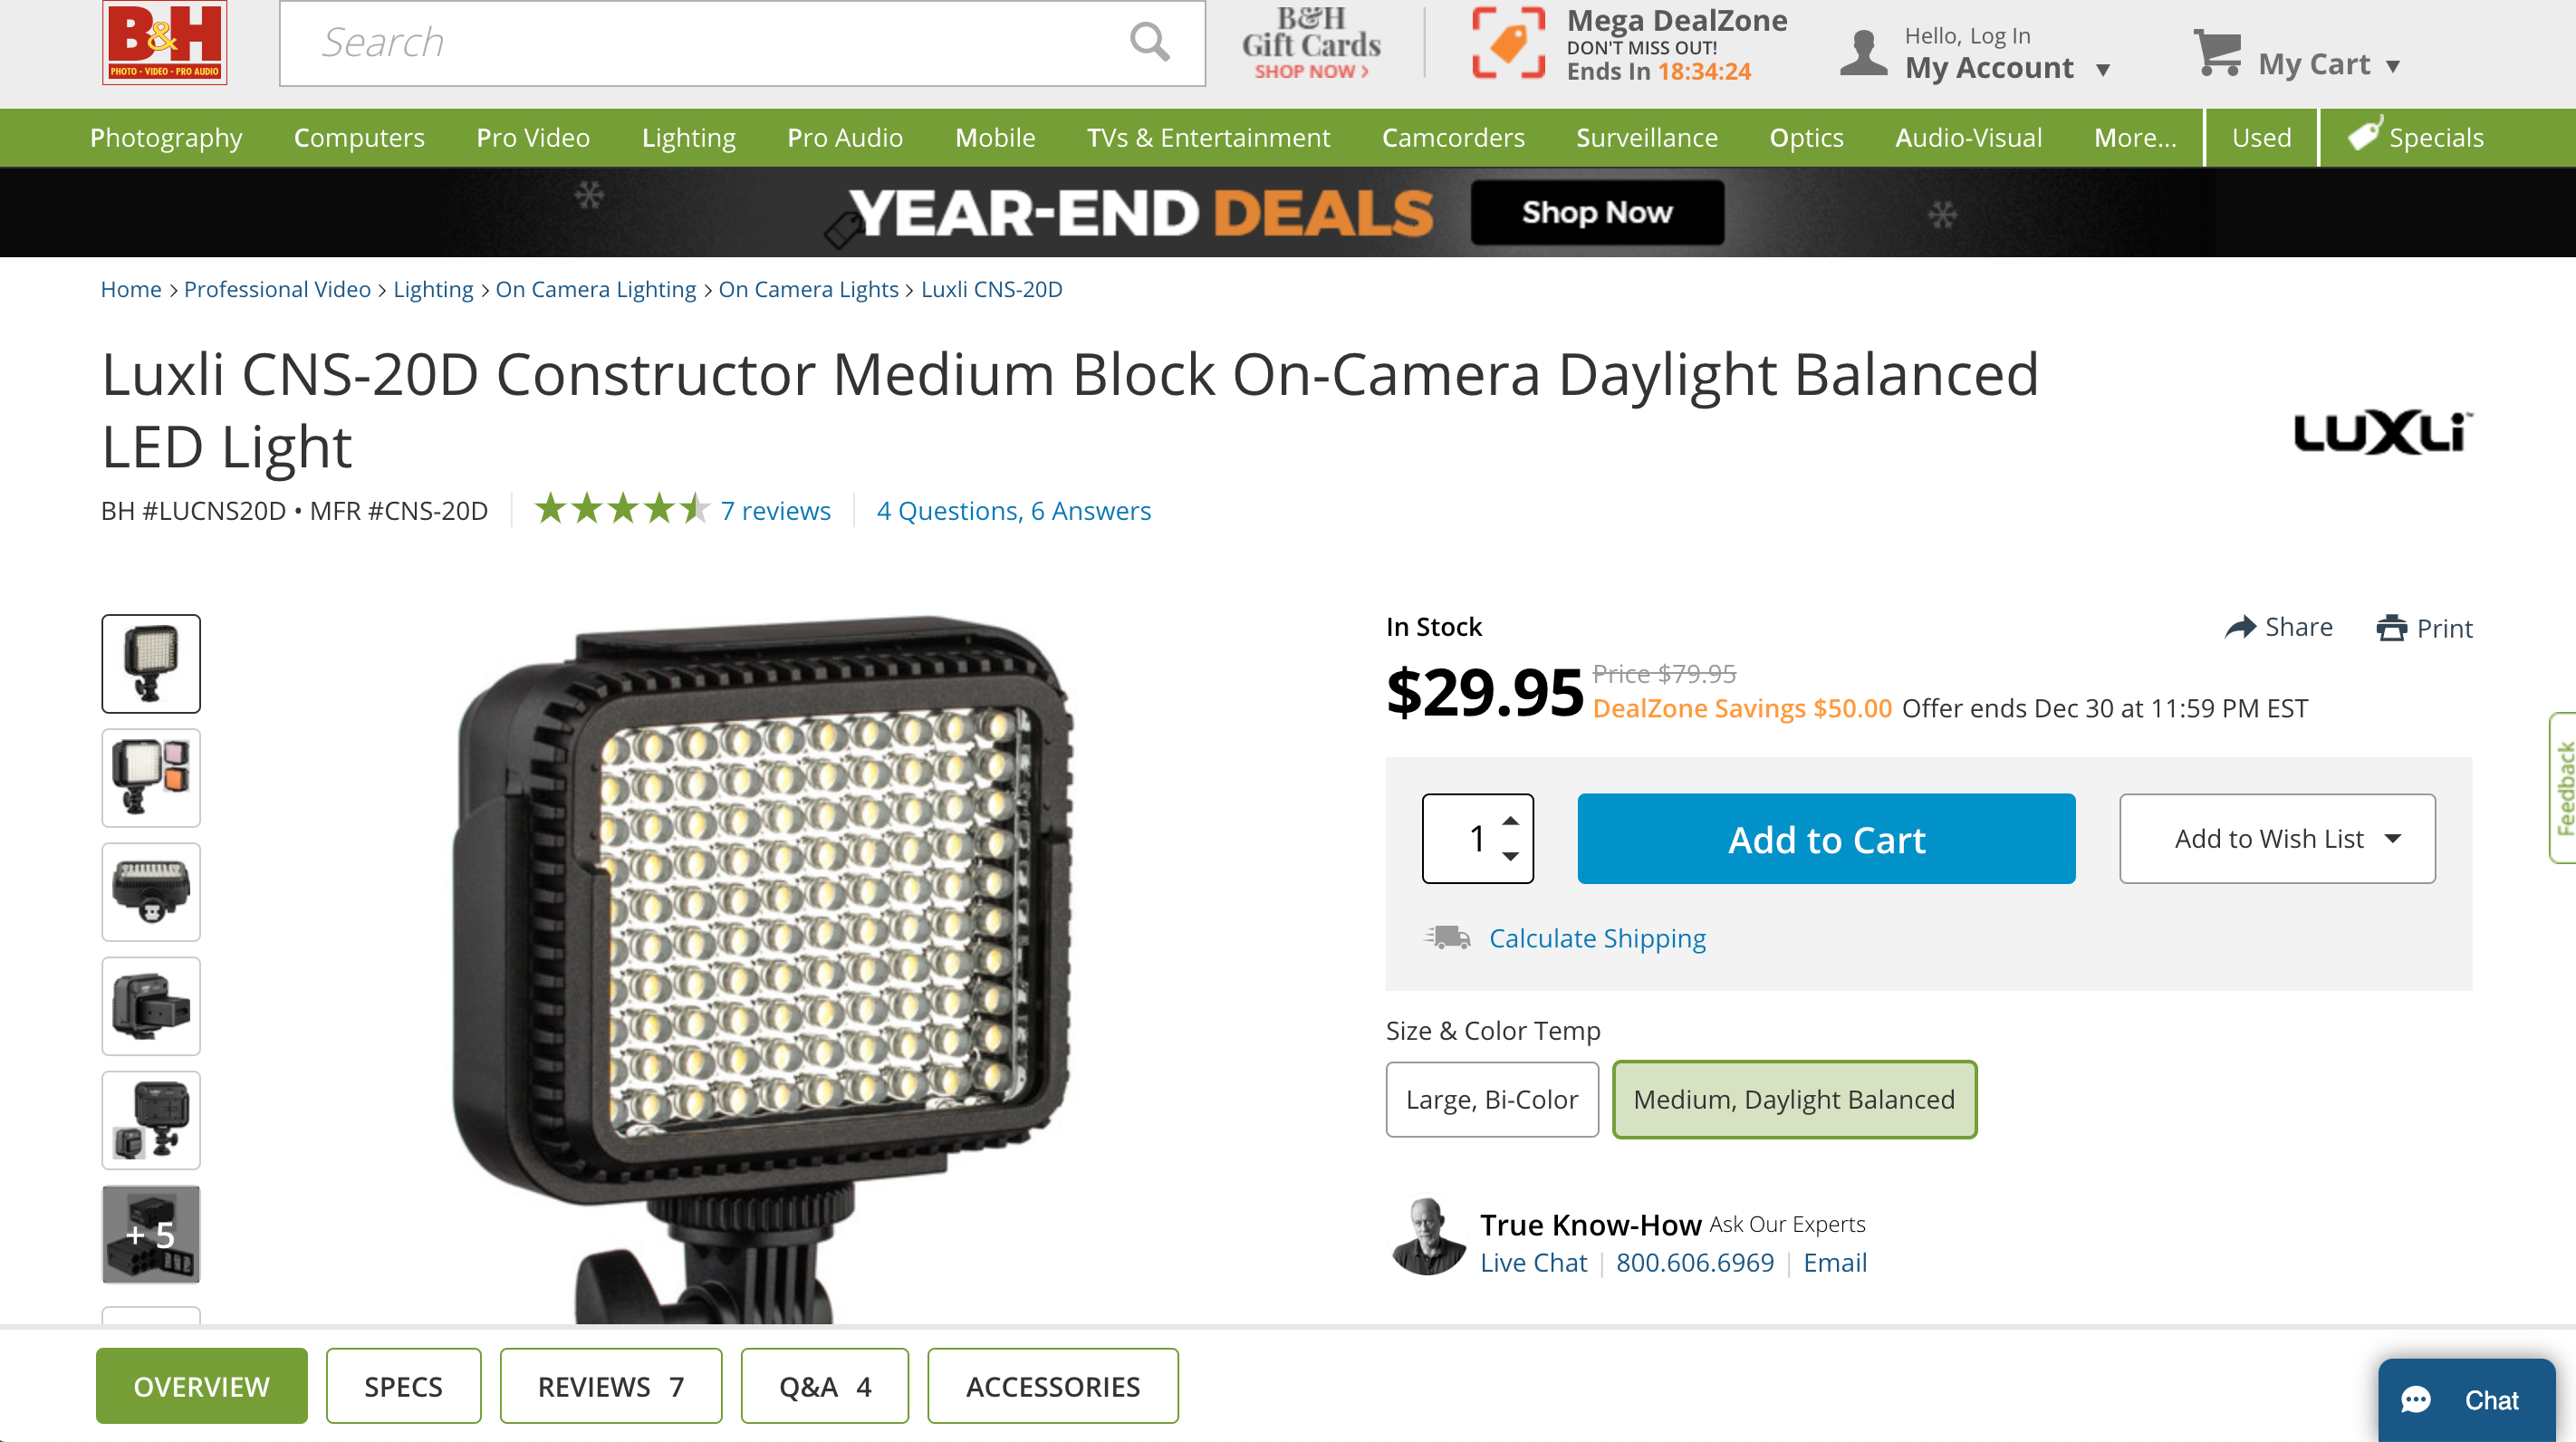
Simple, affordable LED lights like this one (from B&H) can greatly improve the quality of your product photos.
The cost of equipment and lighting can be a significant part of the total cost of product photography. Professionals tend to use large studios, expensive, large-format cameras, and pricey lighting rigs, and they factor the cost of purchasing and maintaining this equipment into their billing.
Professional photographer Yuri Arcurs spent an astonishing $300K euro just on lighting equipment for his studio! (CLICK TO TWEET)
– via Yuri Arcurs
On the other end of the spectrum is the equipment that’s probably in your pocket right now. These days, almost everyone has a relatively high-quality digital camera in their phone. I’ve seen some great results from camera phones, but you’ll need to work if you want the best result.
ALSO ON THE PIXC BLOG: Building Your Product Photography Studio on a Budget: Tips from a Pro Photographer
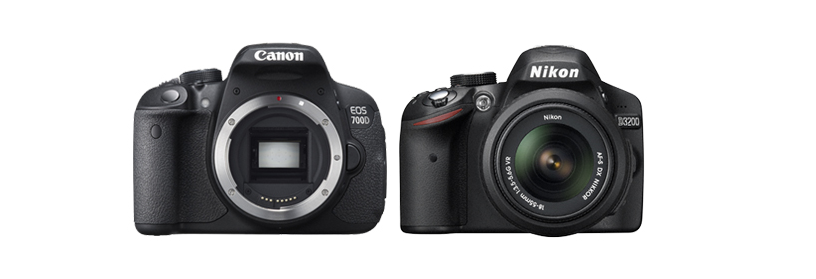
The bottom line is you can spend as much or as little as you want on equipment and lighting for your product images. But as always, quality costs. For a mid-range solution, I recommend an entry-level DSLR and high-quality 50mm lens. This sort of setup can cost around $800, but will deliver much greater quality and creative control than a smartphone.
If you’re careful, you can even get by using natural light sources! But if you want the best quality, you should invest in a few small photography lights. By spending around $1000, you should be able to get a high-quality DSLR, a great lens and a few lights that will help take your product photos to the next level.
4. Editing
The final cost of product photography is the cost of editing. Editing can be a time-consuming process, especially if you don’t know what you’re doing. I quite enjoy image editing, but many people find it tedious. Fine-tuning the lighting, color and exposure of your product images can really make things pop, but it can also drive you nuts.
There are a bunch of editing tips on the Pixc blog. Check out those articles if you want to brush up on the tricks and techniques of image editing for product photography.
ALSO ON THE PIXC BLOG: 11 of The Best Photo Editing Apps You Need To Try!
Product photography pricing: Summing it all up
Product photography pricing really only depends on your imagination and your budget. If you’re looking for an affordable option, you can do most of the work yourself using barely any equipment. But be careful: If you’re cutting too many corners, you could be compromising on quality and losing customers.
If you have the budget for it, you could hire a professional to guide you through the process of photographing your products. You’re sure to end up with a great result, but you might break the bank in the process.
Here at Pixc, we advise most business owners to go with a mid-range option by investing in some basic photography gear and outsourcing the editing work, like removing backgrounds from your product images, to us.
If you have any questions, make a comment below and we’ll be sure to get you a quick answer!