Recently, we gave our top tips on how to photograph jewelry to help you create retail-ready product images.
Clothing isn’t as tricky, as you’re not dealing with small, shiny and detailed pieces. But I still thought I’d put together a quick list of tips and tricks on how to take photos of clothing for your online store.
1. Use a dummy/mannequin
Save flat lays for when you’re in need of a cool visual to share on social media. I think when it comes to product images, displaying a product in a more realistic form is of much more value to your customers.
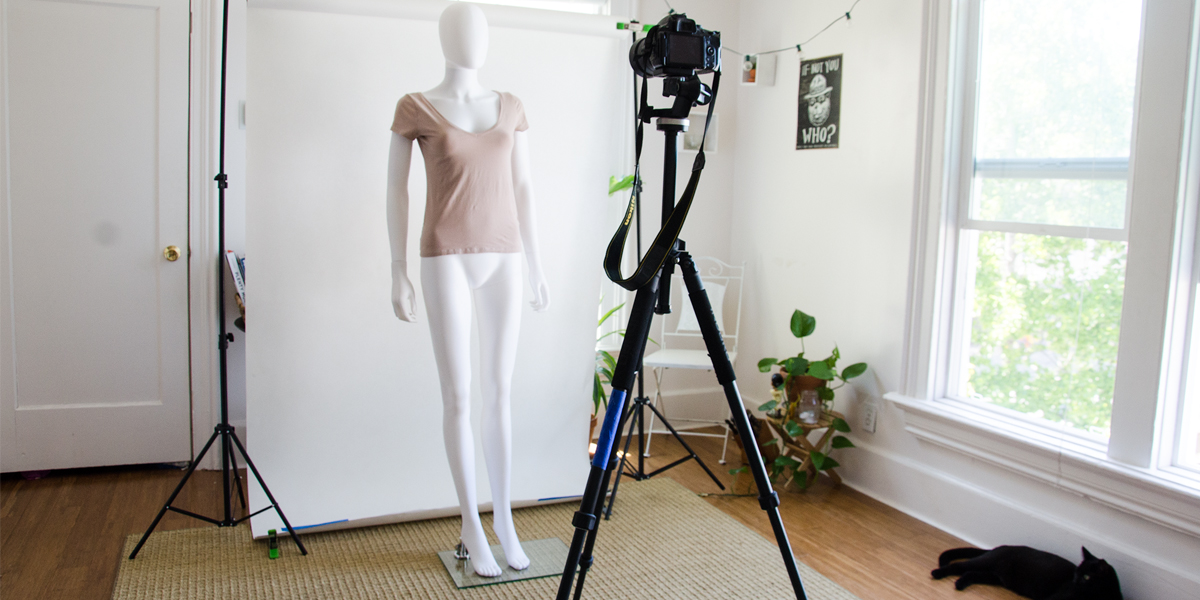
Remember that your customers can’t try on your products, and are often hesitant to purchase products because they can’t image how the products will look on themselves. A mannequin will help give a realistic human shape to your clothing, and it will be just as quick to dress the mannequin as it will be to nicely arrange a piece of clothing on the ground. Removing the background and leaving just the product with a human form will take your product image to the next level.
A quick tip: Avoid amputated arms, unless you’re shooting something strapless. It will take lots of time and skill to give a dangling, empty sleeve a realistic form on Photoshop, whether you remove the background or not.
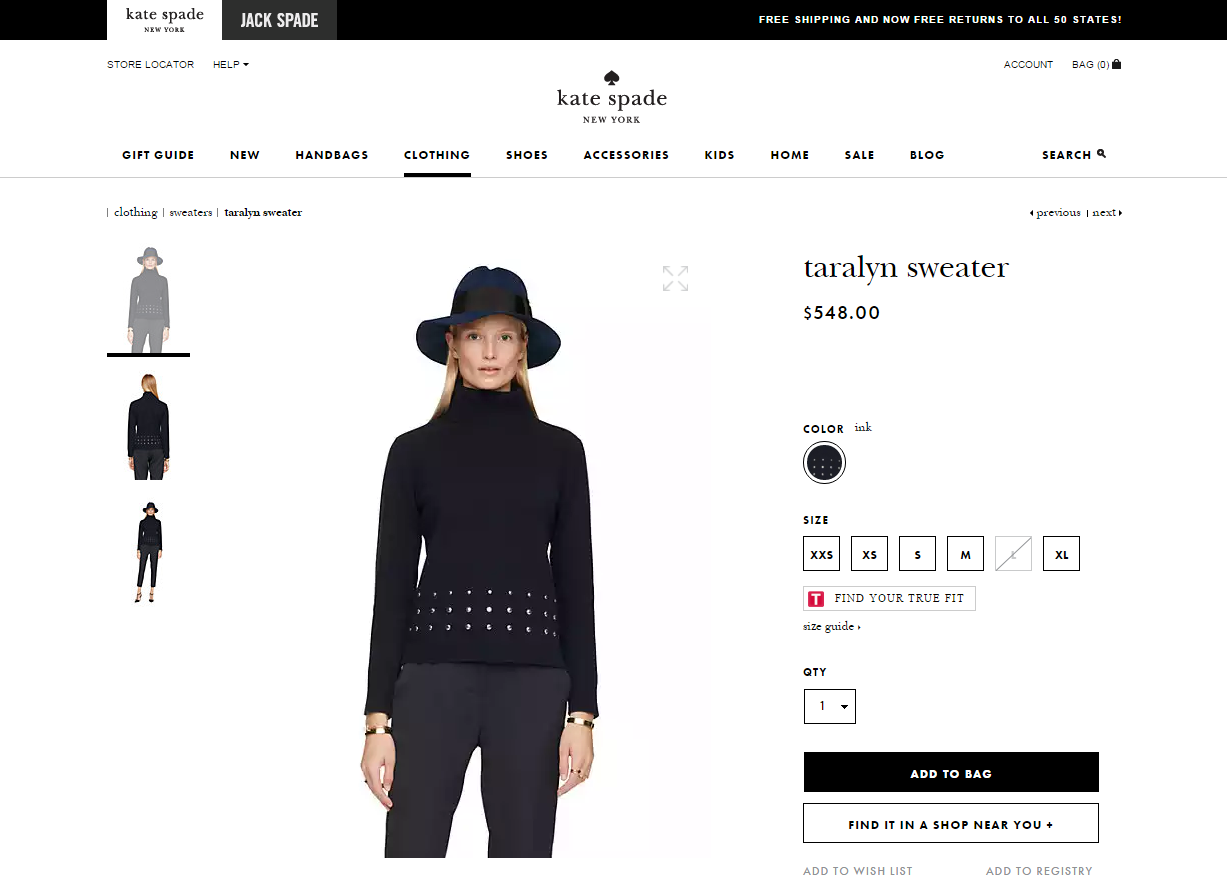
Source: Kate Spade
2. Hire a model
Models will cost you more than a mannequin and you will have to find a mutually convenient time, which isn’t always easy.
However, models have the advantage of being able to strike any kind of pose or work with any kind of angle that flatters your piece, which will help you create the perfect in-context shot for your product. A lot of online stores like to use models because they choose models who they think represent their ‘target customer’.
If you’re on a budget: A good idea is to use a mannequin for your standard front, back and side product images because these should be simple poses that show off the product alone. Then, use a model to show what the product looks like paired with some of your other products. You should experiment with different poses but make sure you don’t cover up too much of the product you’re selling with hands or accessories. Avoid sitting, jump shots and motion shots.
Victoria’s Secret does a great job with their in-context photos. Have a look at the screenshots below:
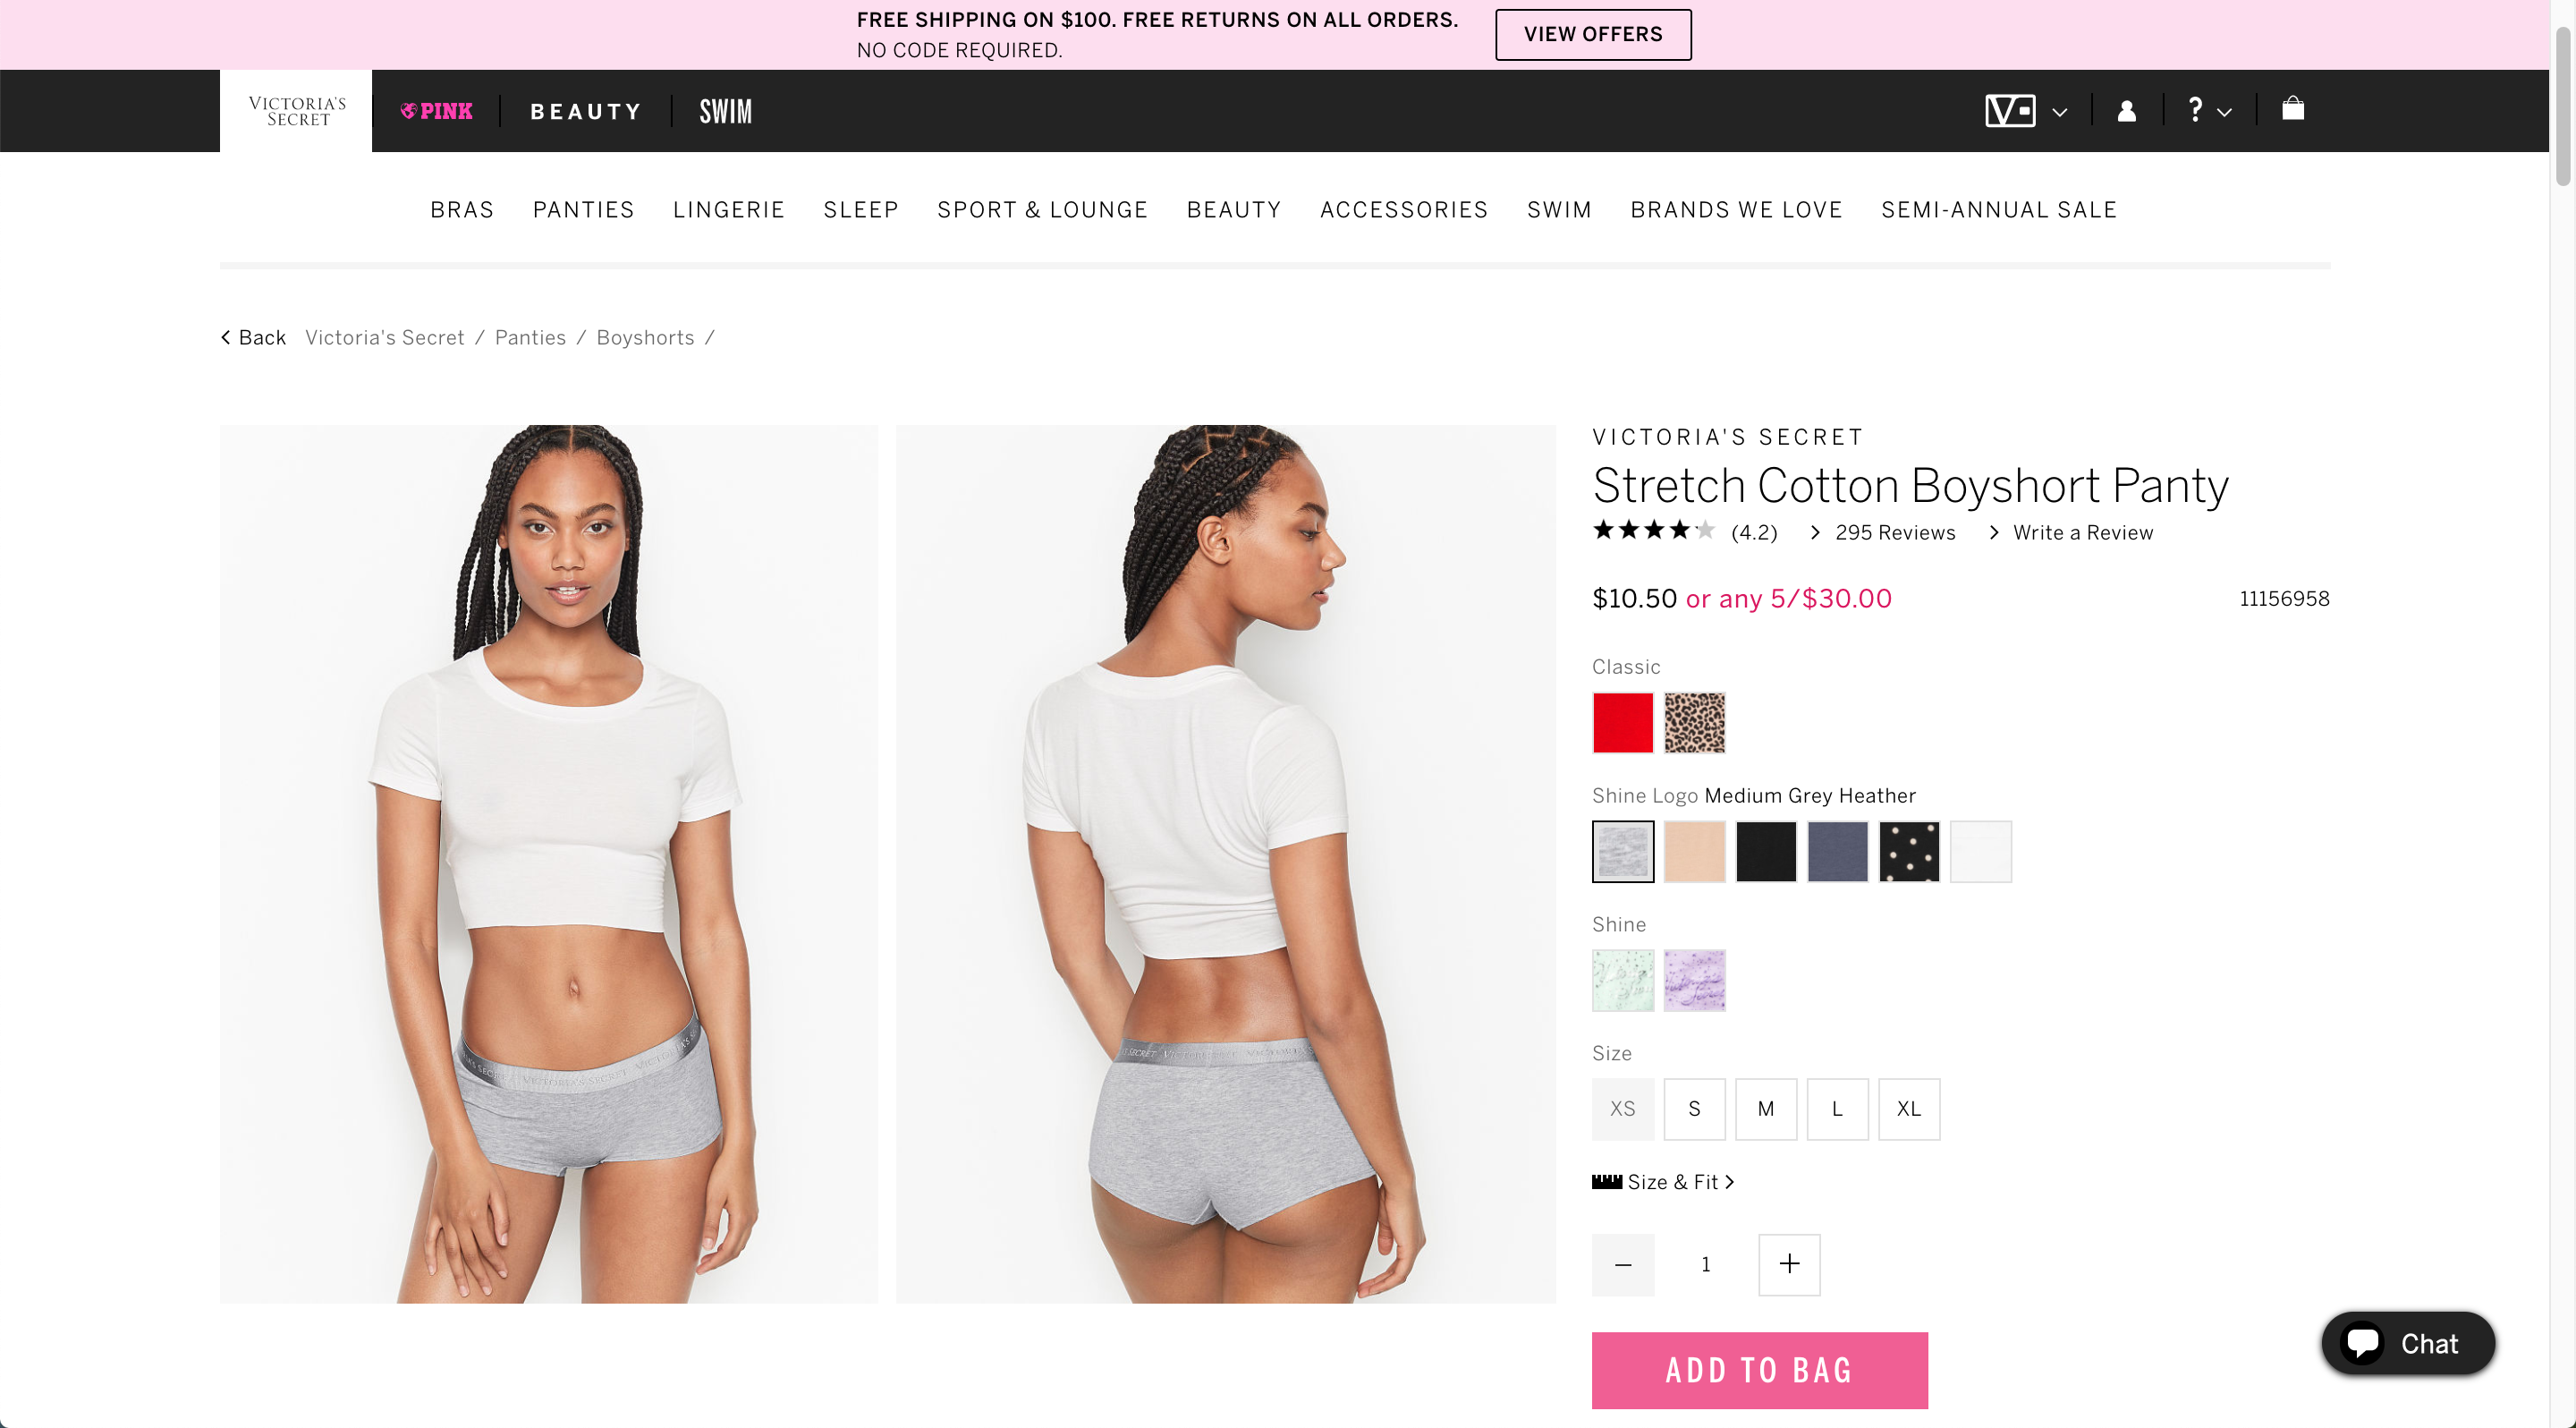
Source: Victoria’s Secret
3. Show off the details
It’s not always easy to show off the product’s texture or any details in a full-frame product image, so it’s always good to complement your product with a few close-ups of these things. Buttons, tags, stitching, patterns — anything you think makes your garment more interesting.
4. Use props
Don’t be afraid to use props and tools to help you make the product fit the mannequin or model better. If the clothing available is larger than your model or mannequin, pin the loose portions at the back using a laundry clip.
- Use magic tape/transparent tape to fix loose portions at the side. You can also tape any tags if they’re visible.
- If the mannequin has a small bust, use a padded bra inside the clothing.
- If you want a skirt or dress to look ‘flowy’, have the model wear a petticoat inside the dress.
- If you want the garment to have a bit of movement, try using a fan on a low setting from a distance.
- Use an iron to get rid of any wrinkles before you shoot. A steam iron will give you the best results, but you can also use a regular flat iron.
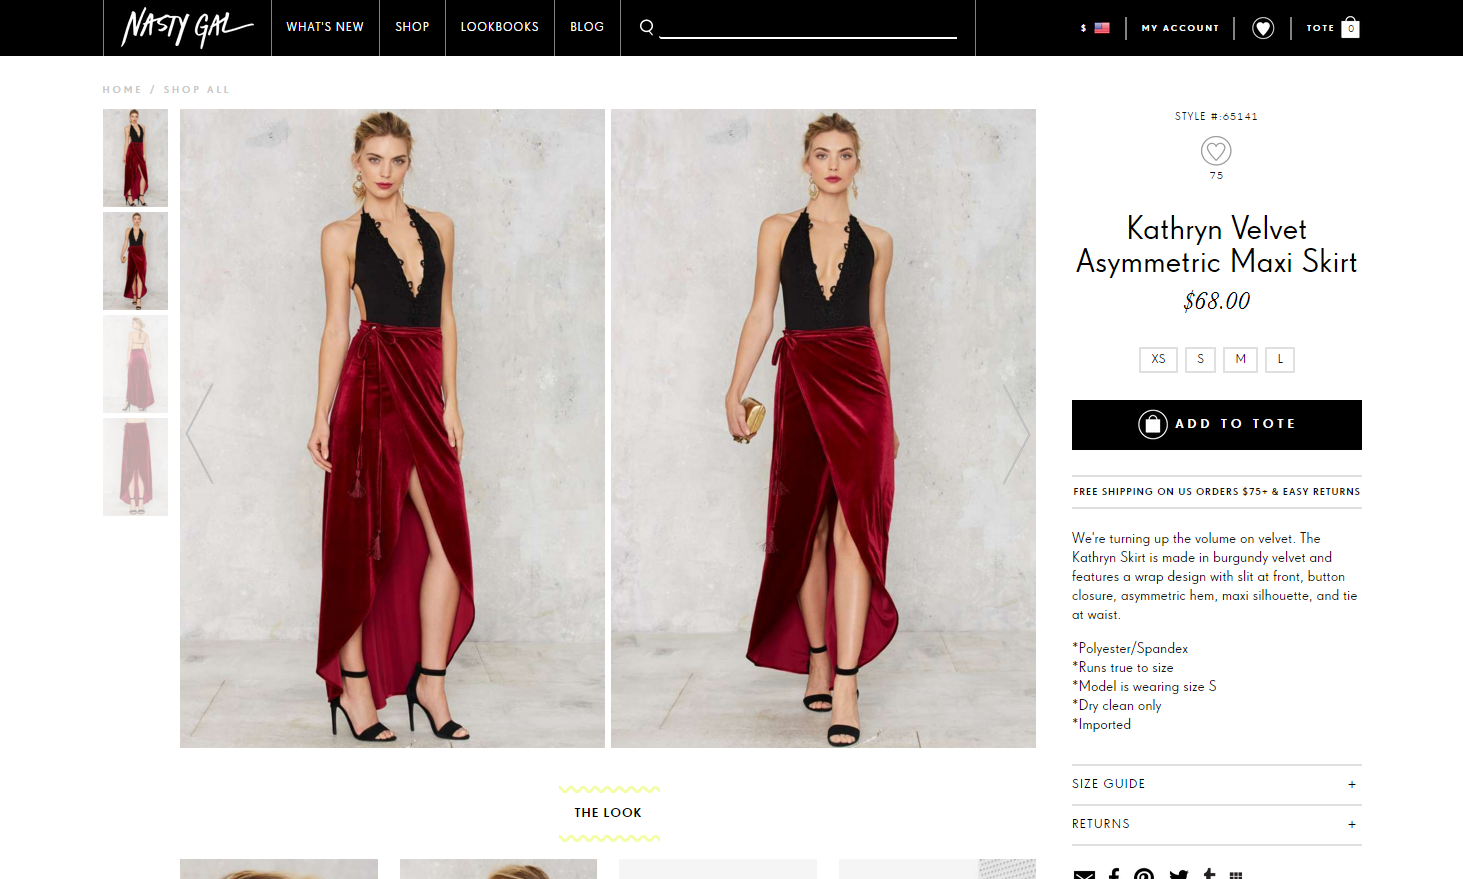
Source: Nasty Gal
5. Create ghost mannequins
Are you ready to take your online clothing store to the next level? Think about creating ghost mannequins — you can’t get any more professional than that.
A ghost mannequin effect makes your product look like it’s floating on an invisible ghost. By showing small sections of the inside of the garment, you give the product a more three-dimensional form.
You don’t need to hire a model for ghost images; a mannequin will work better. The process of taking a ghost mannequin isn’t easy, but trust me when I say it’s definitely worth it.
How to create a ghost mannequin:
Take a photo of the product from the front. Then take a photo from the back, but turn the product inside out. You should use a tripod for this and avoid changing the amount you zoom. A good idea is to also mark a spot on the floor for your mannequin so it’s in the same spot for both photos.
The next step is removing the background, as you need to be able to see the back through the front. Then you just have to place the front on top of the back in Photoshop, which shouldn’t be too difficult if both your photos were taken from the same distance and angle.
I do understand that this requires a certain level of skill and a bit of extra time, so if you ever need help doing this Pixc can remove the background and create the final ghost images for you.
Read our step by step post on how to create a ghost mannequin effect in Photoshop.
Now you know how to take photos of clothing!
Photographing clothing can be both easy and fun. Give it a whirl! You can create amazing images on your own that will not only dazzle your customers but increase your sales too.
Share on social: