Building your own product photography studio on a budget is as simple as finding the perfect product photography equipment.
A few simple investments, like upgrading from a camera phone to a DSLR or mirrorless camera will greatly improve the quality of your product shots, and having the equipment you need to take these pictures in-house will save money and time over hiring someone else!
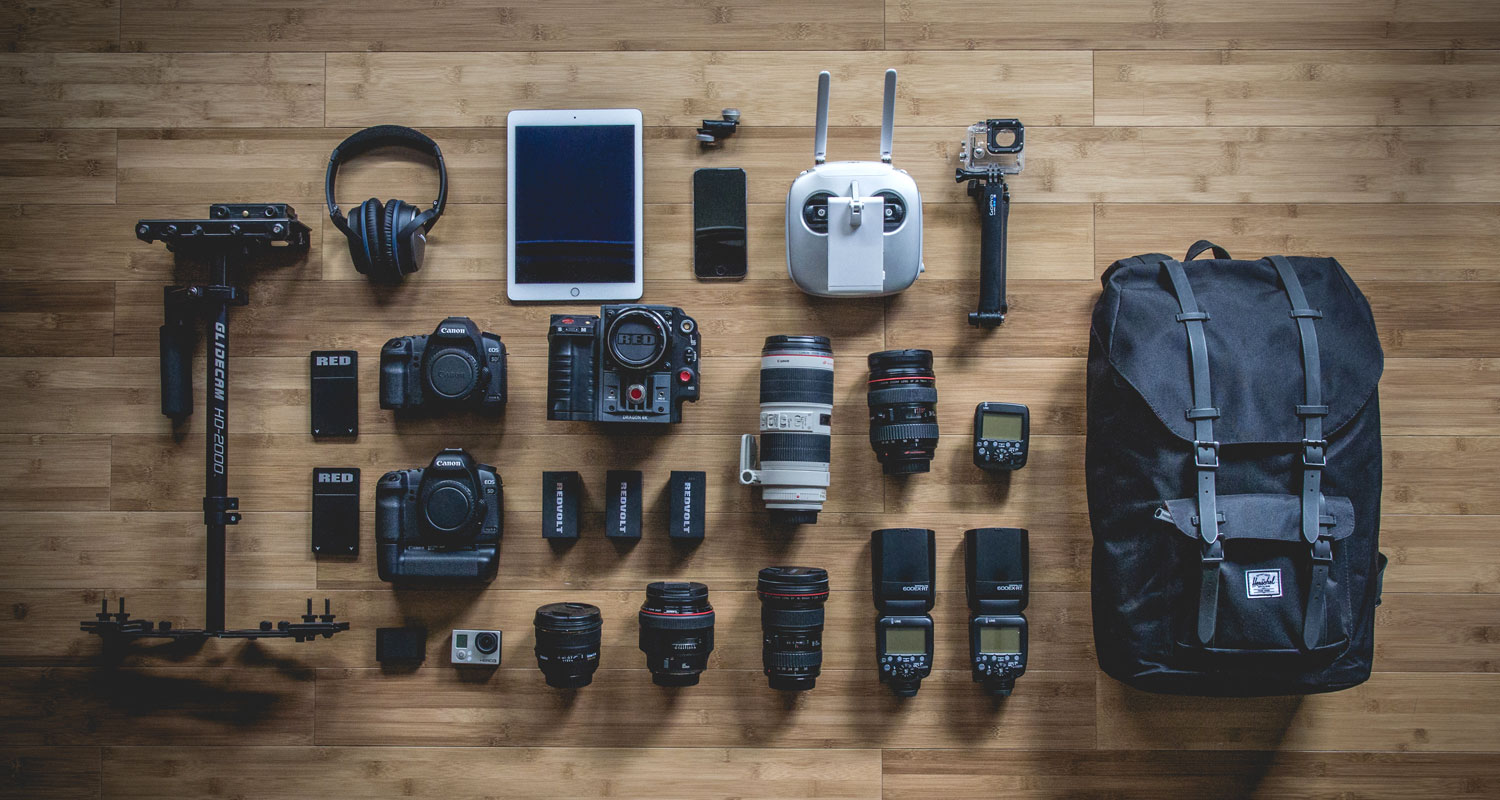
In this article, I’ll guide you through some of the basic equipment you’ll need to create your own home-based product photography studio on a budget that suits you. Why should you trust me? Well, as a professional photographer with nearly a decade of experience in both commercial and fine-art fields, I know this equipment inside and out.
Now let’s get down to business, starting with the first (and most basic) piece of equipment.
1. Choose the right camera
The basic building block of a photography system is the camera. The camera (or ‘camera body’ as it is sometimes known) is where your images are recorded. Back in the day, the camera body held the film. Nowadays, it contains the digital image sensor that records each photo.
Finding the right camera for your needs can be confusing. There are dozens of different models available, ranging in price from a few hundred dollars to thousands. For the sake of this article, we’re going to focus on low- and mid-range camera bodies averaging $500-$1200 that will appeal to most business owners.
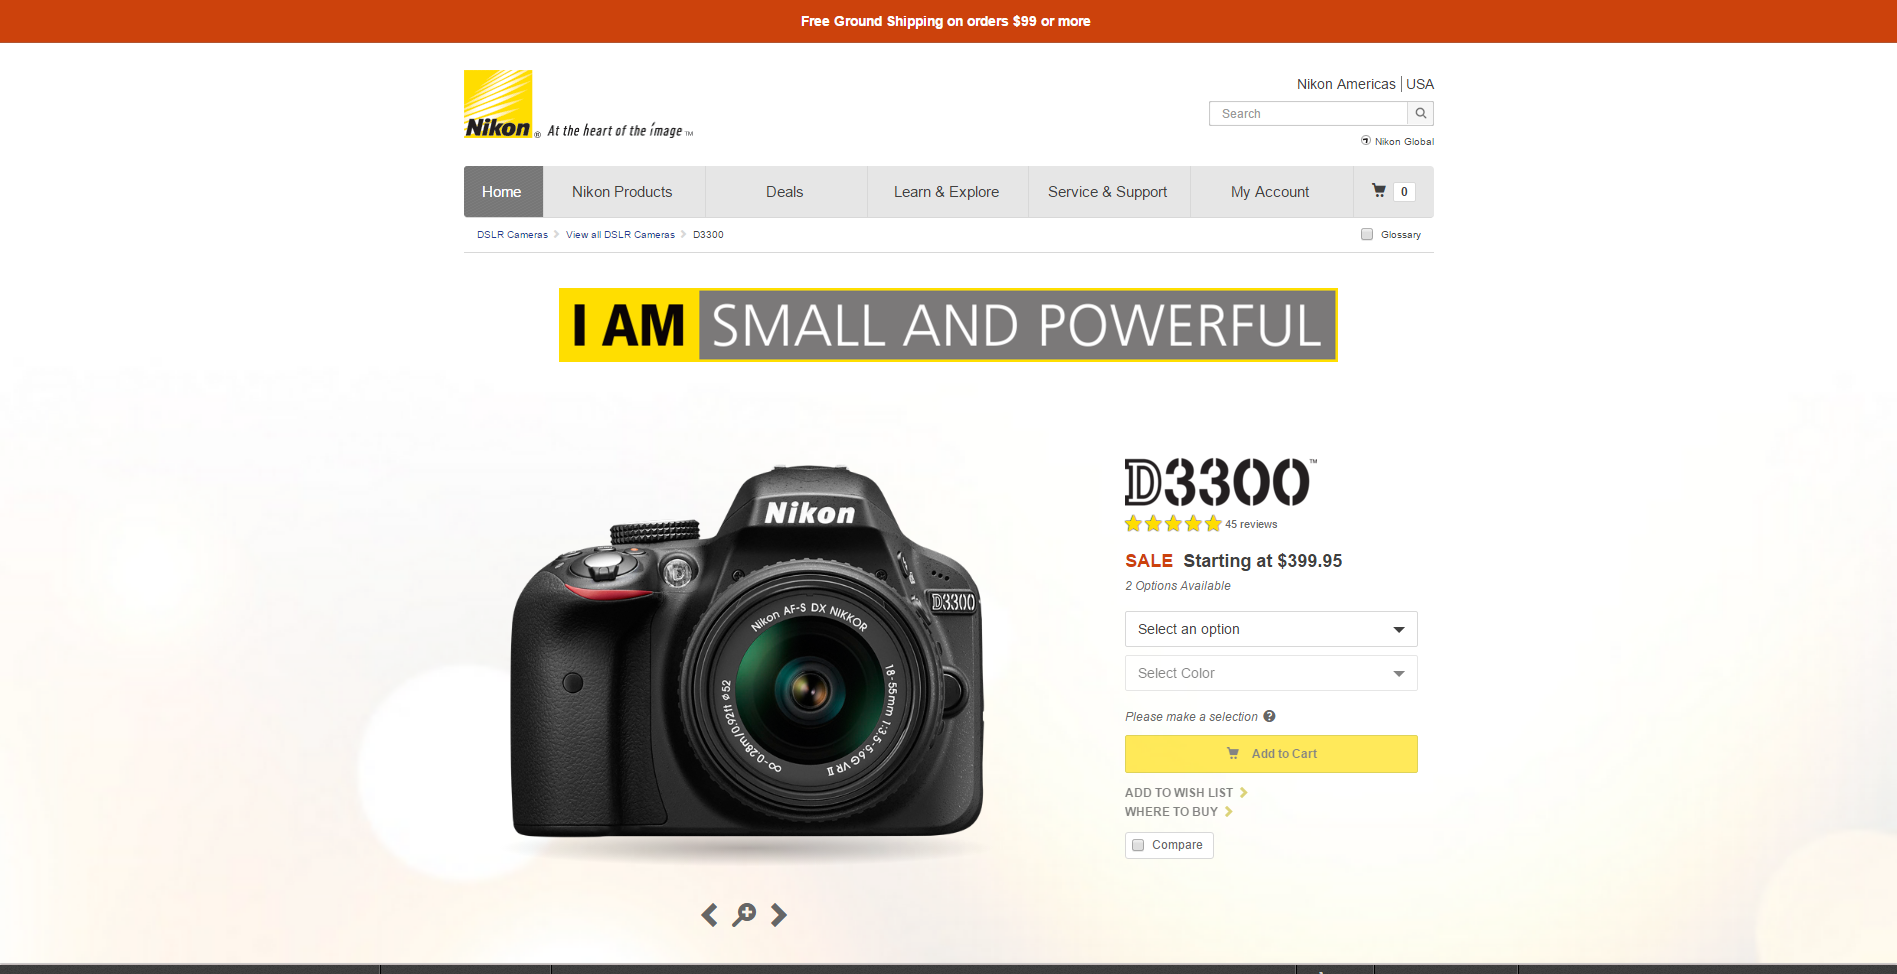
Look for a camera body that accepts different types of lenses and is built for enthusiasts or prosumers. Any recent models from prominent manufacturers like Nikon, Canon, Sony, Olympus, Pentax, Samsung or Panasonic should fit your needs. If you want my recommendation, I’d go with the Nikon D3300. It’s a solid camera at a great price, and Nikon is compatible with a wide stable of lenses for your future needs.
While you shop, you may come across references to ‘sensor size’. There is a great technical explanation of this from Gizmag here, but don’t worry about it too much. Generally, you’ll be looking at a 4/3rds or APS-C-sized sensor. If you need better image quality, look for a body with a ‘full frame’ or ’35mm’ sensor.
And don’t worry about being value-minded when it comes to your equipment. For almost all product photography, even the simplest modern DSLR or mirrorless digital camera should suffice. Unless you’re making images for HDTV or billboards, you can get more than enough quality for websites and brochures from a $500 camera — as long as you have the right lens.
2. Pick the perfect lens(es)
Any professional photographer will tell you: Lenses are more important than cameras.
The lens is what gathers and focuses the light from your product, and the techniques required to shape glass lenses have been refined for well over 150 years. For your product images, the lens choice should be easy: You want the highest quality at the lowest price.
For most product shots, you could stick with a basic ‘kit’ lens (an 18-55mm lens or similar is often bundled with a new camera body). But for my money, I’d skip the kit lens, get my camera ‘body only’, and buy a cheap prime lens on the side.
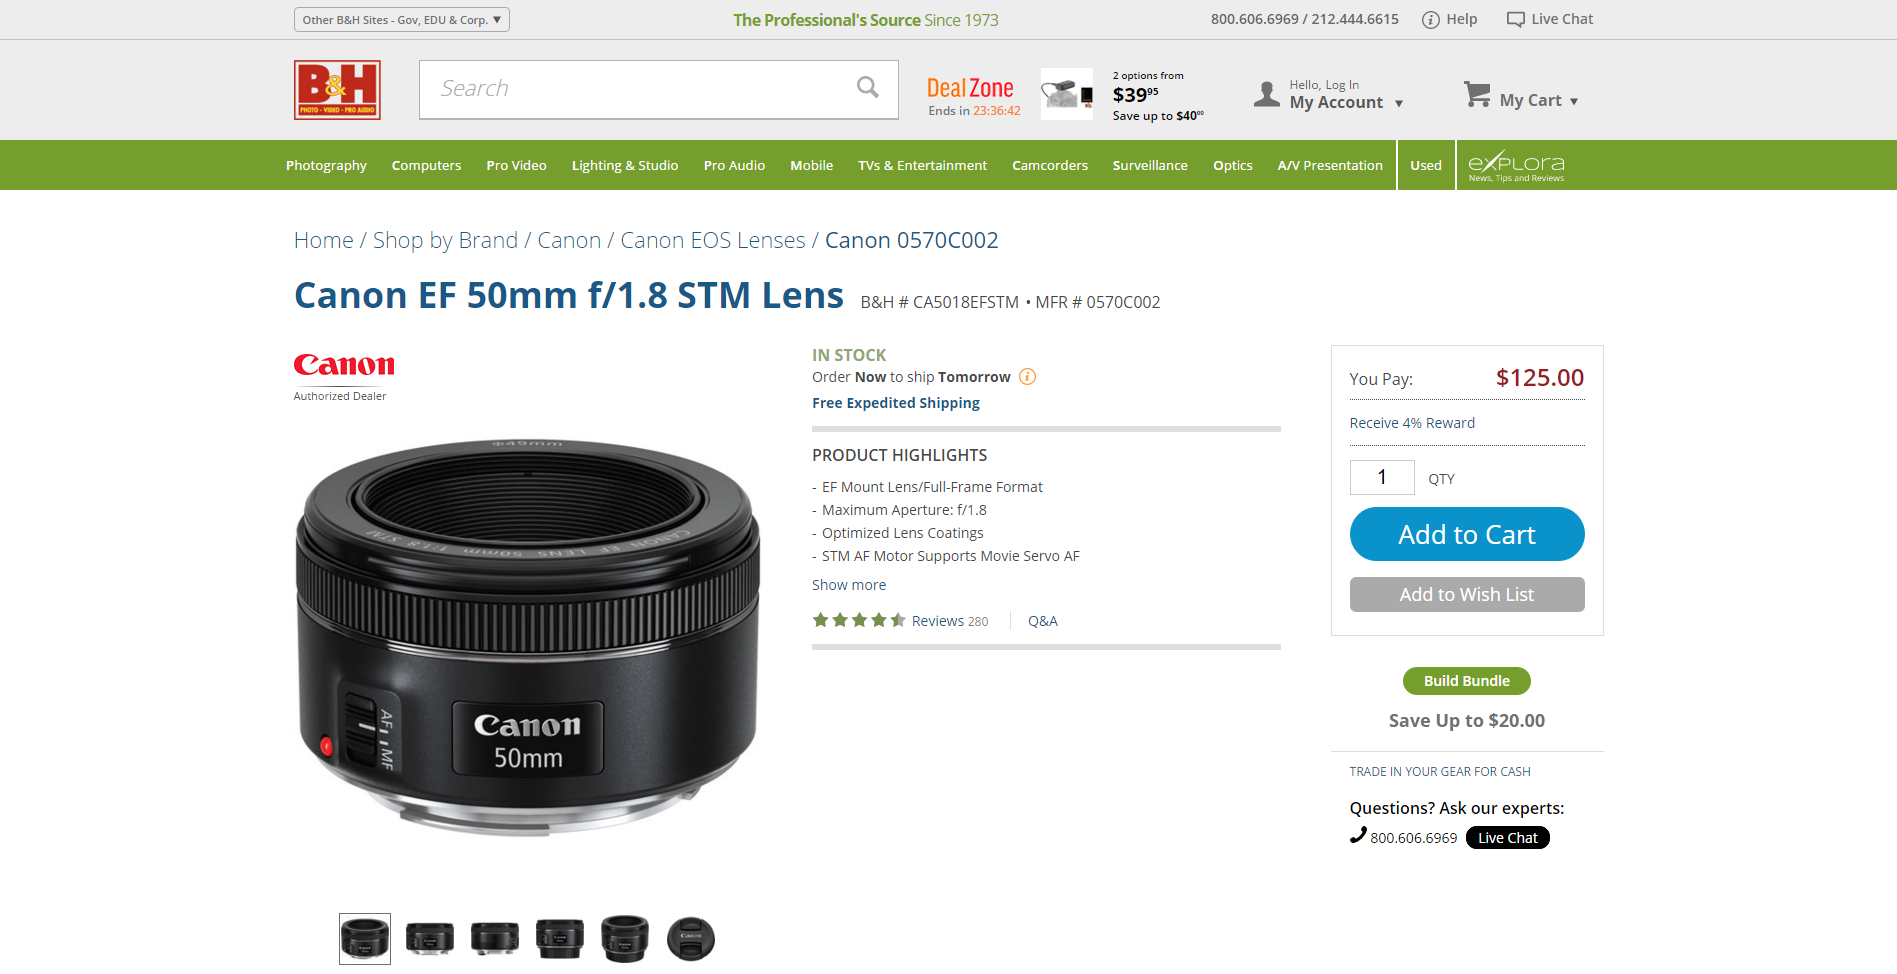
‘Prime’ lenses are simply lenses that don’t zoom. Because of their simpler optical design, they offer premium quality at a bargain price. Most consumers go with a zoom lens for convenience, but for product photography, when you can ‘zoom with your feet’ and don’t have to worry about your subject running away, it’s a no-brainer to buy a prime lens instead.
I’d recommend a 50mm ‘normal’ lens for most product photography. If your products are large or your studio is particularly small, you may need a ‘wide’ lens like a 35mm. For jewelry or other small products, a ‘macro’ lens around 100-200mm in focal length will do the trick. The number may change depending on your sensor size, but those keywords — normal, wide, and macro — should help you find the right lens for the job.
For most people, spending between $100 and $400 on a prime lens for product photography will provide phenomenal quality.
3. Steady the shot with a tripod
A simple tripod, like this model shown at B&H, will make it a lot easier to take product photos.
Tripods make photography easier by providing a stable, easily adjustable platform for your camera. While you can get by without a tripod by balancing your camera on a flat surface, you’re likely to get tired of that rather quickly, especially if you have to take a lot of product photos.
Instead of fumbling, invest around $20-$100 to purchase a simple tripod to support your camera. Look for a tripod with easily adjustable legs and enough length that you can comfortably stand upright while using it. A small tripod like a GorillaPod can work in a pinch, but a full-size model will work better.
Any of the models on the B&H bestsellers list should fit your needs. We like B&H for their great service and return policy as well.
4. Light your products properly
A few simple LED lights can make your product photos pop.
Product photography requires light. While it’s possible to get great product images using only natural light (as Holly has written about before), you’ll be able to better control the look and feel of your product images using photographic lights.
If you’re on a tight budget, you can make do with bringing in a few extra lamps to your studio space. In order to get the right quality of light on your subject, you may have to experiment with positioning the lights in different areas, and with bouncing and reflecting the light off different surfaces.
This diagram shows a simple lighting layout that can be used with natural light, lamps or photographic lights and will gently accentuate the shape of any object or model.
If you’re not satisfied with the results you’re getting with lamps, it might be good to invest in purpose-made lighting systems. LED lights are a good option, as many can use rechargeable batteries, have adjustable color temperatures, don’t have heat buildup issues like some other lighting systems and are quite affordable.
For jewelry and other small products, you may need a piece of specialized equipment called a ring light.
5. Consider adding on some useful accessories
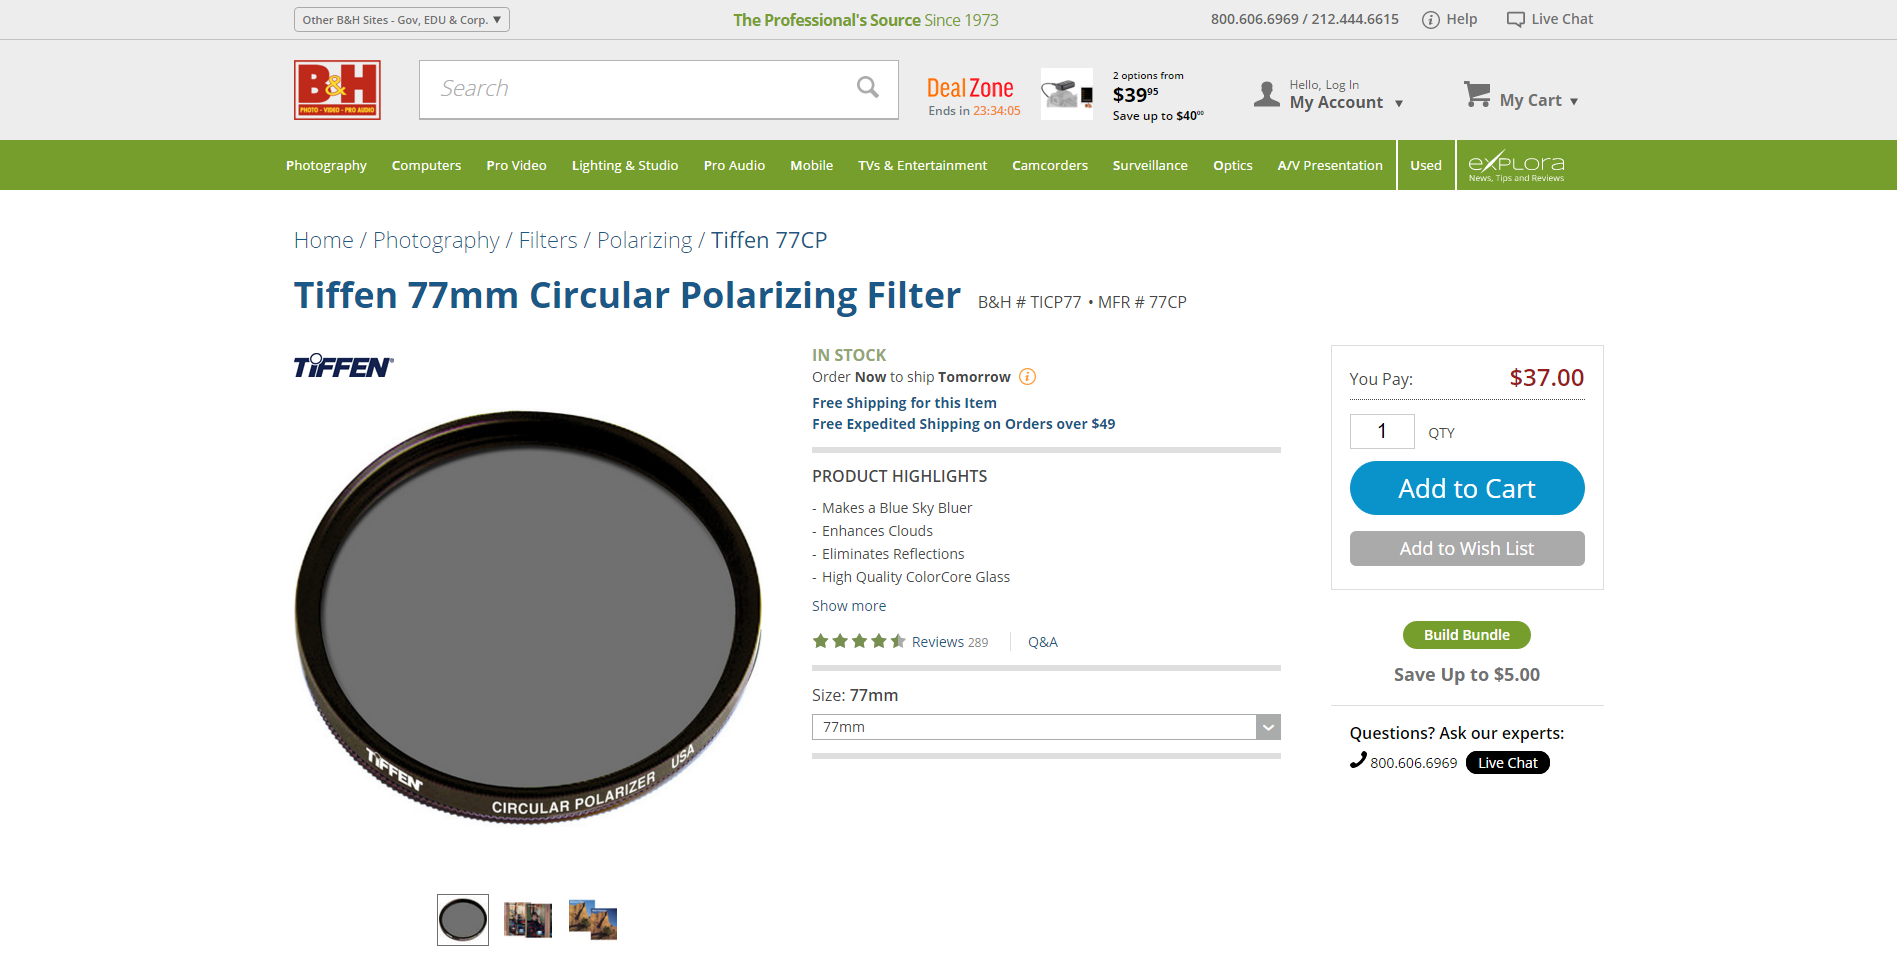
Make sure you’re prepared for your shoot with memory cards and batteries for your camera. If you have trouble with reflections on your products, you might want to look into using a polarizing filter.
One other accessory that is great for product photography is an 18% gray card, which can be used to manually set the white balance (color) of each shot, ensuring perfect colors in your product images.
Go on and create your own product photography studio
With this set of basic equipment, you can create stunning product images of your own. If you need more help with the technique, check out our photography tips for the scoop on how to put your new gear to good use. And as always, if you need help editing those beautiful product photos you’ve taken, check out the affordable Pixc background removal services.
Share on social: